Building on my last experiences documented here (read that one first, please) in this tutorial we will set up a safe backdoor access that can wake up the target machine, send an SMS to confirm the source IP address and expect an SMS back. The protocol can be anything, but in this case I will be using Remote desktop to log in.
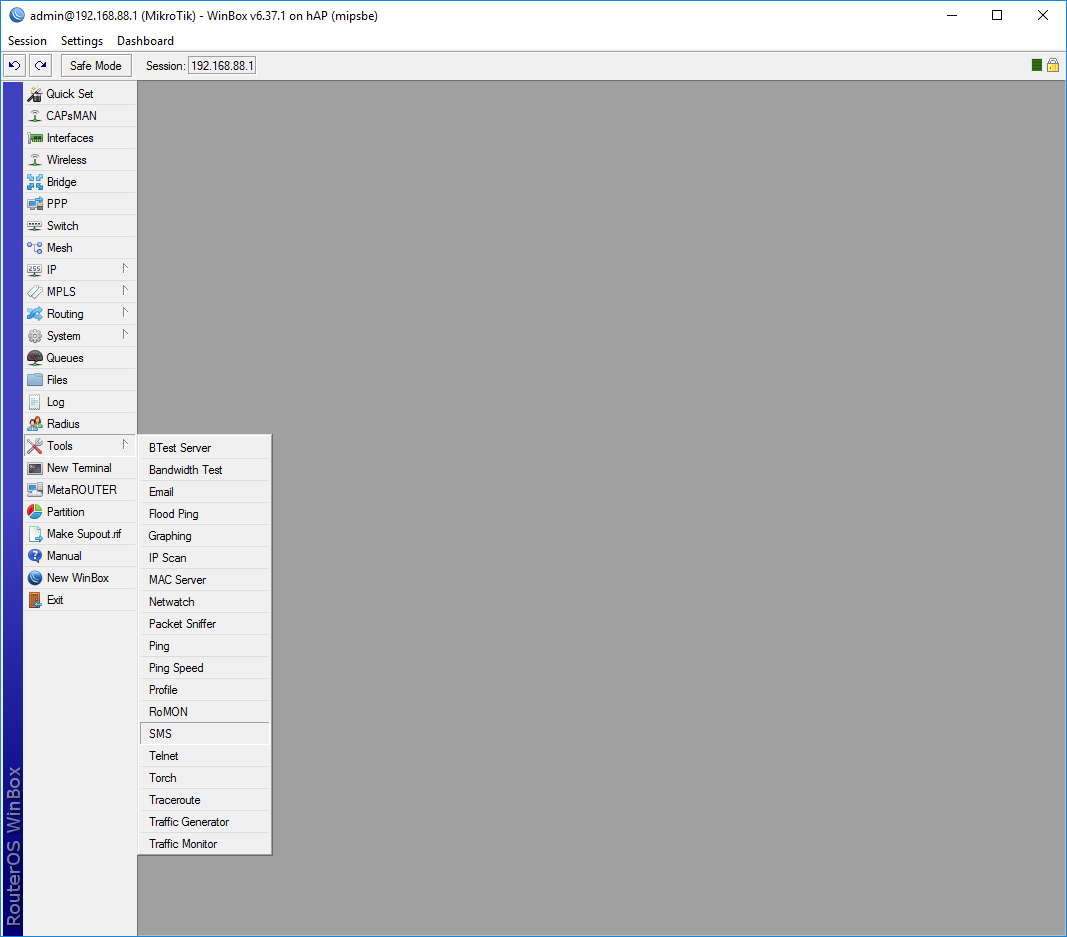
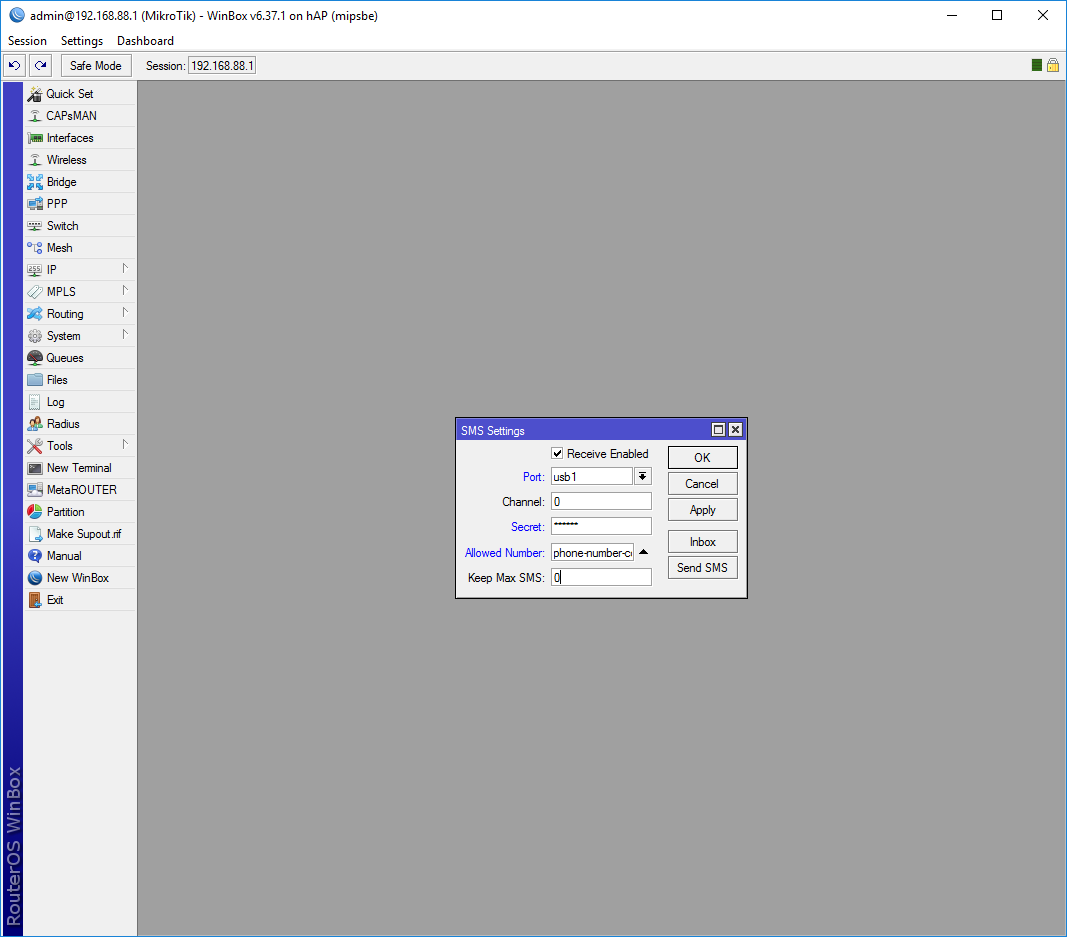
Log in using winbox and go to Tools -> SMS.
The SMS Settings screen pops up. The minimal configuration is to check the Receive Enabled and set the proper Port. Everything else you can leave on the default settings for now:

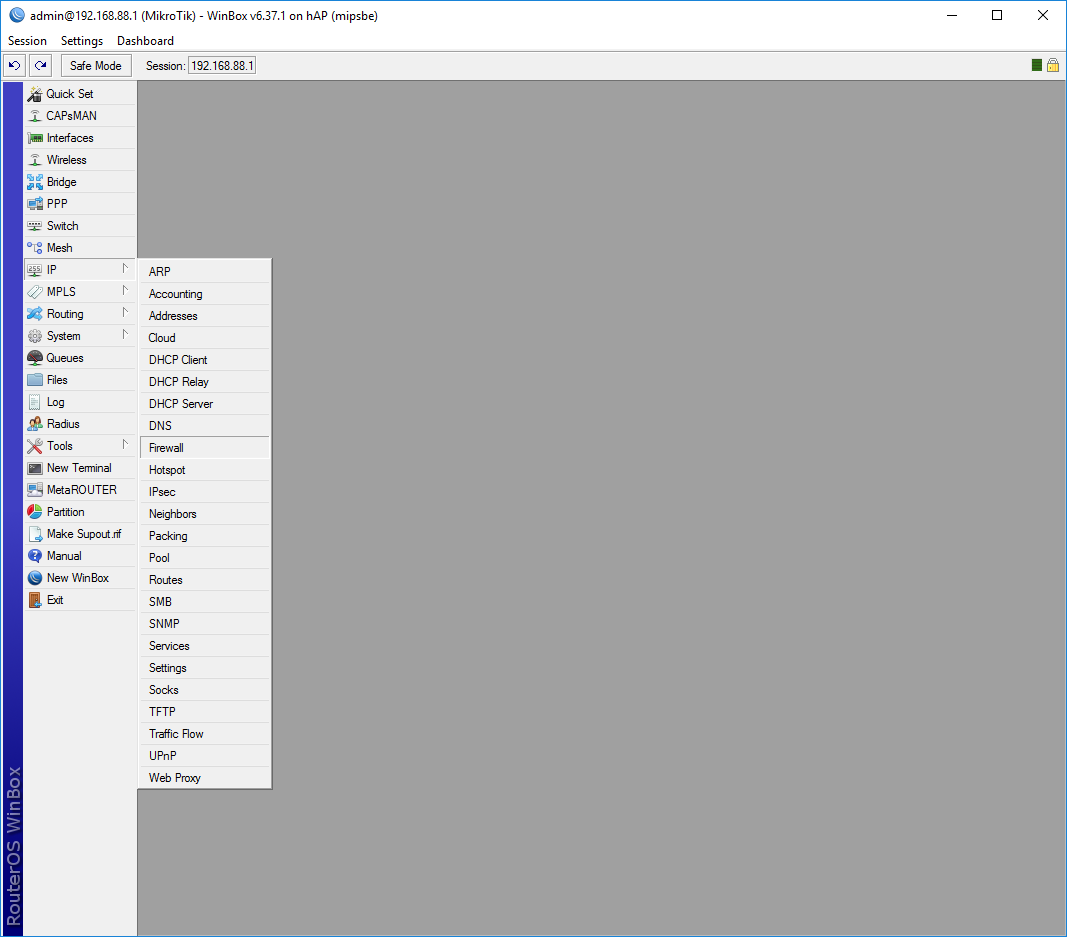
Now let’s set up some firewall rules. Go to IP -> Firewall:
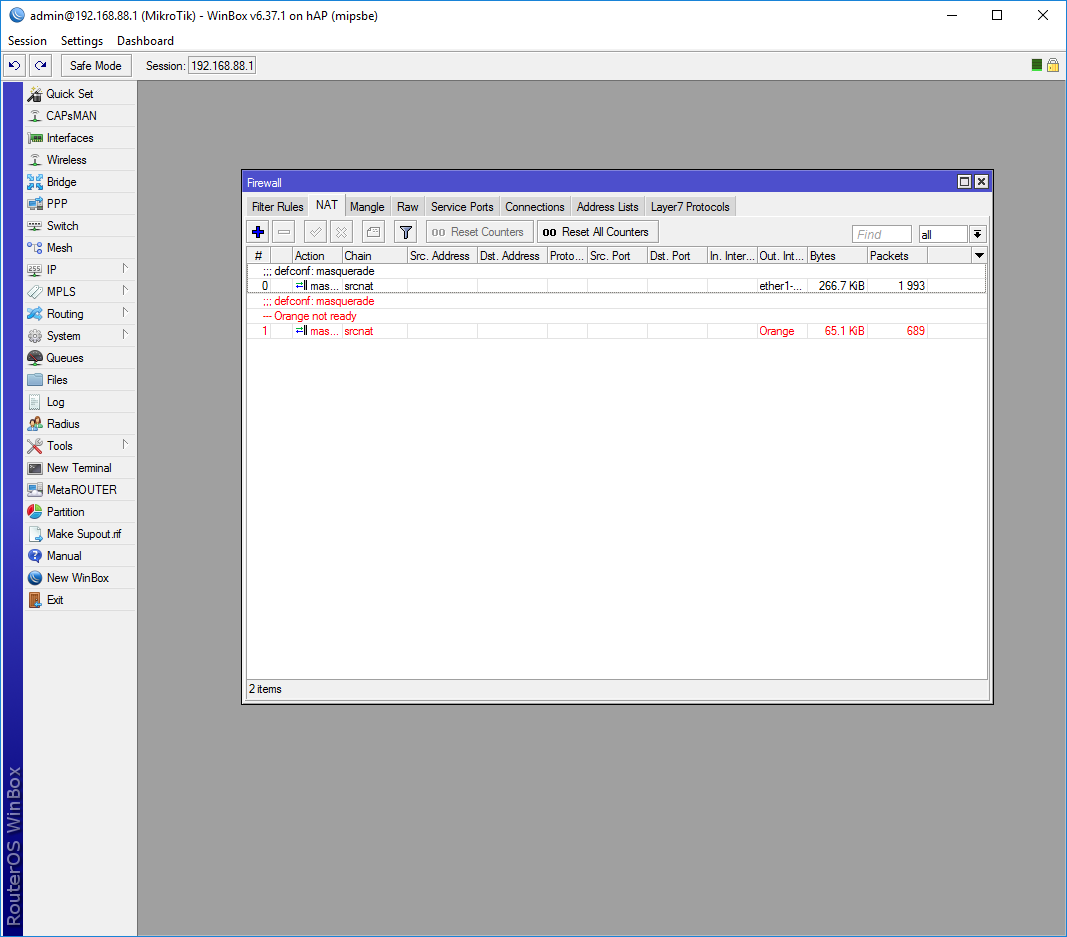
Go to the NAT tab (don’t mind the red rule, it’s normal) and click on the blue + button to add a new one:
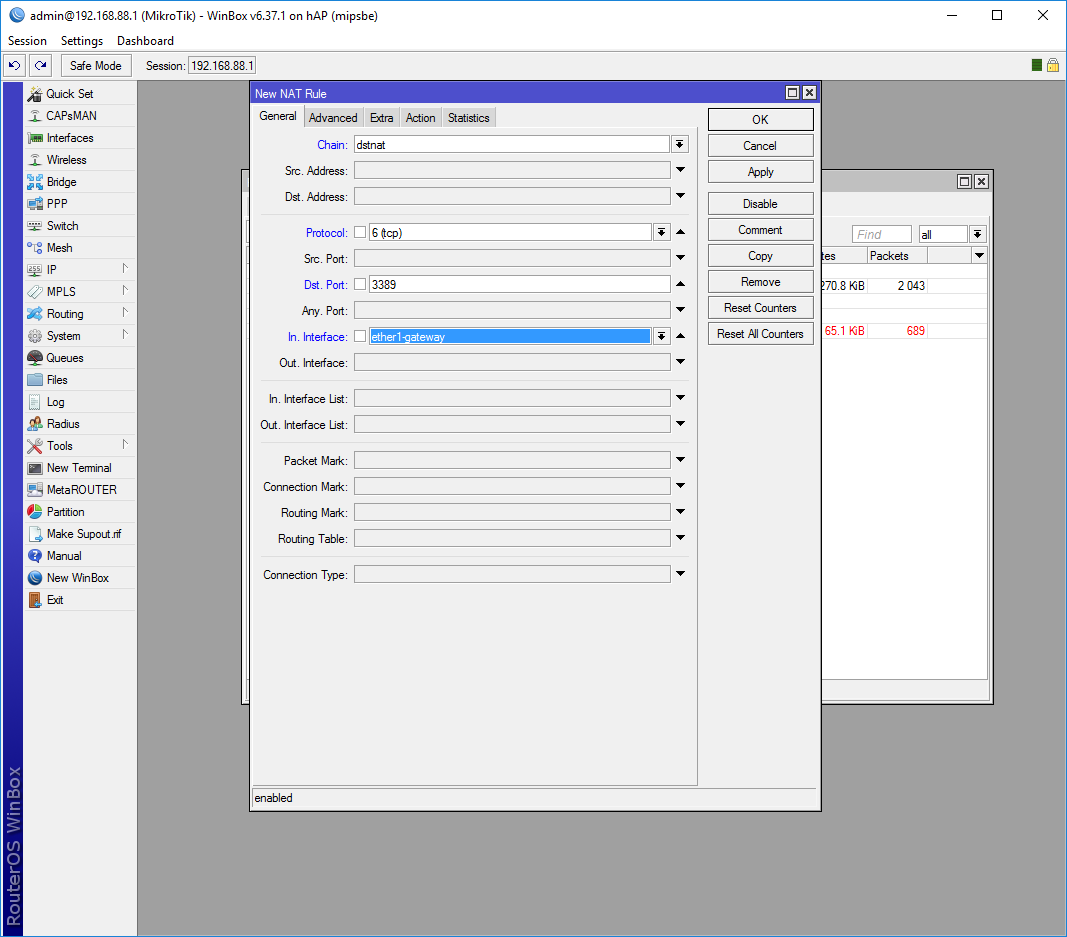
The New Nat Rule screen will pop up:
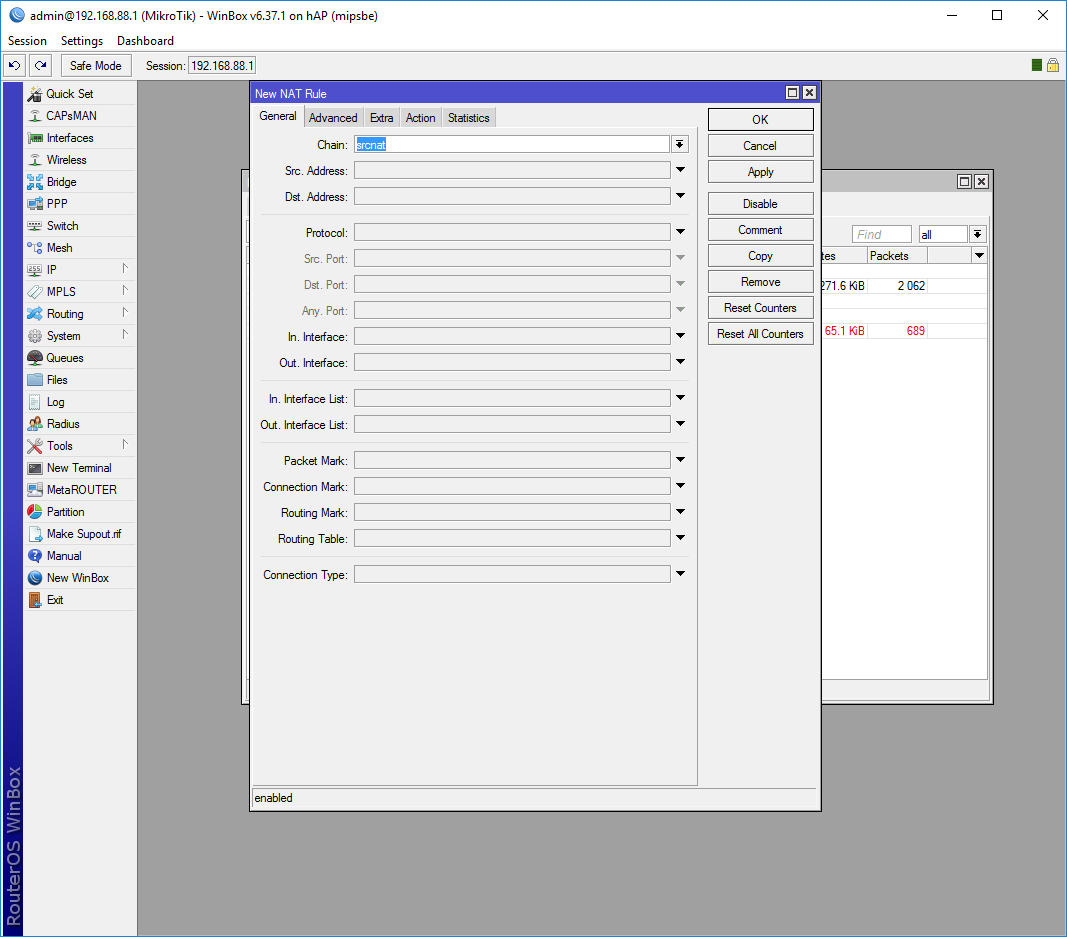
Enter the following on the General tab:
Chain: dstnat
Protocol: 6 (tcp)
Dst. Port: 3389
In. Interface: ether1-gateway
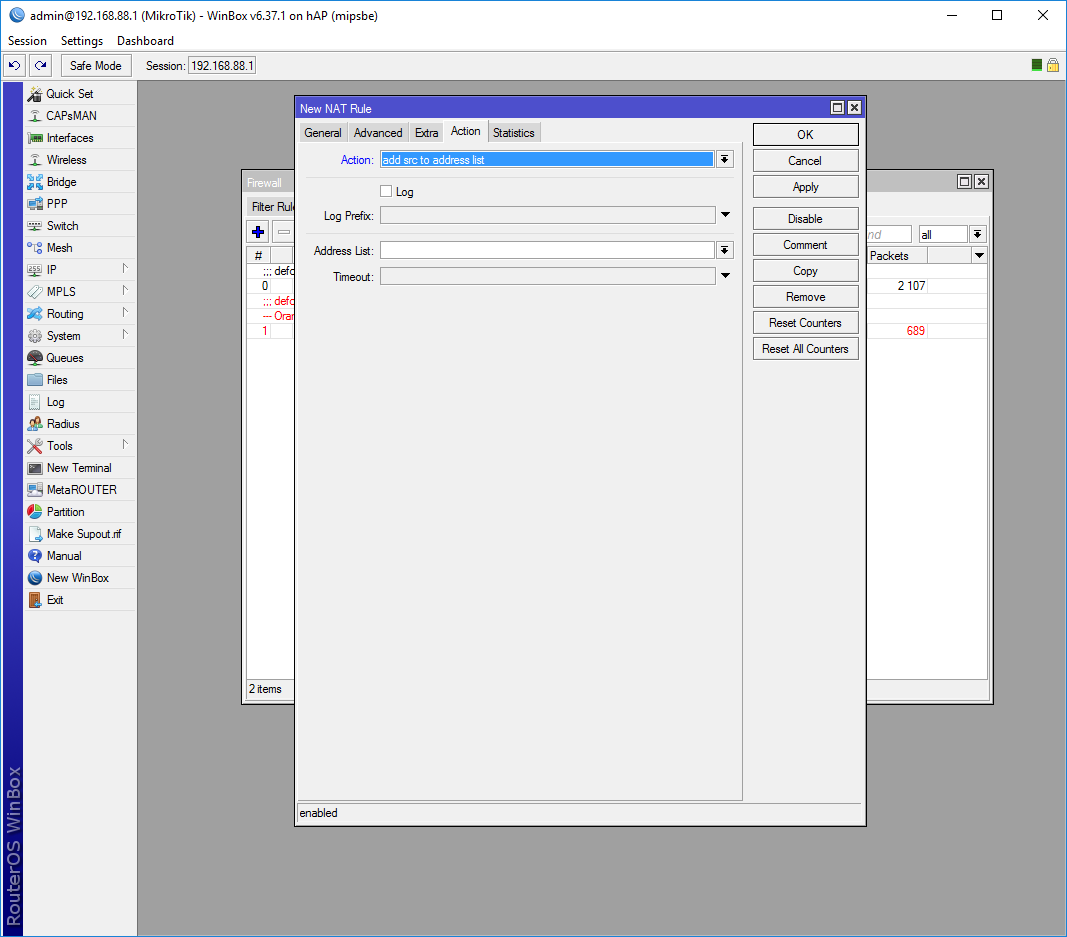
On the Action tab:
Action: add src to address list
Address List: RDP250
Note: I mixed up the screenshots and it doesn’t show, but you REALLY need to enter RDP250 into the Address List field
Hit OK to save it:
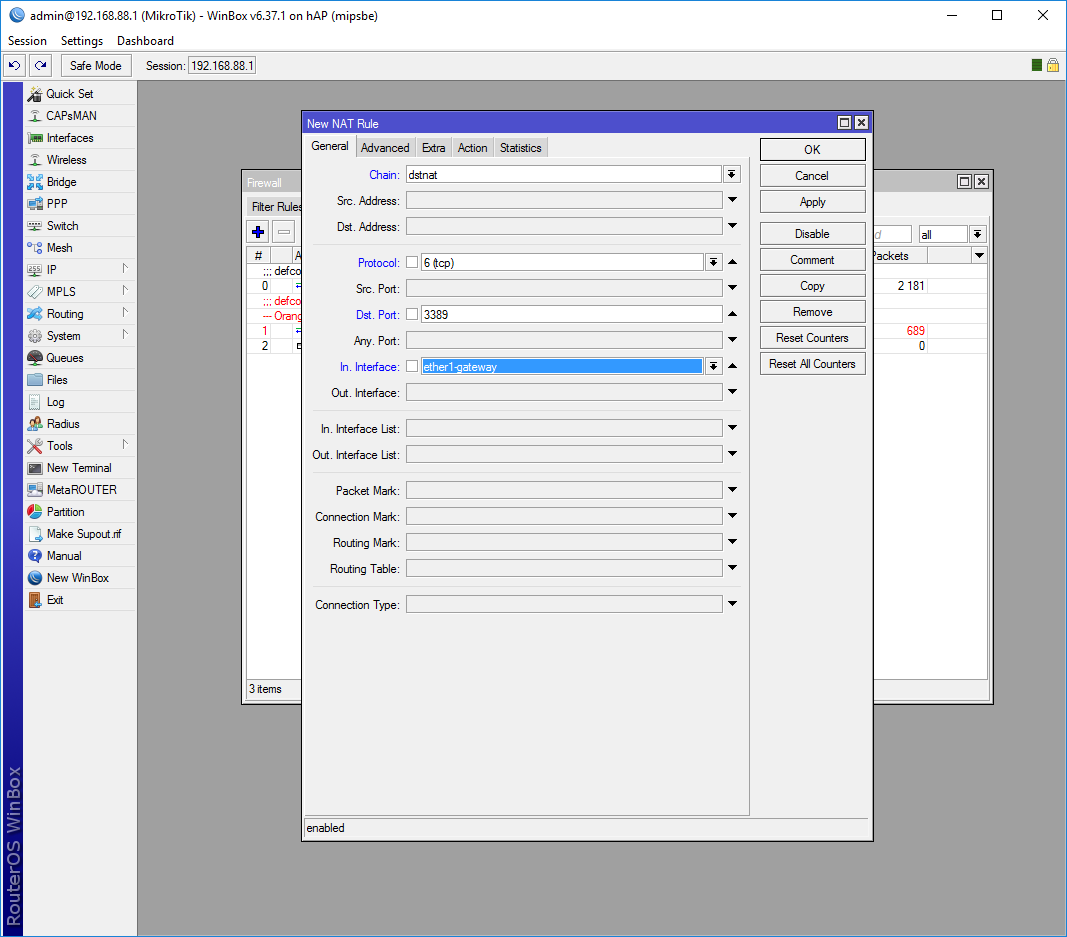
Click the blue + button once more to add another rule:
Fill the General tab as follows:
Chain: dstnat
Protocol: 6 (tcp)
Dst. Port: 3389
In. Interface: ether1-gateway
On the Advanced tab set it as below:
Src. Address List: RDPallow
Note: I know that it’s a different address list than the one we set earlier, it will all make sense soon

Finally on the Action tab do the following:
Action: dst-nat
To Addresses: 192.168.88.2 (use the private address you want to access from the internet)
To Ports: 3389
Hit OK:

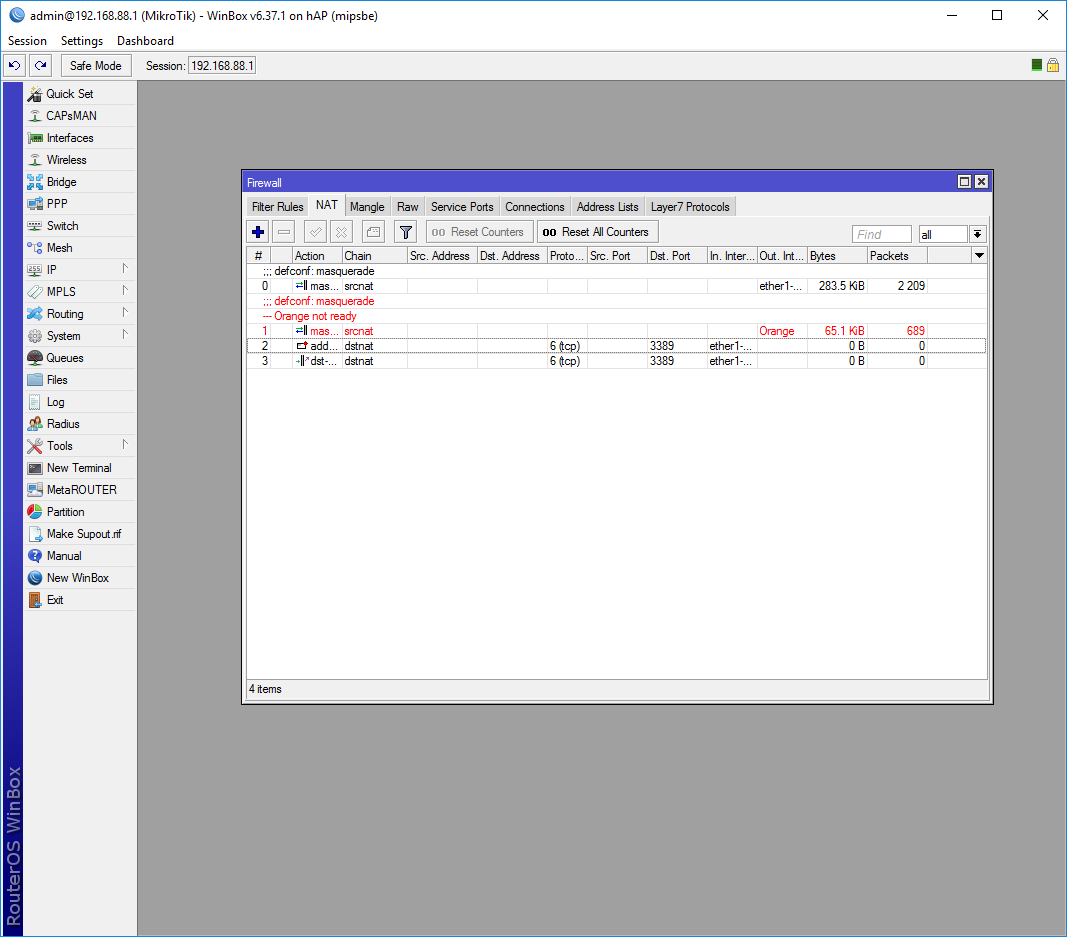
This is how your 2 rules should look like:
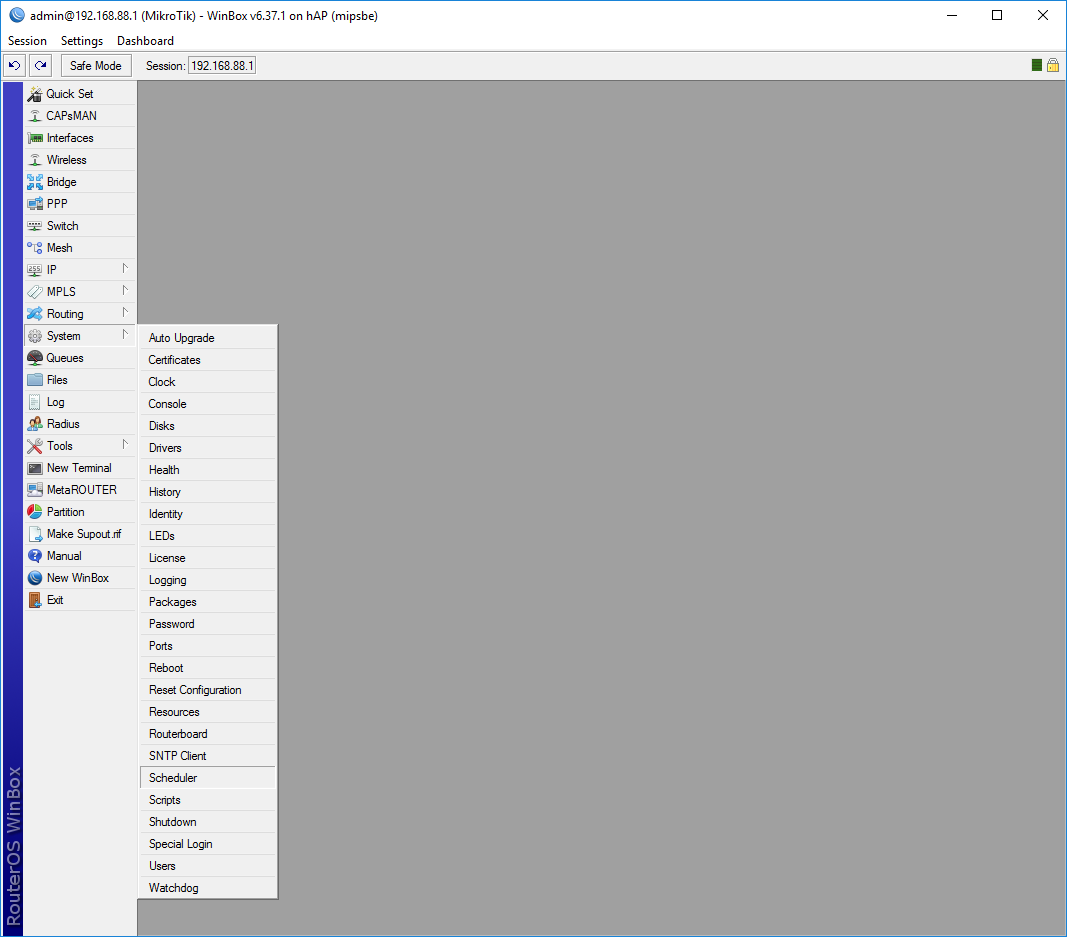
Now to make it work, we need to create a schedule. Go to System -> Scheduler:
Add a new schedule by pressing the blue + button:
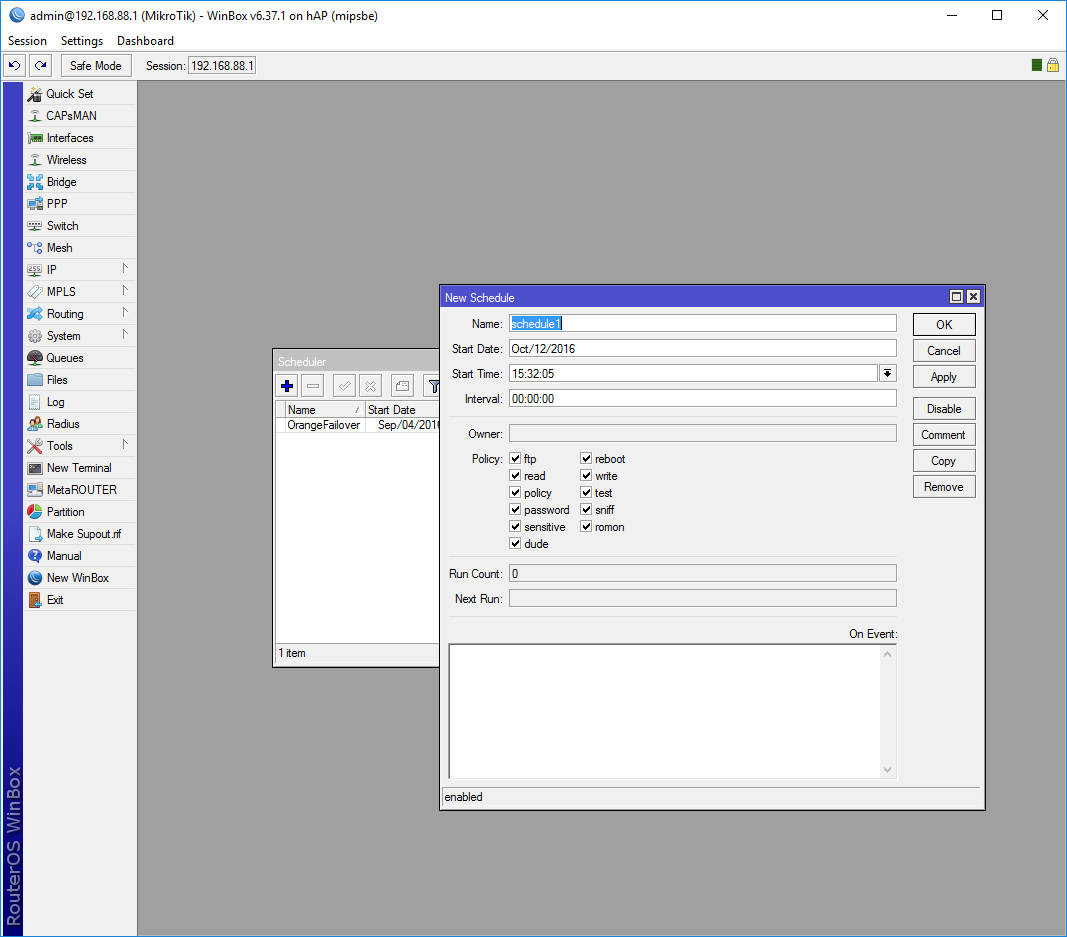
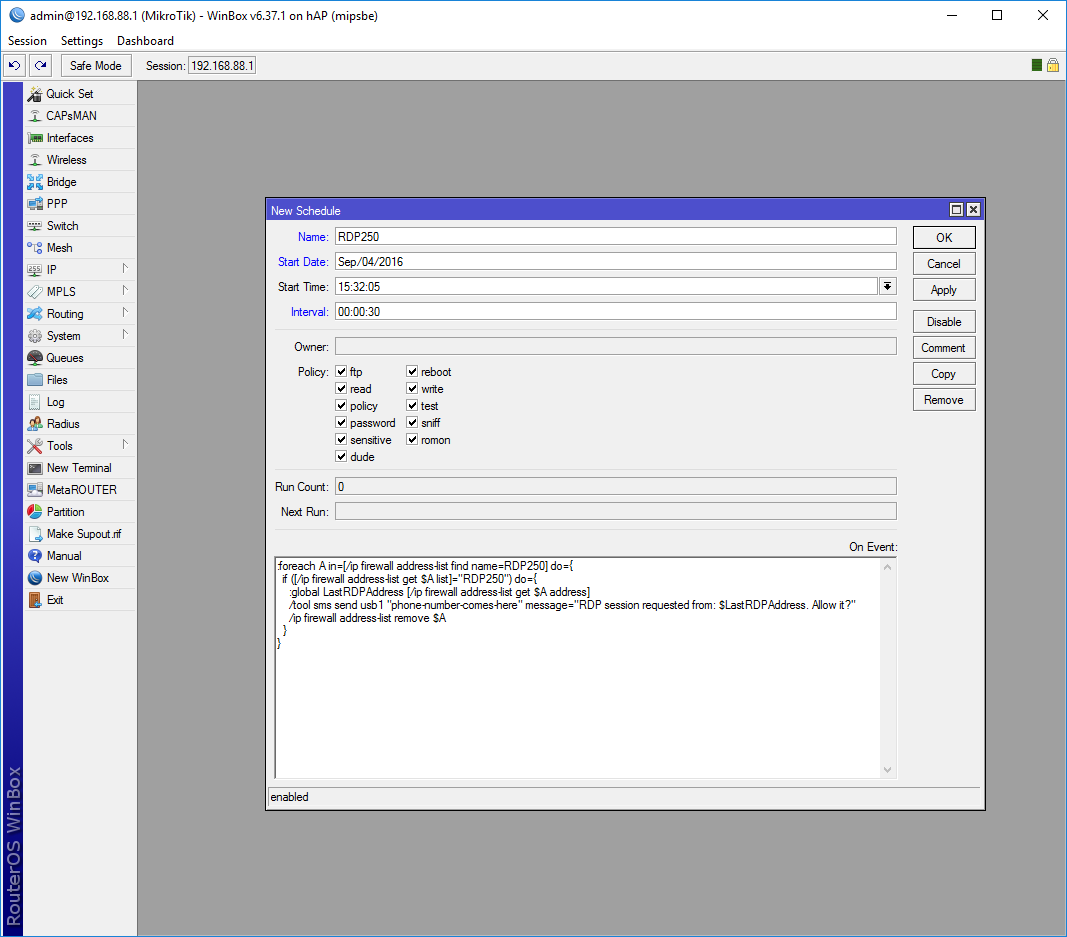
Give it a fancy Name, set the Interval to 30 seconds and input the folowing:
:foreach A in=[/ip firewall address-list find name=RDP250] do={
 if ([/ip firewall address-list get $A list]="RDP250") do={
 :global LastRDPAddress [/ip firewall address-list get $A address]
 /tool sms send usb1 "phone-number-comes-here" message="RDP session requested from: $LastRDPAddress. Allow it?"
 /ip firewall address-list remove $A
 }
}
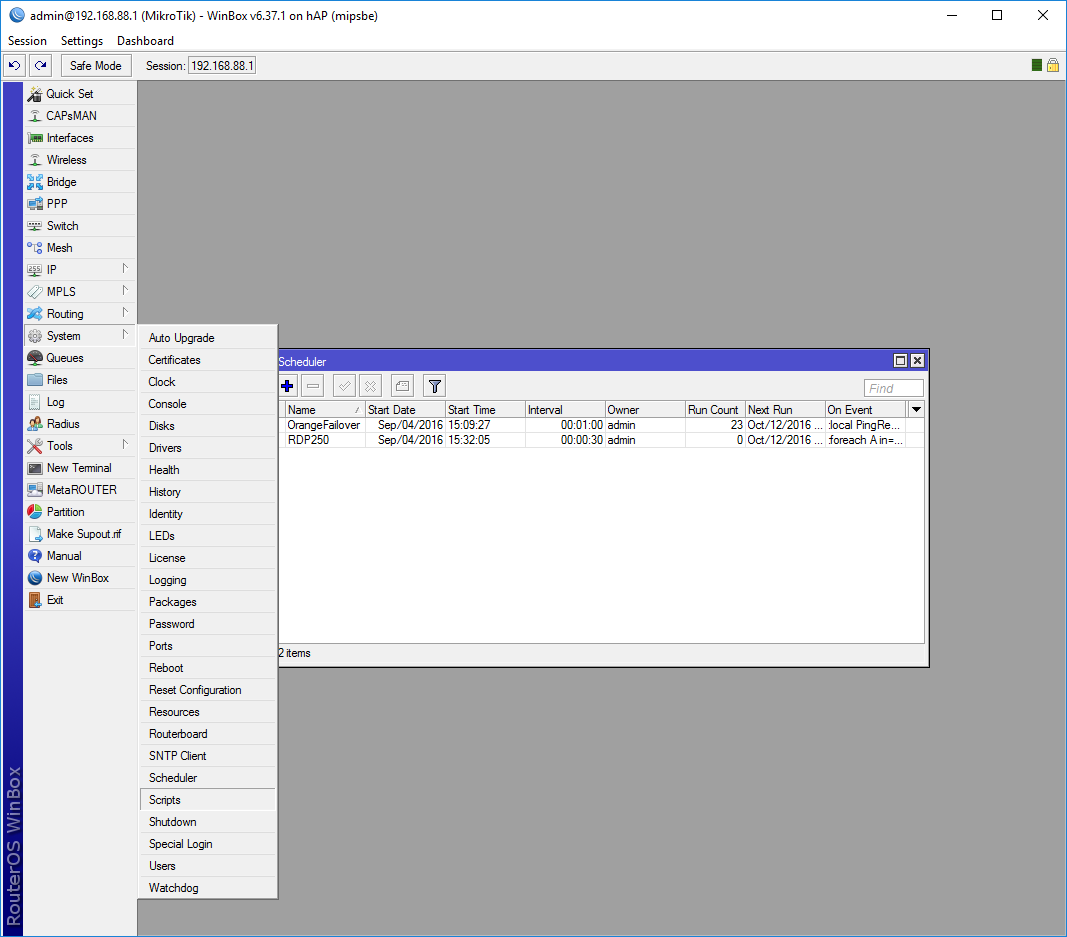
The above script will query the address list and send you an SMS. To actually allow it in we need to create a script that we can call with our phone. Go to System -> Scripts:
The Script List panel shows up:
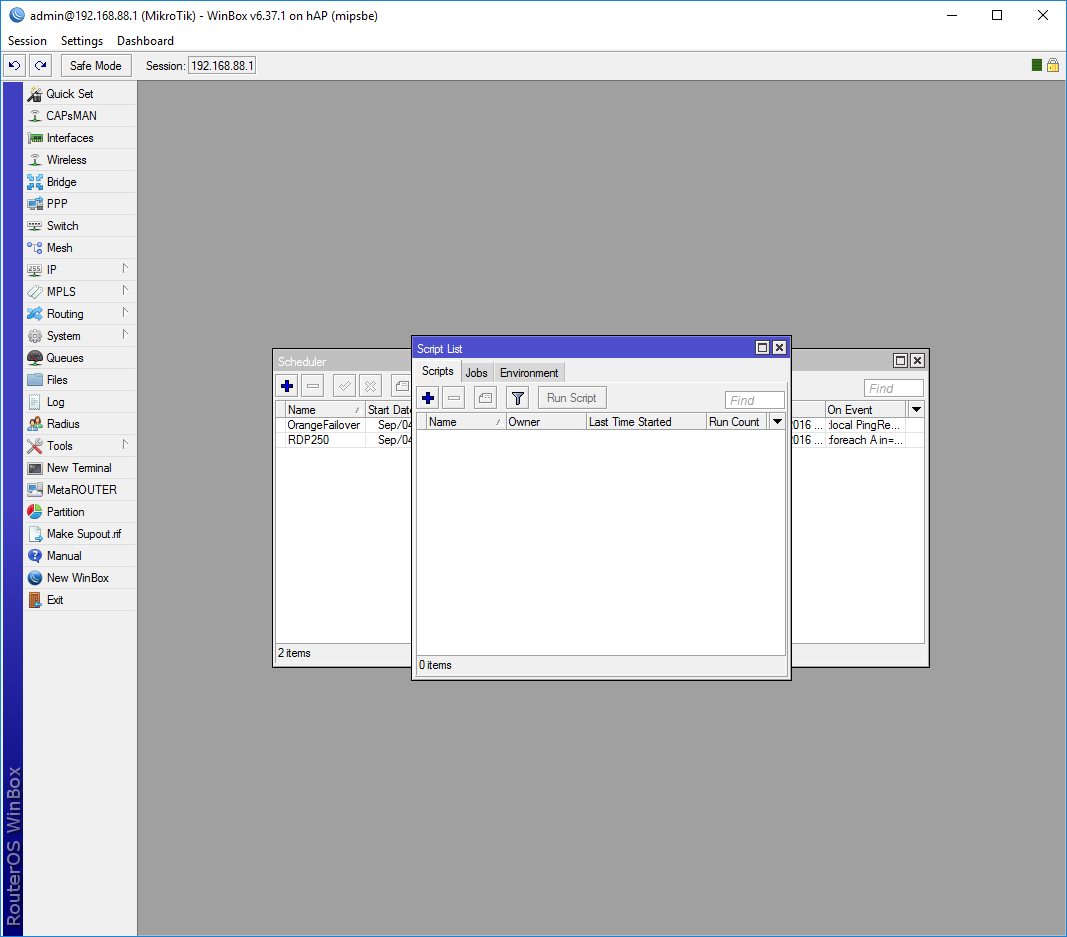
Add a new script by pressing (you guessed it) the blue + button:
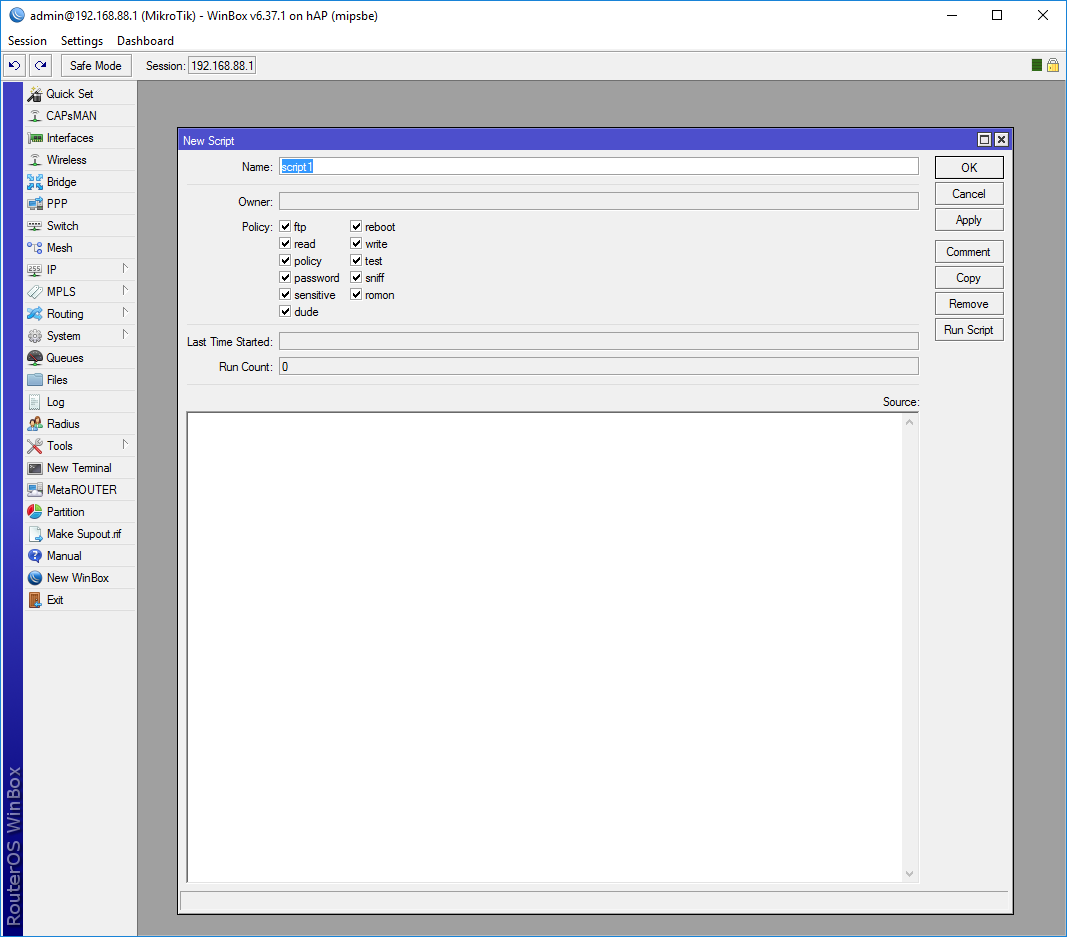
Give it a Name (note: make it simple so you can type it out from your phone later) and enter the following into the Source textbox:
:global LastRDPAddress
/ip firewall address-list add list=RDP_allow address=$LastRDPAddress
/tool wol mac=mac-address-of-target-machine-comes-here interface=bridge-local
/tool sms send usb2 "phone-number-comes-here" message="WOL request sent. Please be patient. Note: $LastRDPAddress permanently added to access list."
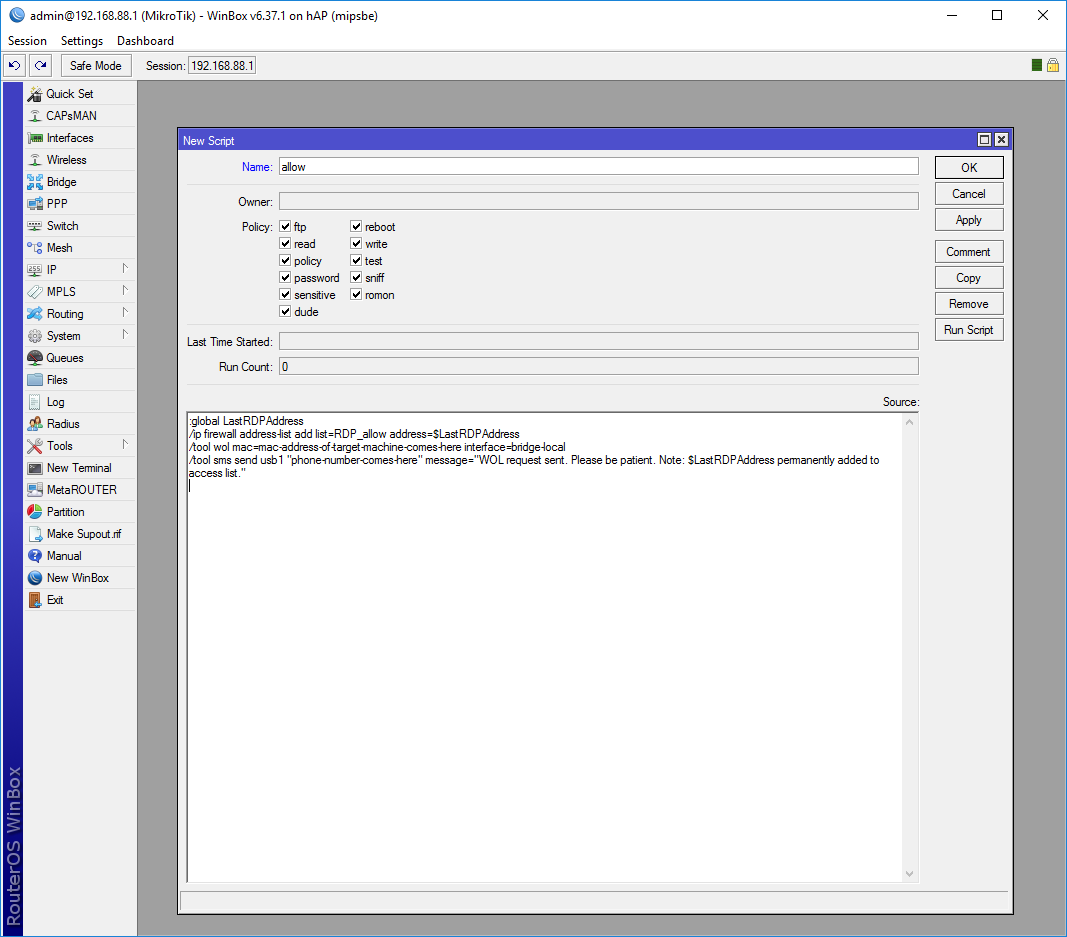
After you hit OK it should saved:

If you trust your battery life you can limit the router to only accept messages from a single phone number. Go to Tools -> SMS and enter your phone number under Allowed Number. What I highly recommend is setting a Secret atleast that you must supply in each SMS you send to the router.
Now that it is set up, let’s run the script by sending an SMS to the routers number with the following message:
:cmd SECRET script allow
where SECRET is the secret we set at the above step, and allow is the script name we created earlier.
Thank you for the instructions