This is a follow up article to network-wide adblock with a Raspberry Pi the lazy. If you followed that article then the Raspberry (or equivalent) is already deeply integrated into your network, why not add it some other network related roles like for example VPN? Luckily there is a fully fledged OpenVPN based package in DietPi as well that can use UPD (unlike RouterOS at the moment) and has a really nice command line utility for managing certificates.
To install it first you want to log in via ssh:
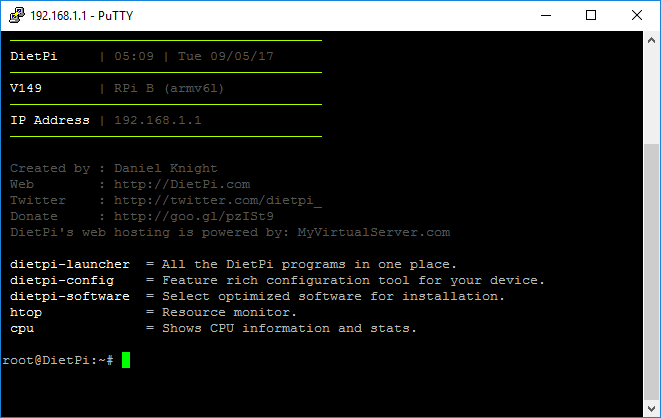
And run:
dietpi-software
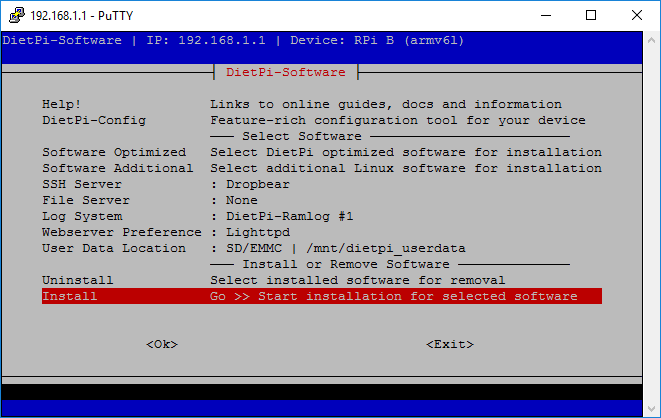
The DietPi-Software manager will pop up:
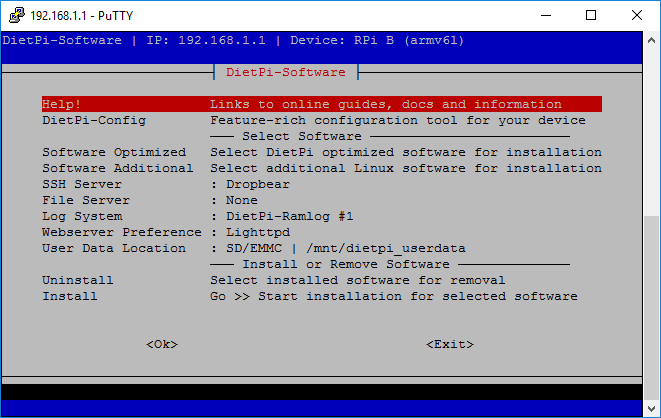
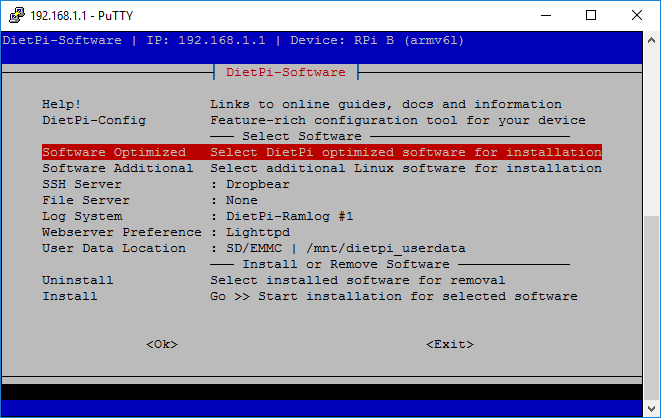
Go to Software Optimized and hit Ok:
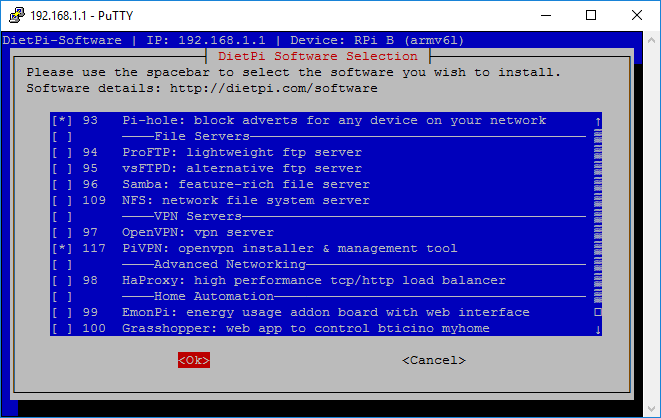
Near the bottom of the list, at position 117 you will find PiVPN, select it and press Ok:
Now go to Install and start it with Ok:
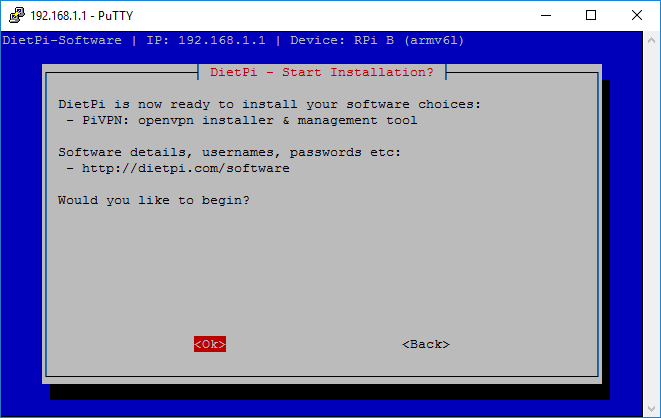
It wait for confirmation, press Ok:
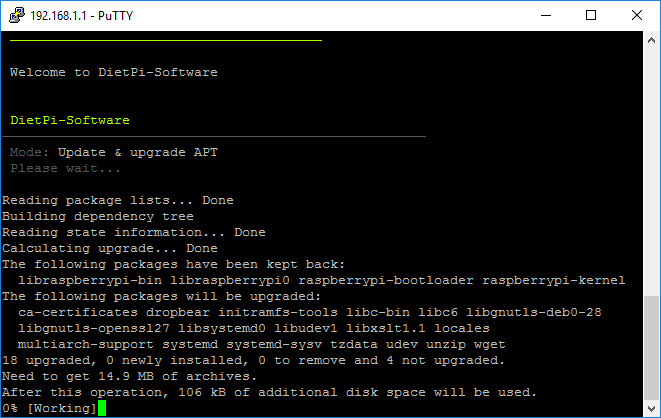
Wait for it to install the needed packages:
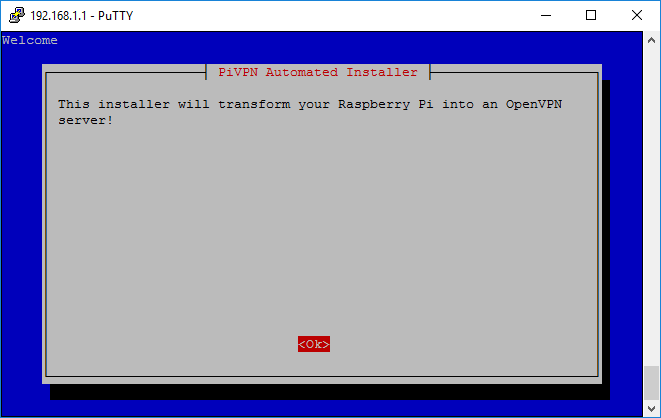
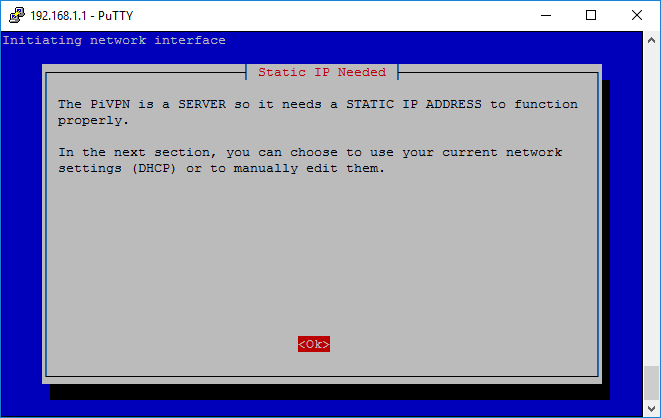
Than the PiVPN install wizzard will start, hit Ok:
Again:
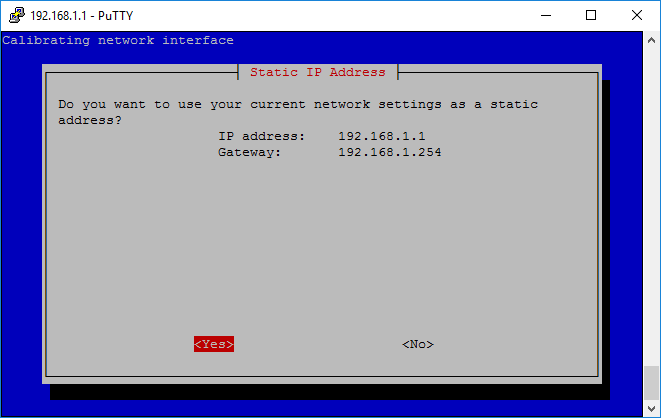
And again (well in this case it’s Yes, but you get the idea):
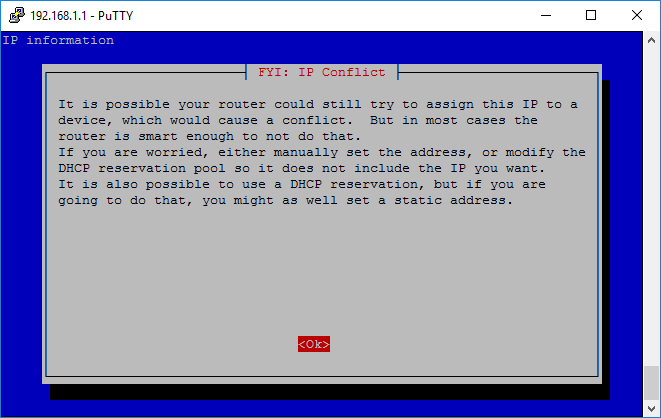
And again:
And again:
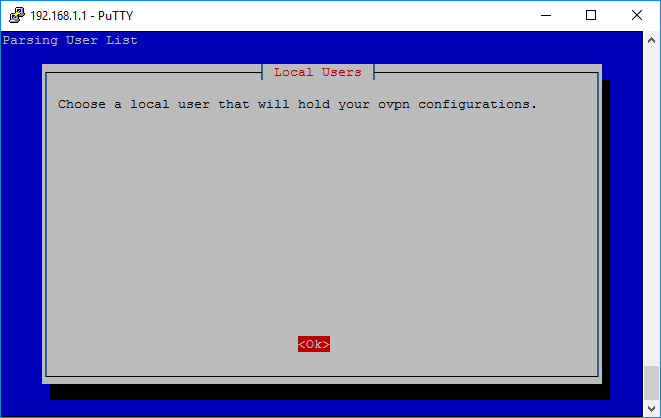
Leave either dietpi as the user or select pivpn if you want to better isolation:
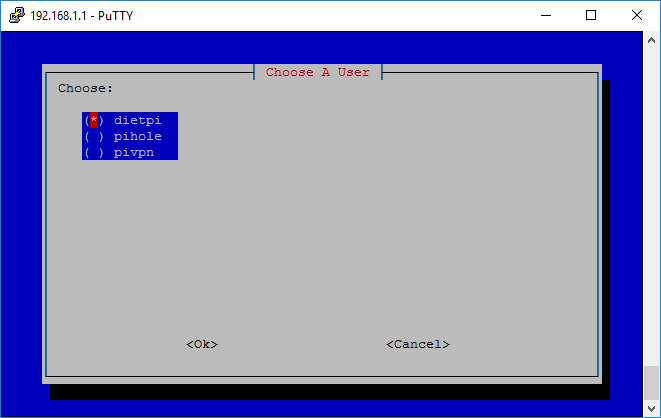
Press Ok:
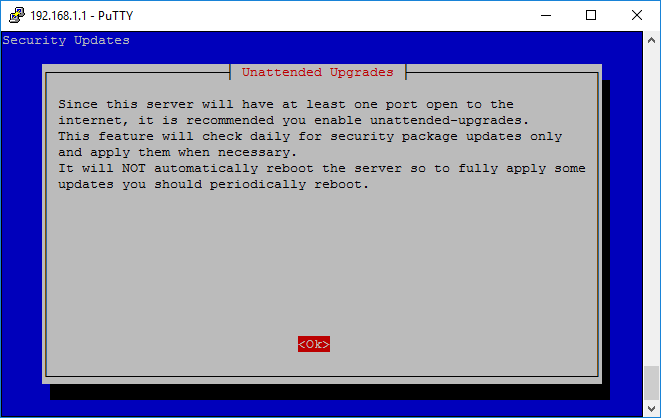
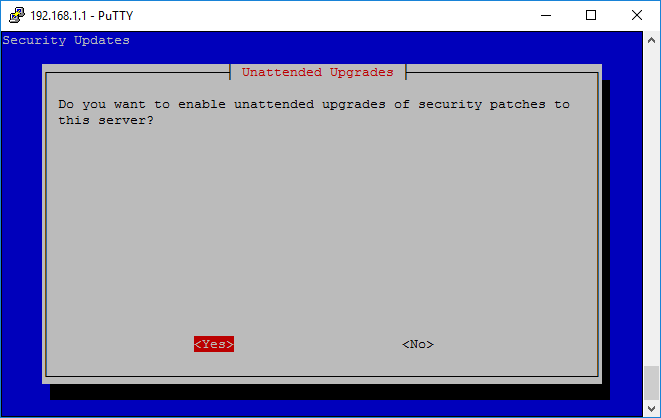
I highly suggest enabling the unattended security upgrades:
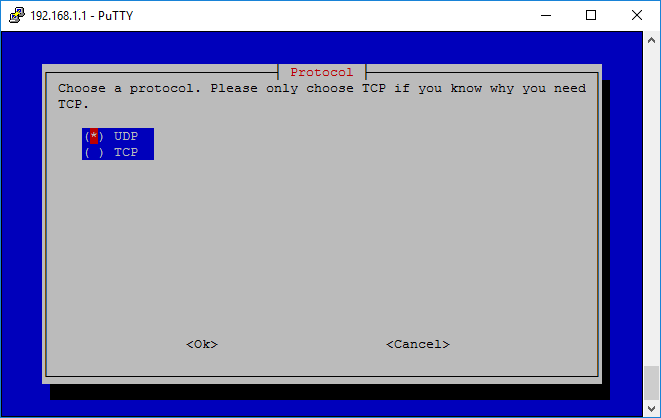
Select UDP:
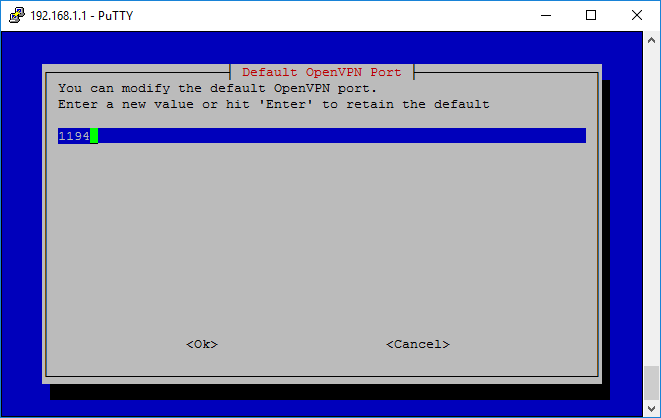
Leave the default port of 1194 (remember this is not public facing, so you can always use a different port in your router when port forwarding):
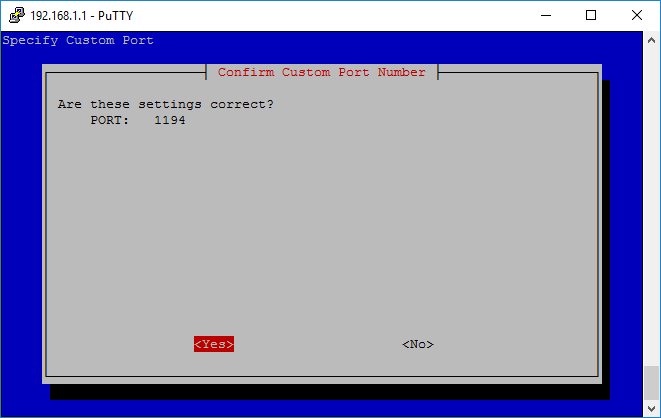
Confirm it:
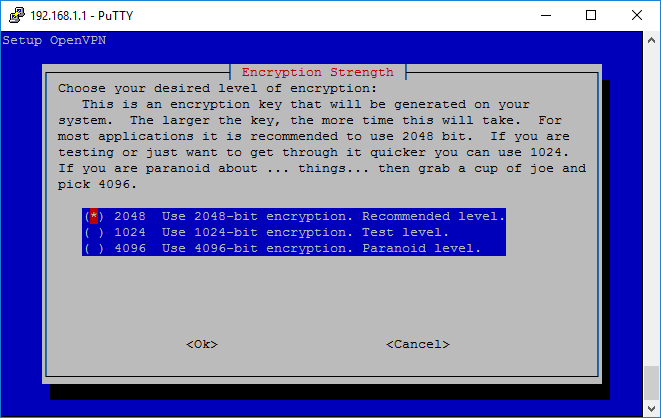
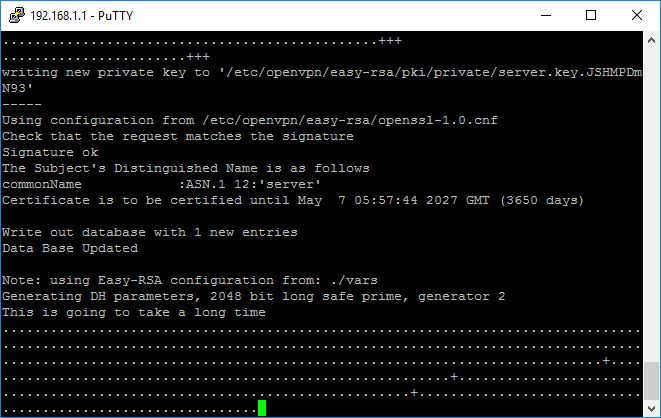
I suggest going with 2048, but even that will take an hour to generate on a Raspberry:
Press Ok:
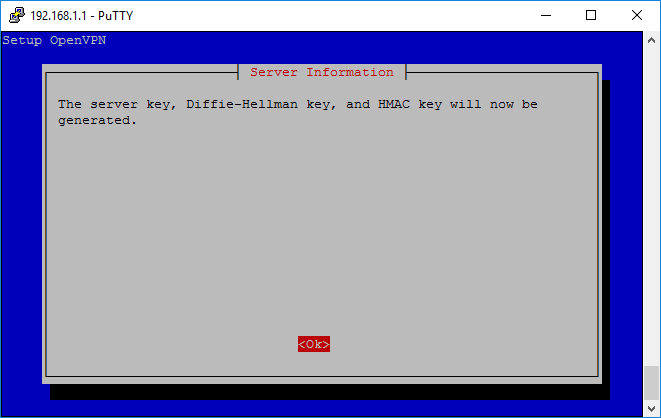
Now wait patiently:
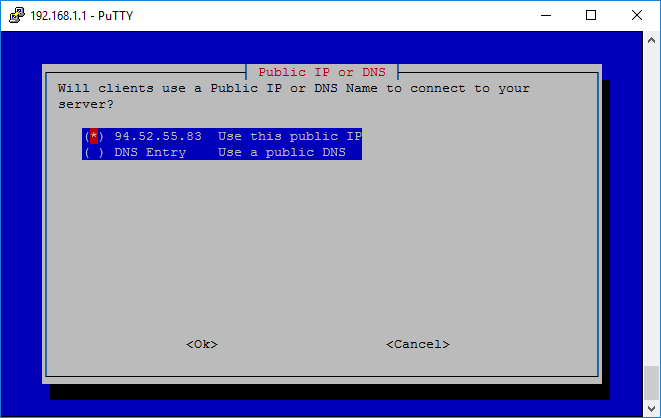
Select either IP or DNS (that will be used in the config generation):
Note: if you select DNS it won’t read the Raspberry’s hostname, but instead ask you to manually input an entry yourself
Select the DNS provider (i recommend Google or Level3):
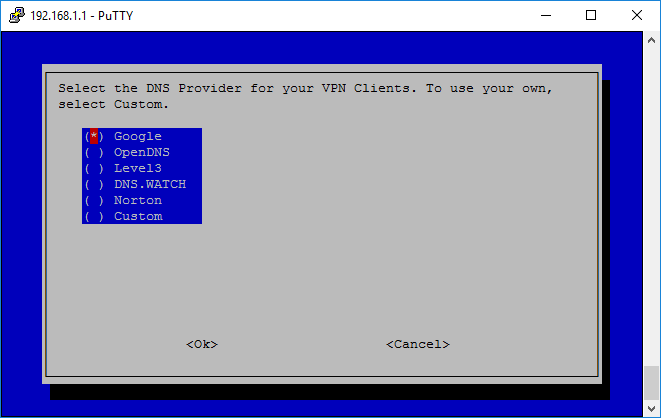
Press Ok:
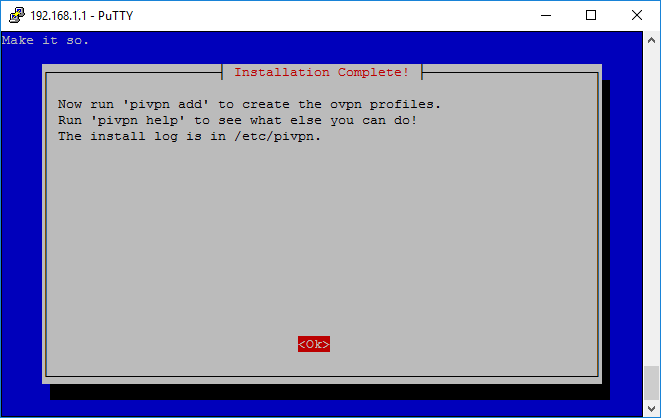
It will ask for a reaboot, selct Yes:
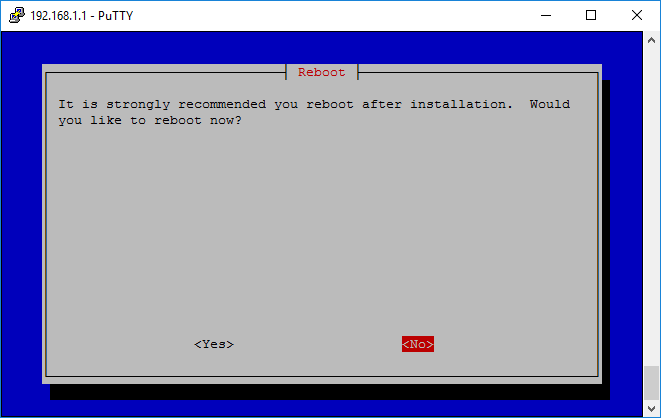
Confirm it:
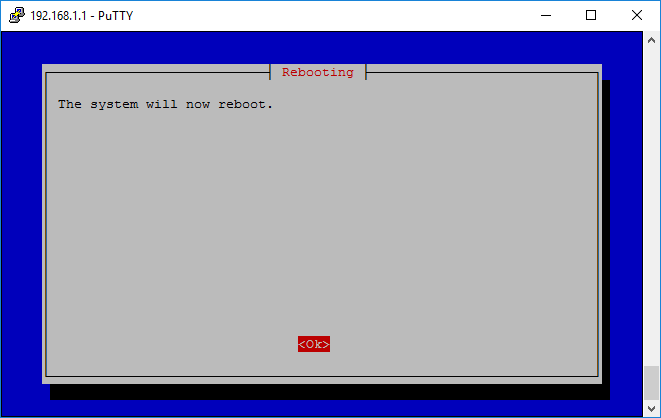
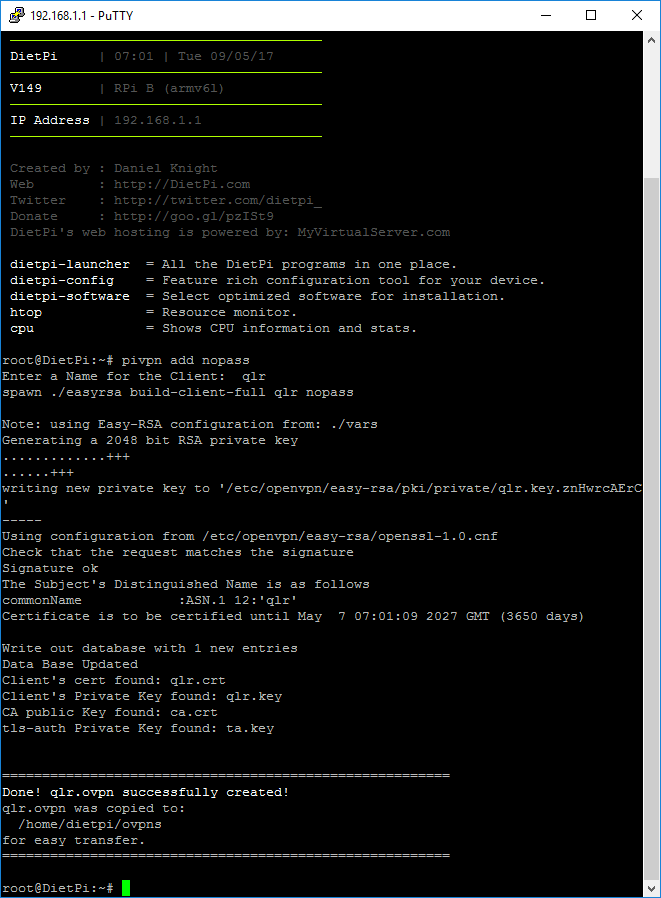
Wait for the Raspberry to reboot and than ssh back in. To generate a configuration simply run:
pivpn add USERNAME
where USERNAME is the desired name of the VPN user you want to add.
To generate a config without a password use the following command:
pivpn add USERNAME nopass
PiVPN will generate an ovpn config file and place it in its home users ovpns directory. Since I’m running it as dietpi my directory is /home/dietpi/ovpns:
Now all you need is to get that config file either by plugging in a thumb-drive or by simply copying it to your samba share (that we set up in the first DietPi post that we set up here).