If you don’t want to have ads on your devices (even on your phone/tabelet) at least in your home network, have an only raspberry laying around and are really lazy, then I might have the solution for you! Best part of it is that you won’t need to connect your raspberry (or other SBC – the image we are going to use supports a plethora of ARM development boards) to a monitor, keyboard and mouse; that’s right it’s a headless install.
Things you’ll need:
- A Raspberry Pi or any other DietPi supported device (even a VM will do)
- Win32DiskImager
- DietPi image
- PuTTY
Installation
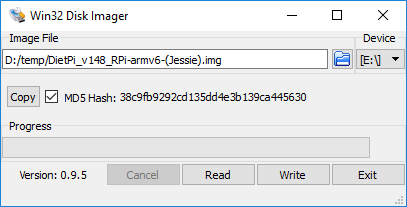
Download DietPi from the above link, extract it and start Win32DiskImager:

Select the image you just extracted and the device you want to write to:
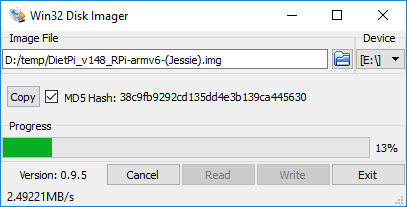
Hit Write and wait for it to finish:
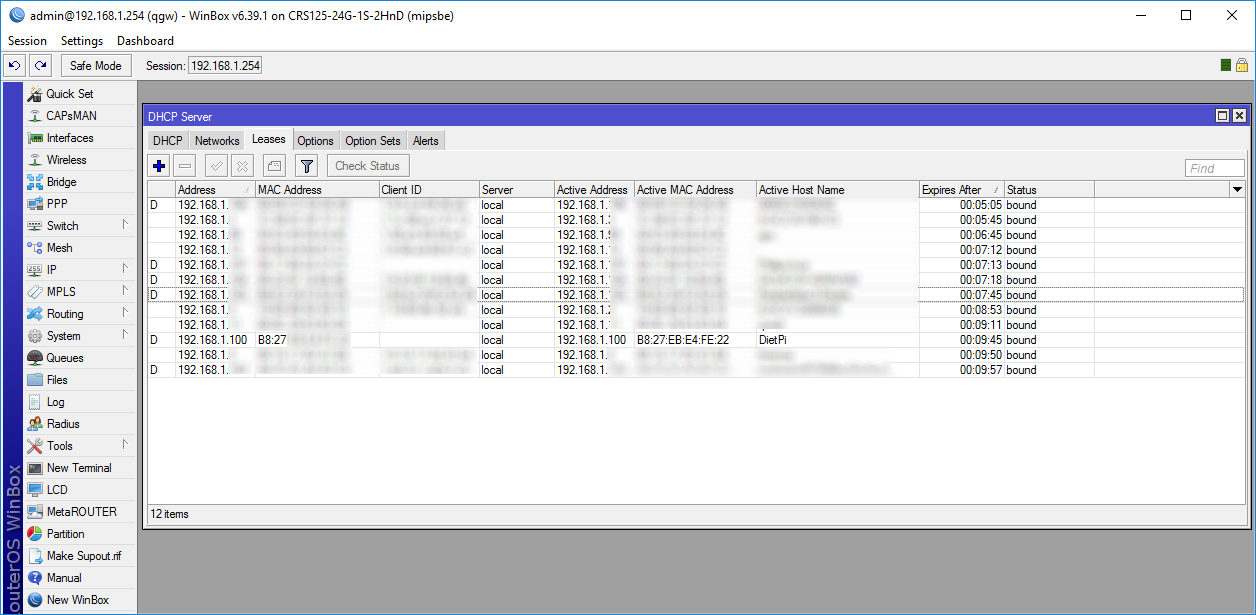
Here is DHCP leases table:
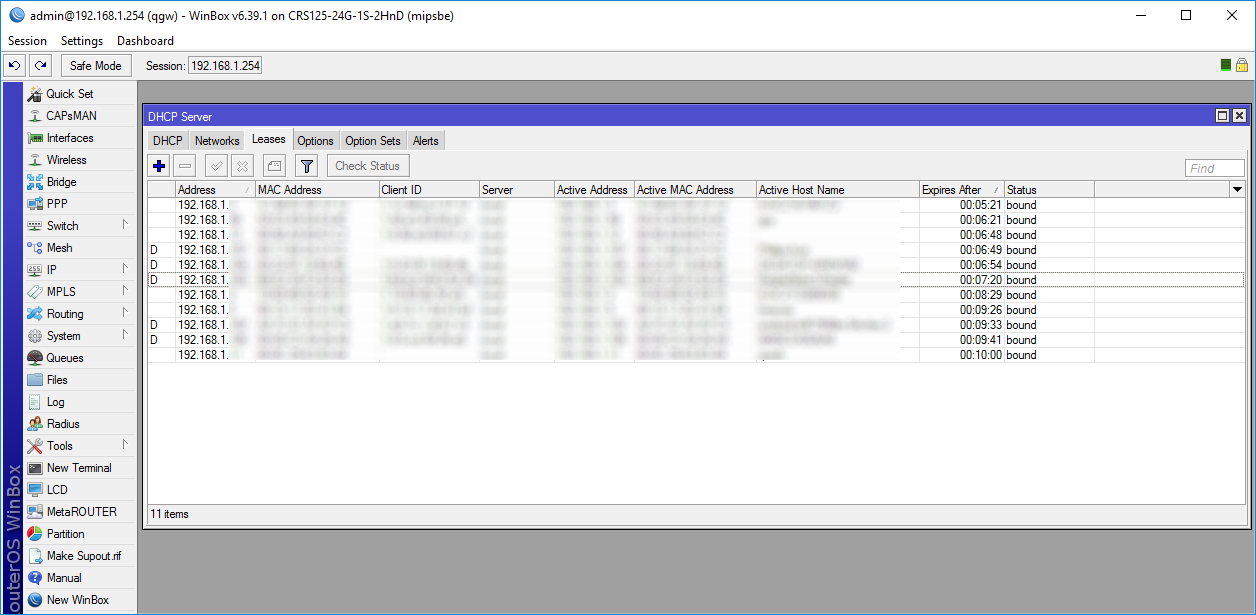
After waiting for a bit the device appears:
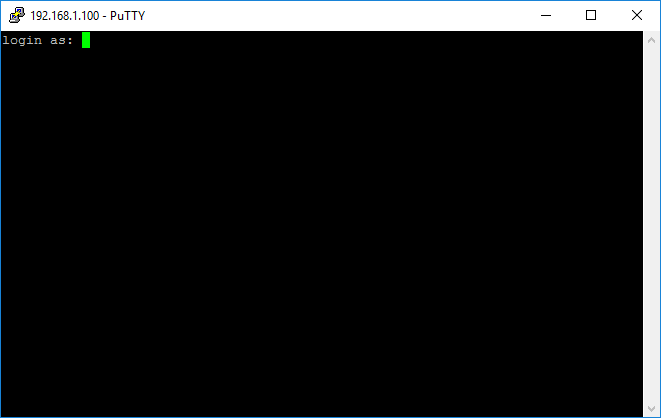
Now we can connect to it using PuTTY:

Log in as root with dietpi password:
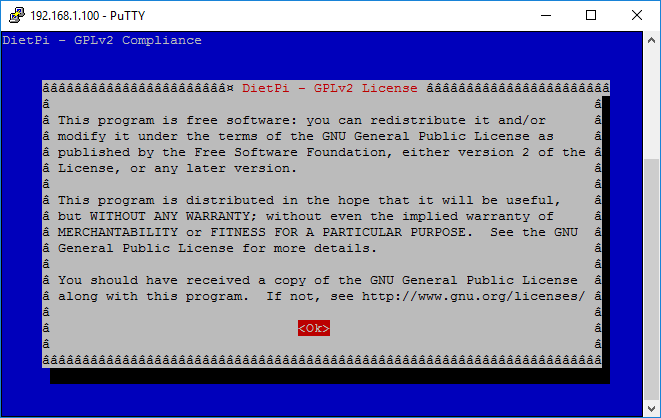
You are greeted with the license, hit Ok:
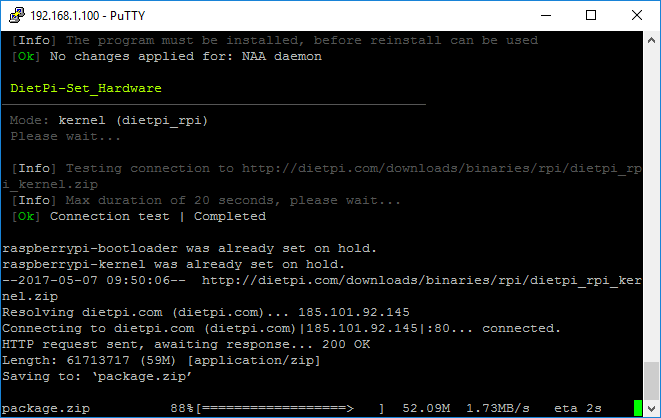
Wait for it to finish the installation:
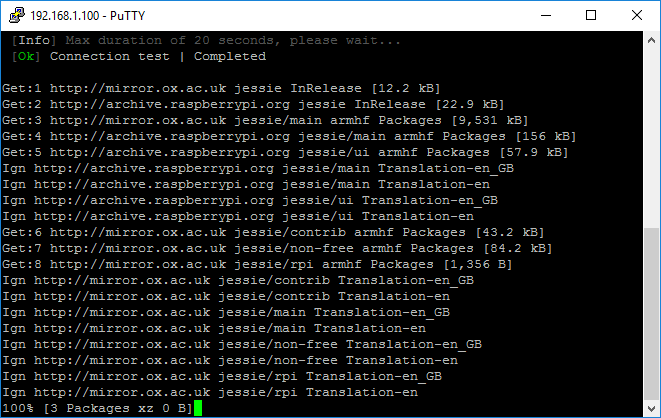
Wait even more:
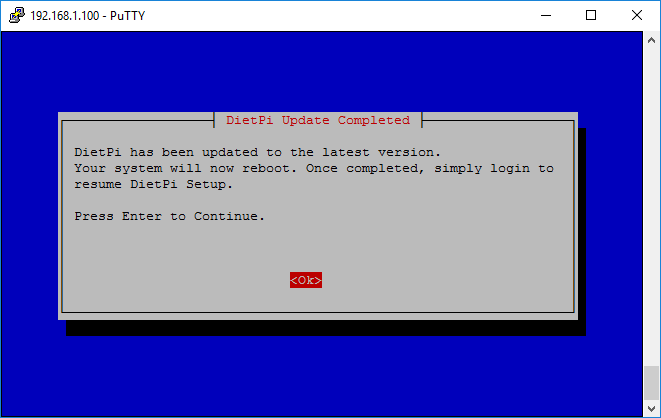
After if finishes it needs to reboot, hit Ok:
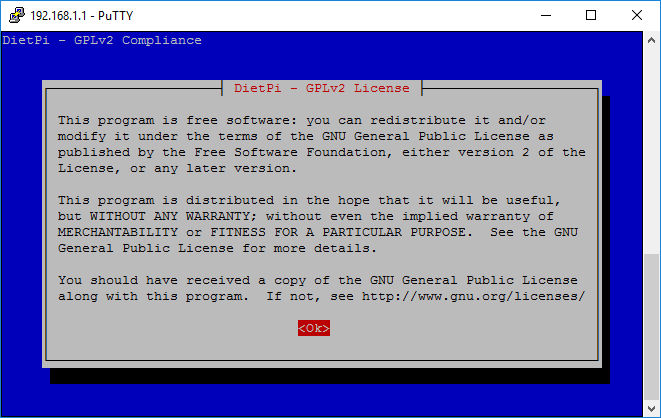
Reconnecing to it you will be shown the GPLv2 license once more:

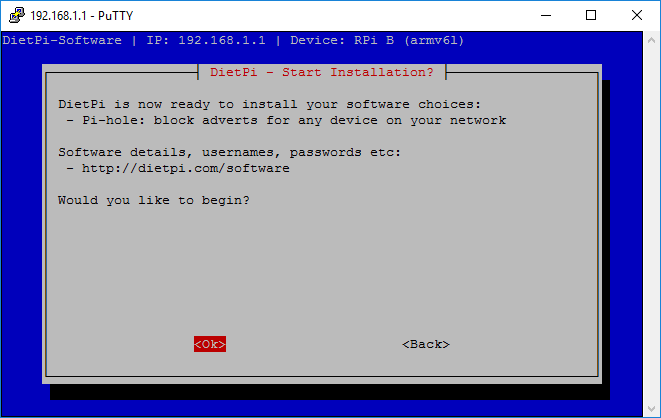
After hitting enter it will start the DietPi-Software wizzard:
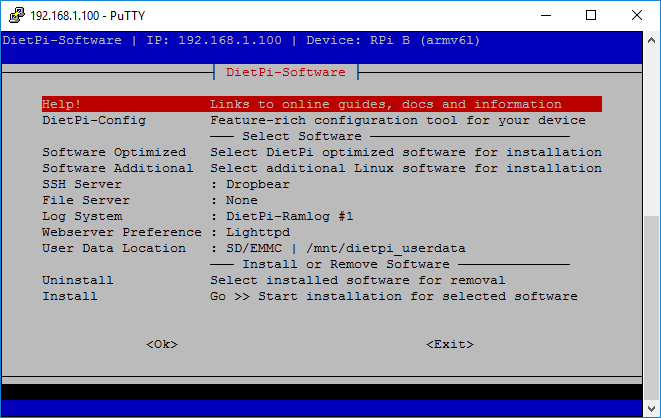
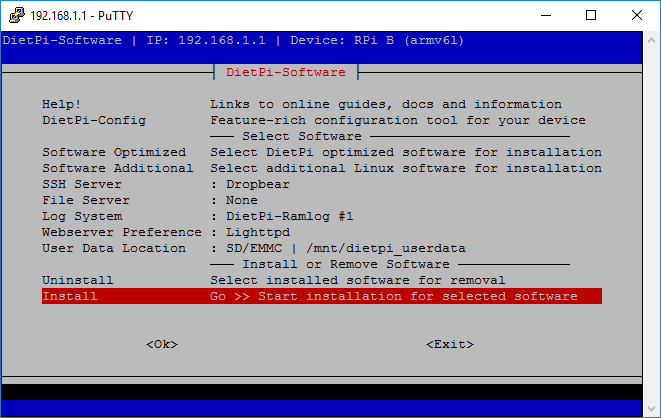
Go to Software Optimized and hit enter:
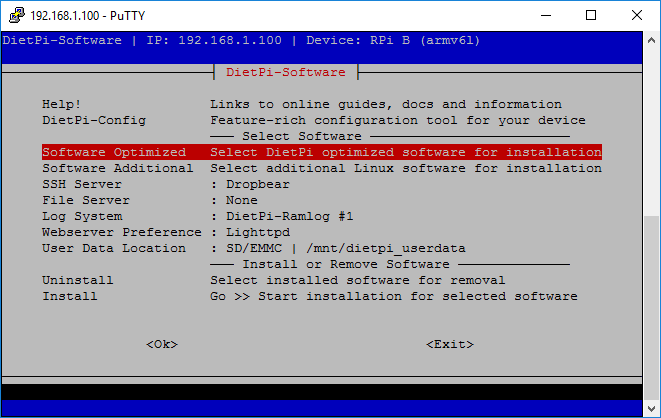
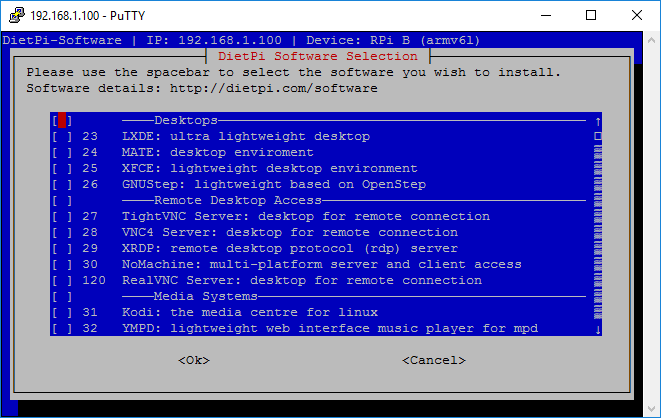
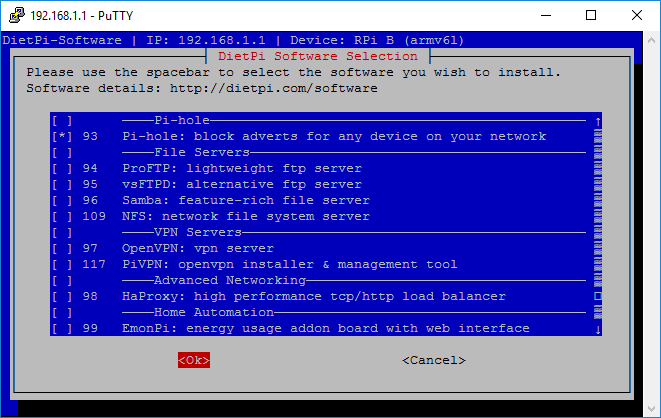
You are presented with the list of available software to your specific single board computer:
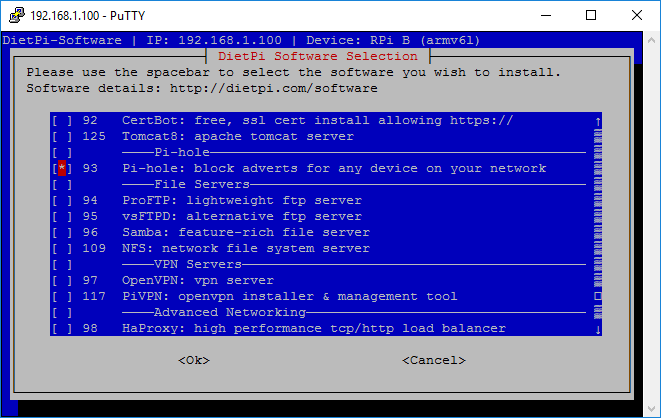
Scroll way down to find item number 93, namely Pi-hole, select it by hitting space and install it by selecting Ok:
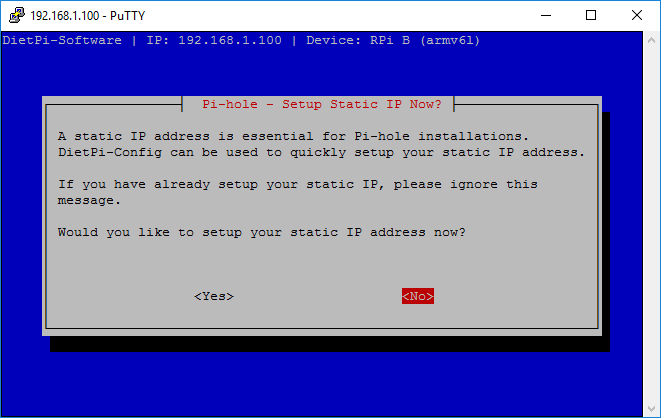
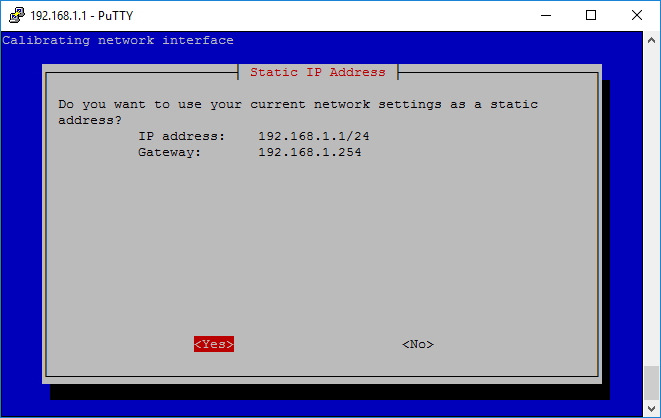
It will ask you to set a static IP address, since you have it set via DHCP select Yes:
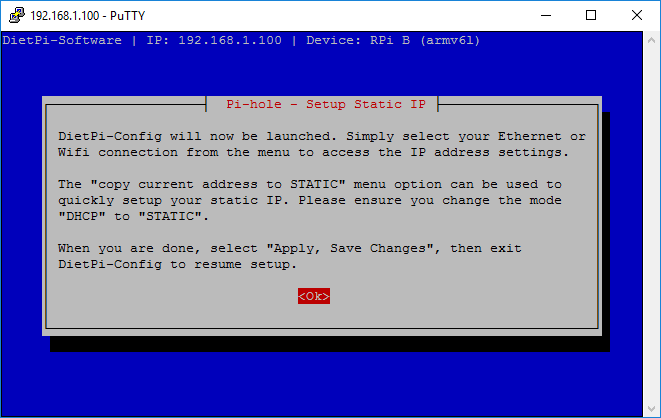
It will notice you that the DietPi-Config will be launched, hit Ok:
Select your wired interface and hit Ok:

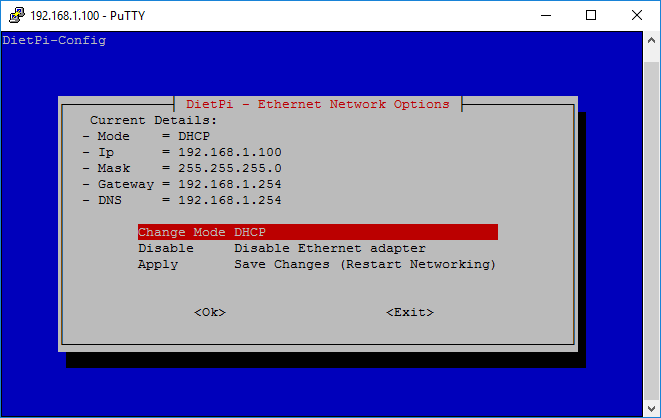
Currently its set to DHCP mode, lets change that:
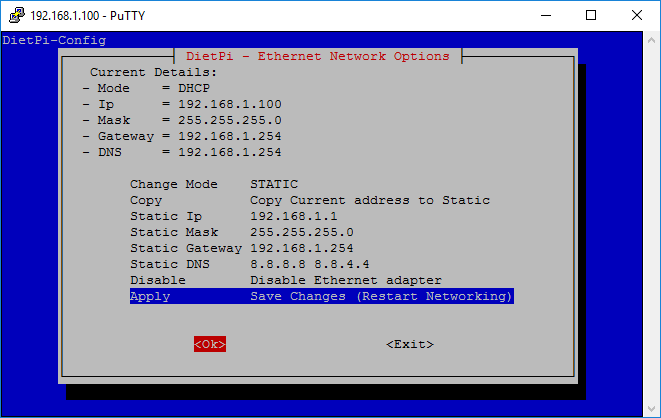
Set it to STATIC and enter your address, mask and gateway, also select a DNS provider, I went with the default that is Google, go to Apply and hit Ok:
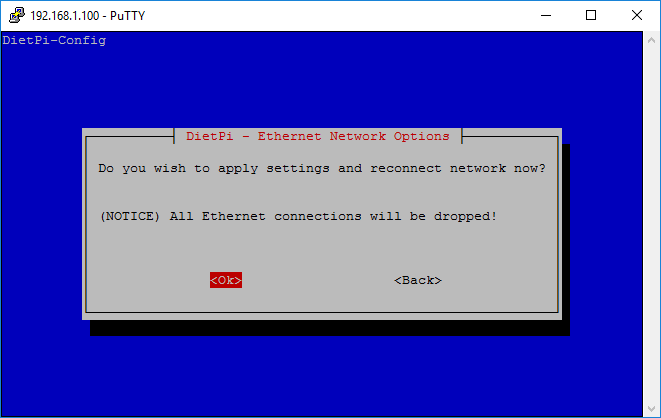
It will warn you that the device will reconnect with the new address, hit Ok:
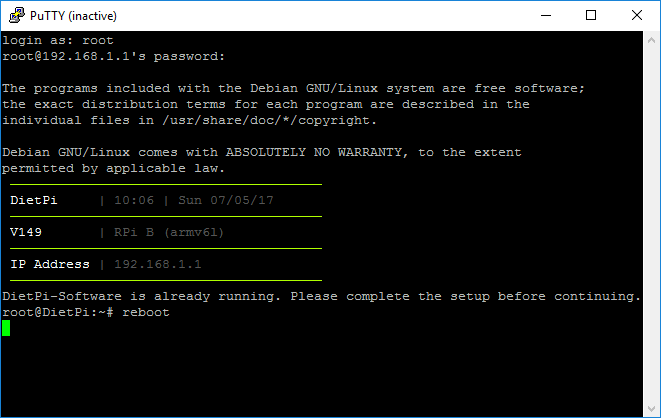
Wait a bit and then reconnect to the device using the new address. It will warn you that the software install is already running in background:

The lazy way out of this is just to restart the device:
Reconnect to it. Haven’t read the GPLv2 license yet? No worries, you are presented with it a third time:
Let’s select the Pi-hole package once more and start the install process:
Now that we have a static IP address set we can select No:
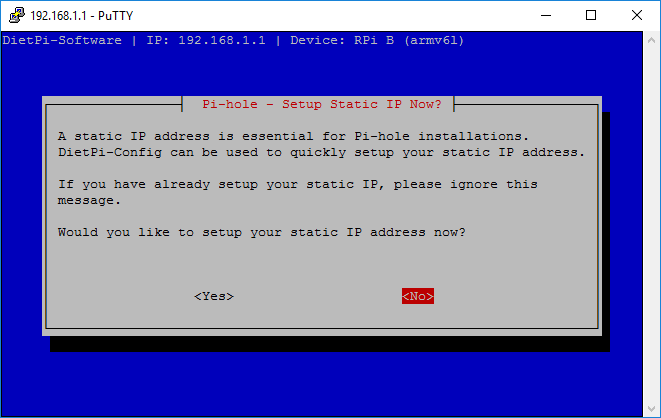
And finally start the install process:
One more notice, hit Ok:
Okay, but this is the last one, right?

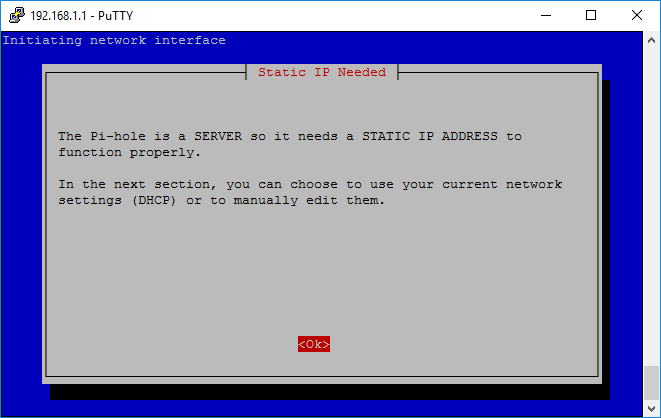
And now to the final notice:
No wait there’s another one:
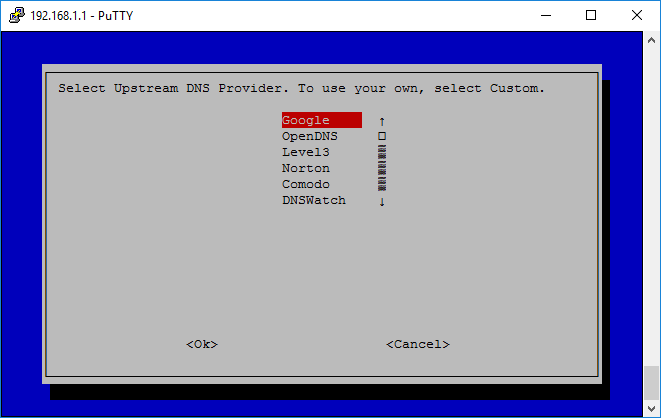
Select the DNS provider once more:
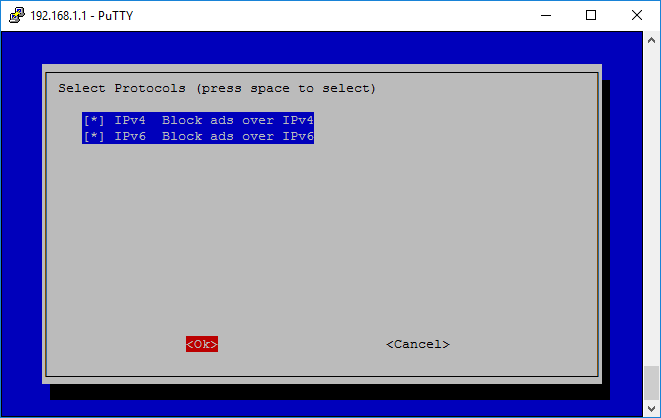
Select the protocols you want to use:
Select Yes:
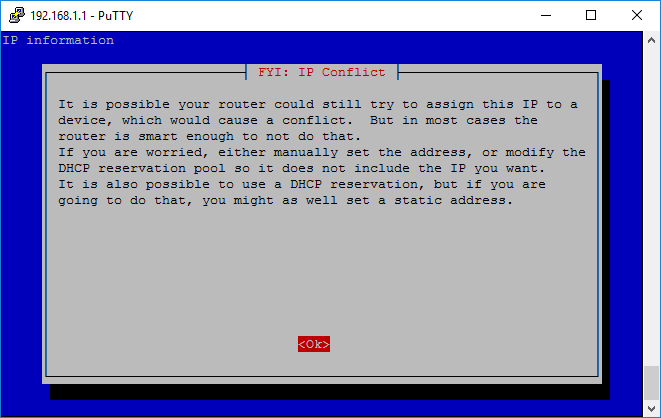
Hit Ok:
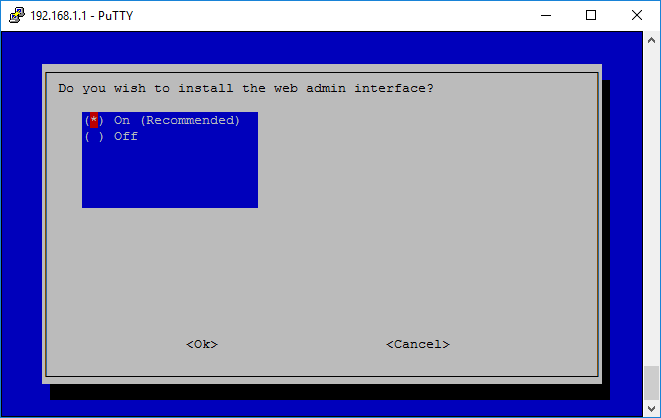
Keep the web admin interface On, cause it looks nice:
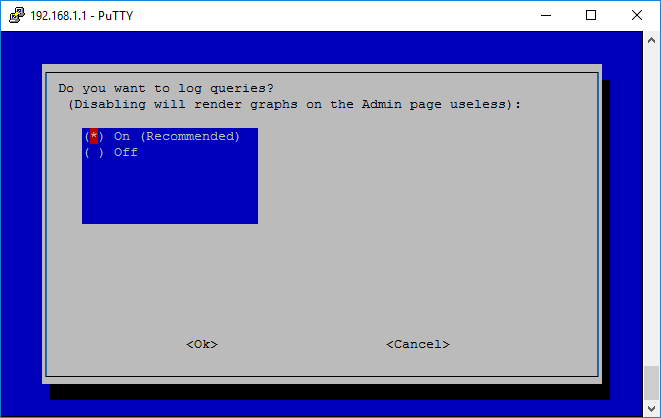
Also keep logging On cause it will make pretty graphs:
Wait for it to install:
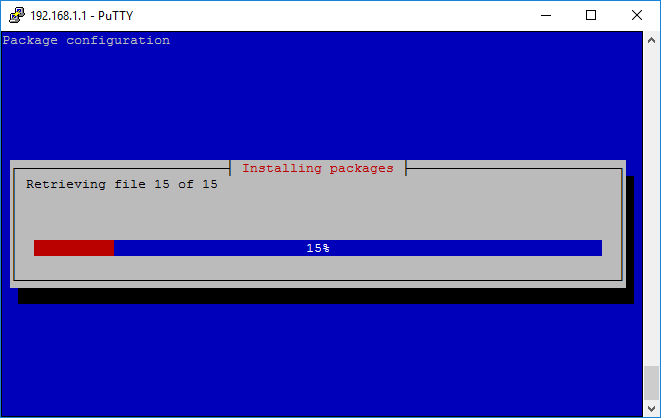
Wait even more:
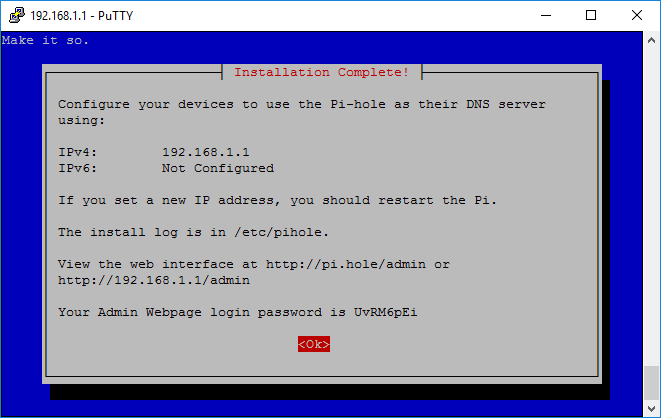
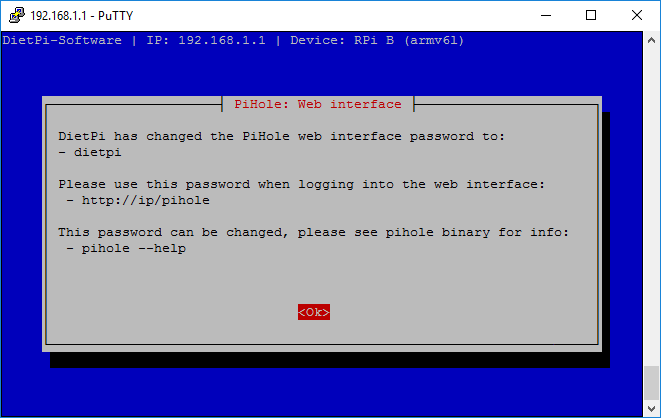
After it’s finished you are presented with the random generated admin password for the admin interface:
And that password gets promptly overridden by DietPi:
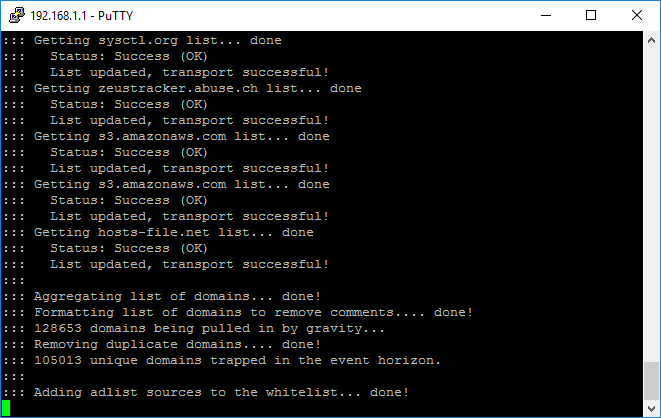
Wait for post install tasks:
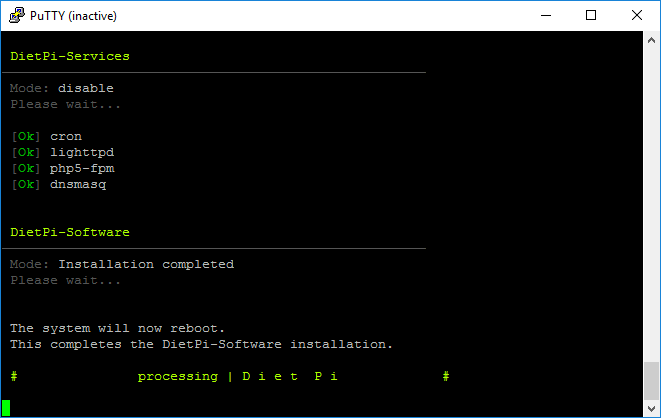
After everything is done, you are presented with the following prompt:
Let’s navigate to the Pi-holes admin page by going to the before mentioned url:
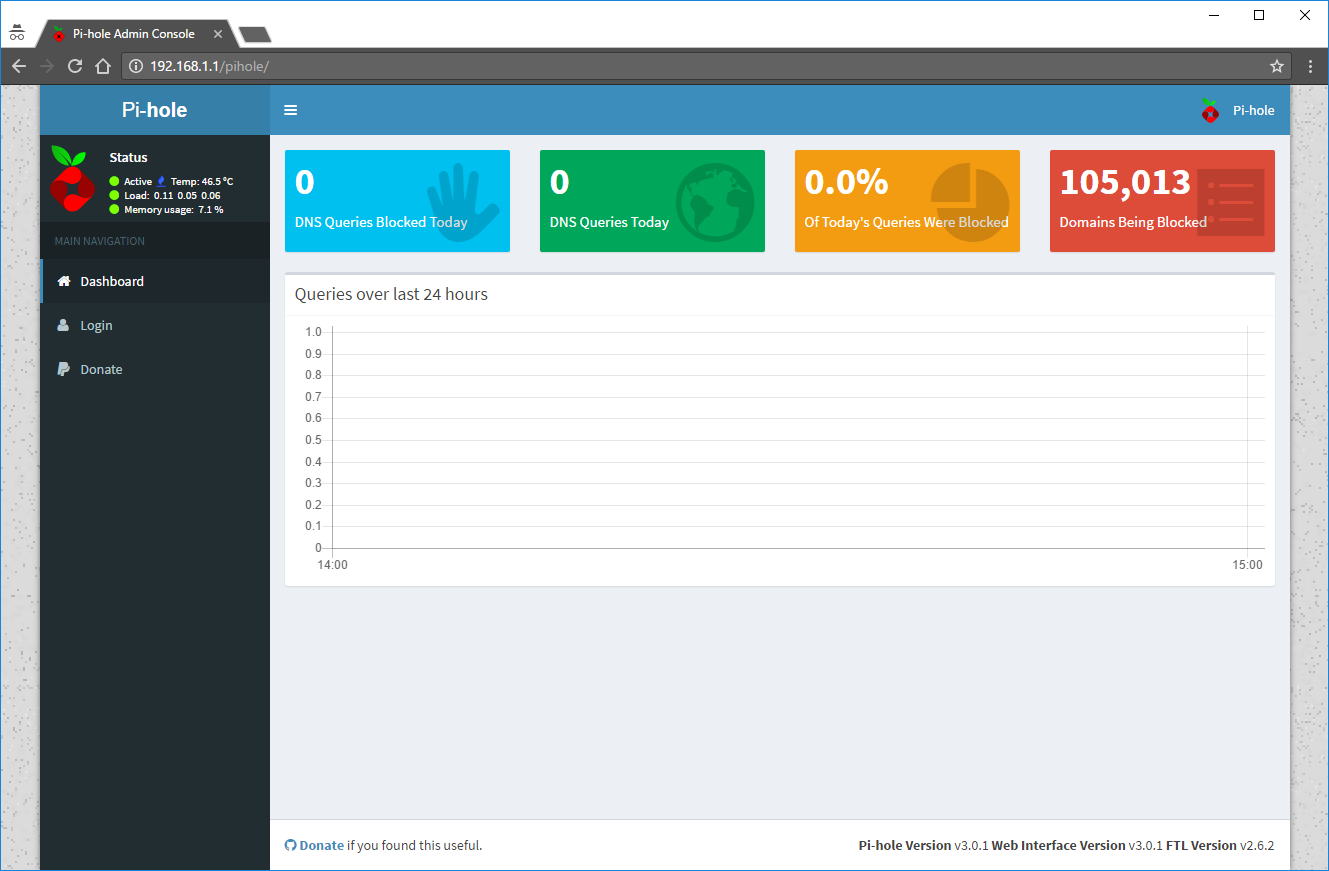
After clicking Login we are prompted for the password:
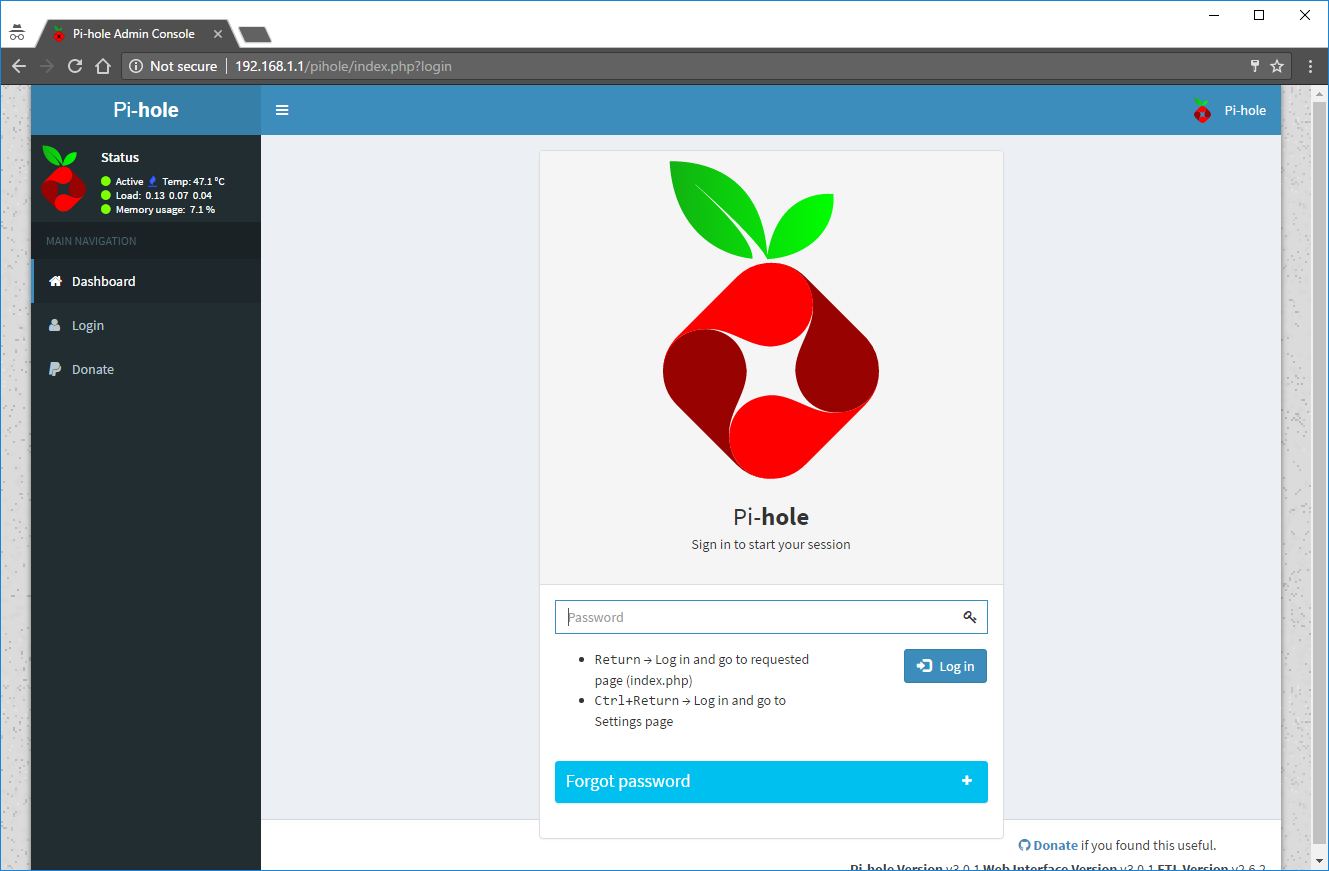
Entering dietpi as password we are logged in:

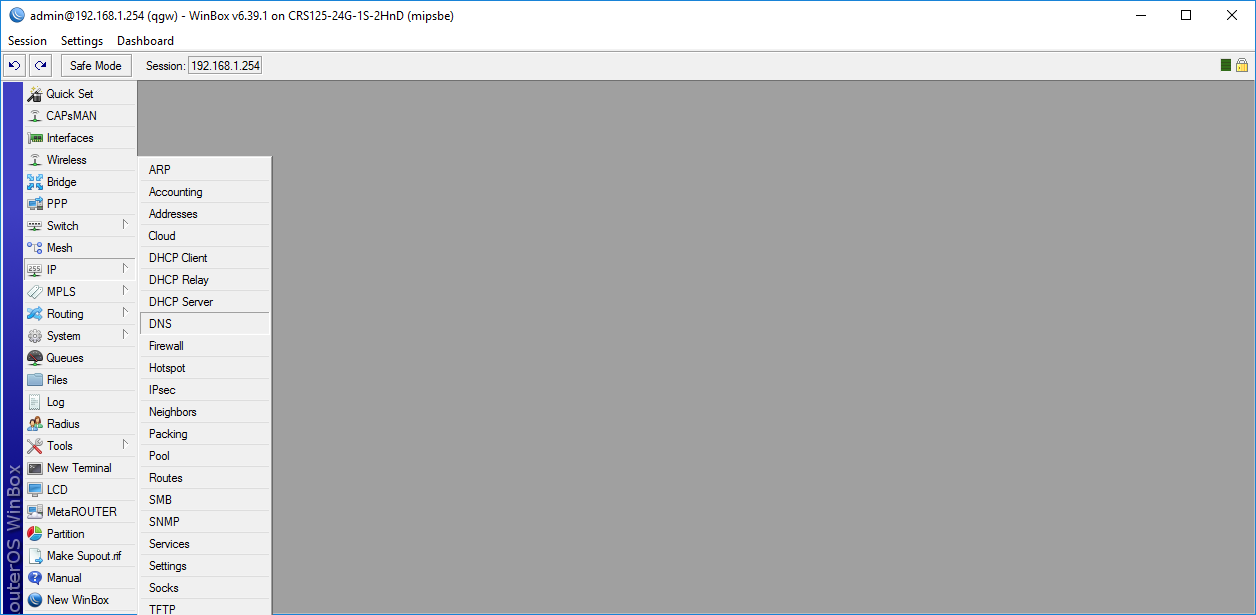
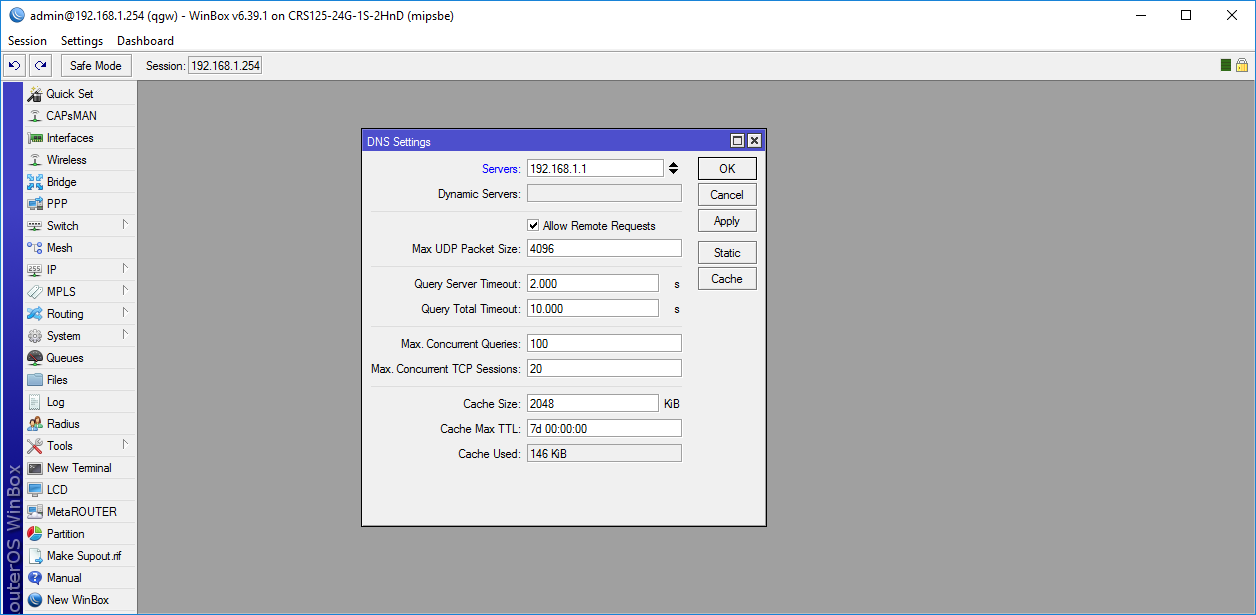
Let’s change the DNS server by going to IP -> DNS:
Enter the DietPis IP address into the servers field and hit Ok:
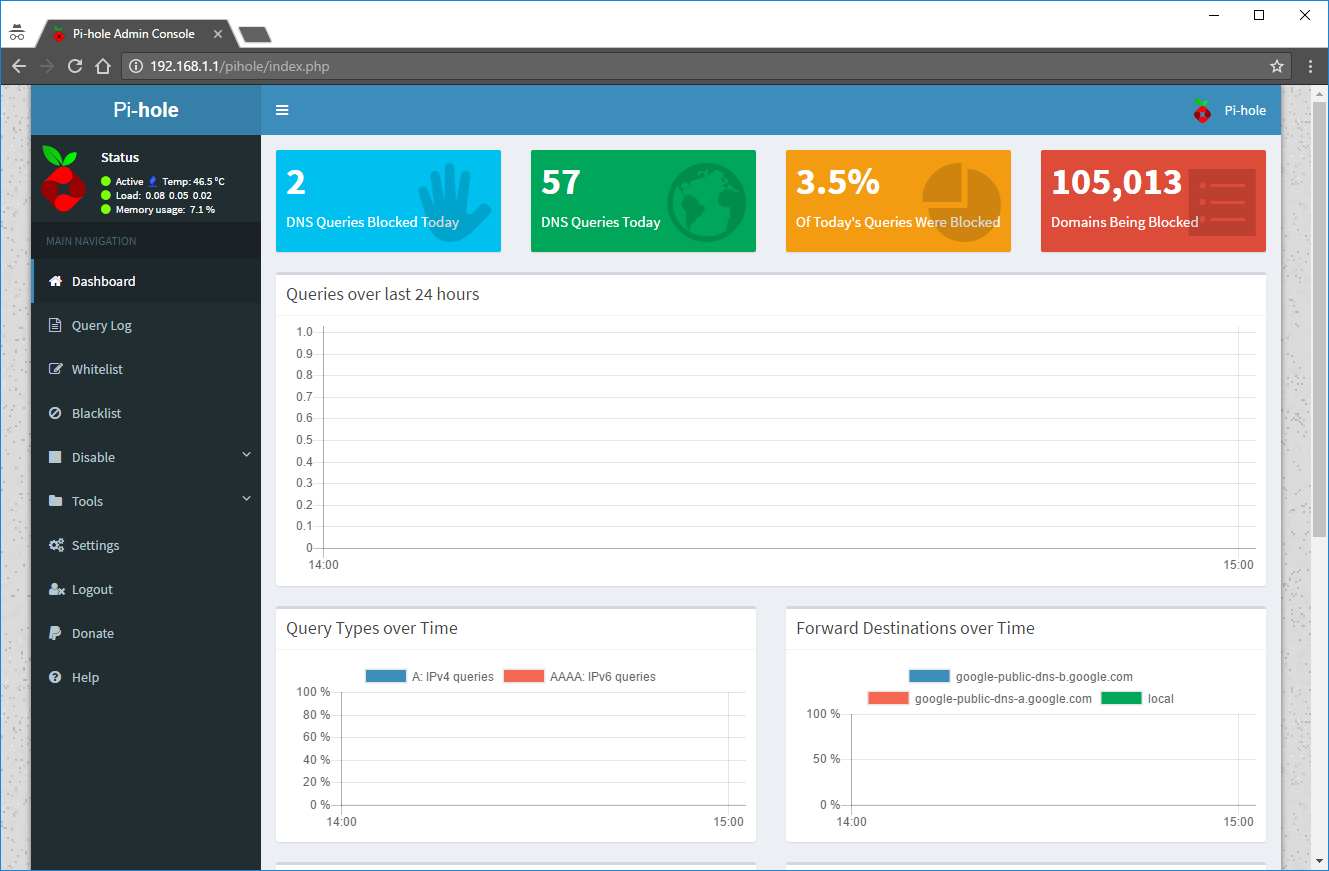
After it was set I visited a few websites and behold, we have some data:
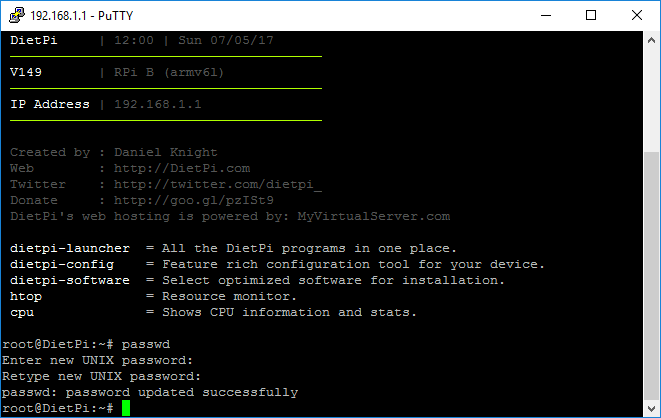
Security Considerations
Change the default password of the root user by running:
passwd
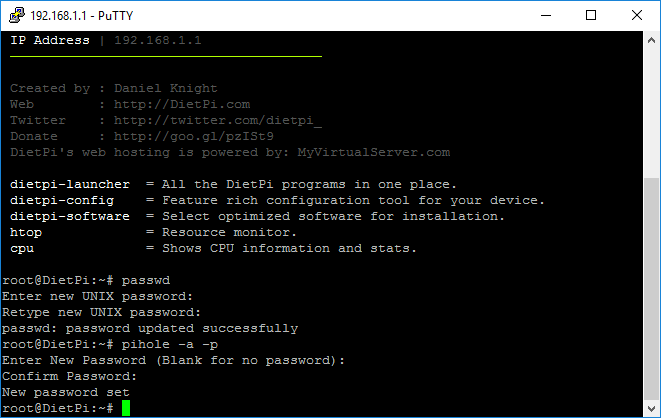
Also change Pi-hole’s password by running:
pihole -a -p
Backups
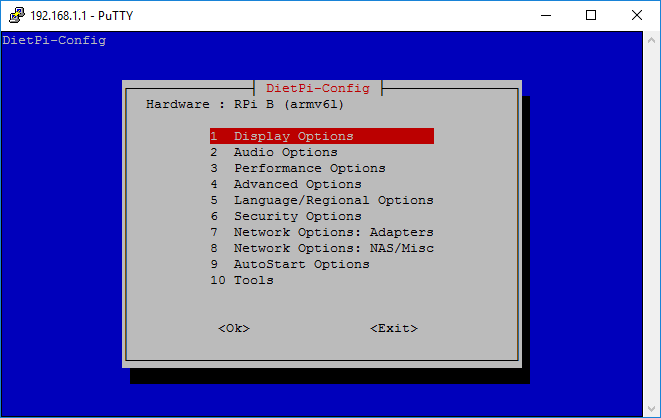
Start DietPi-Config by running:
dietpi-config
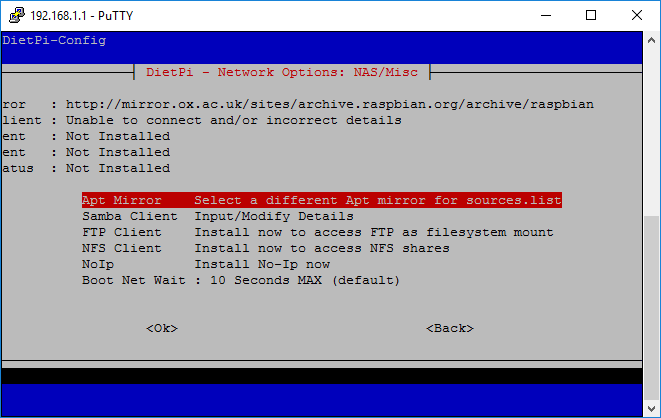
and go to 8. Network Options: NAS/Misc:

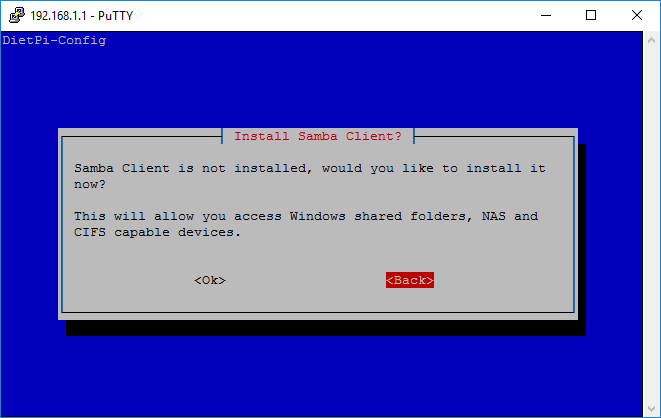
Select Samba Client:

Select Ok:
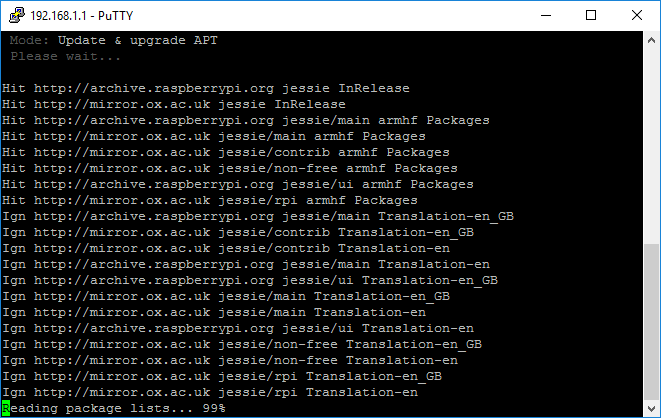
Wait for install to finish:
After it’s done go to Samba Client once more:
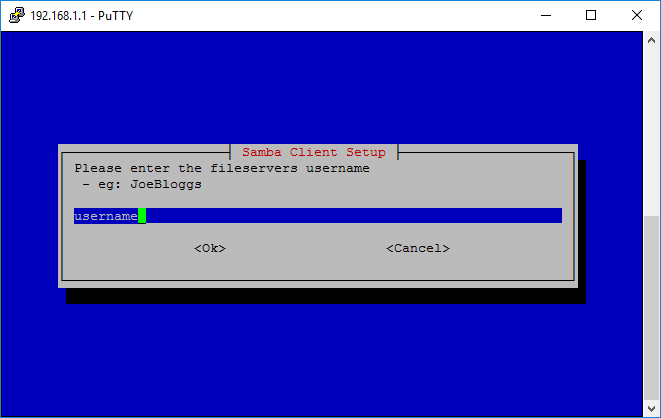
Enter the name or IP address of your file server:

The folder name:

The user:
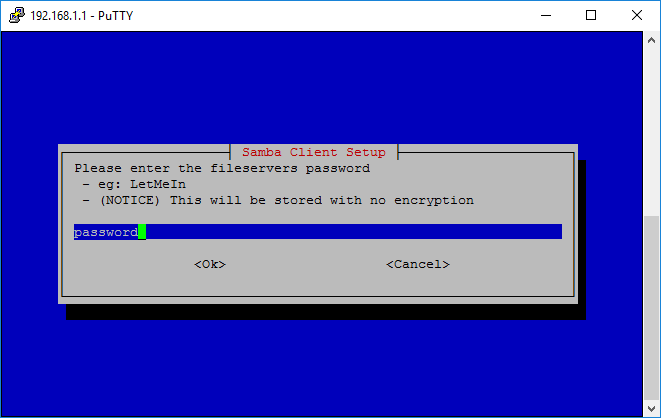
And finally the password:
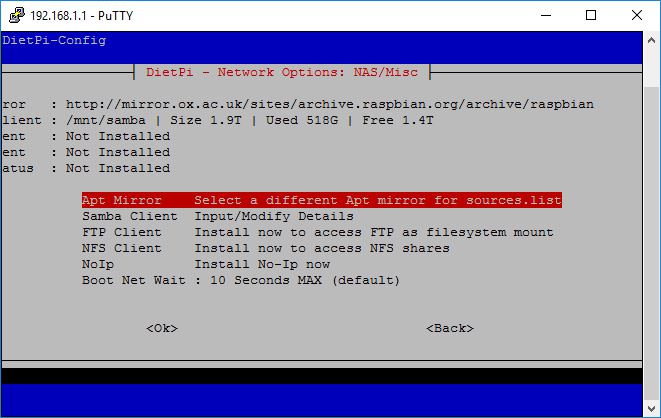
After it’s set up you can see on the top side of the window that it is mounted to /mnt/samba go back:
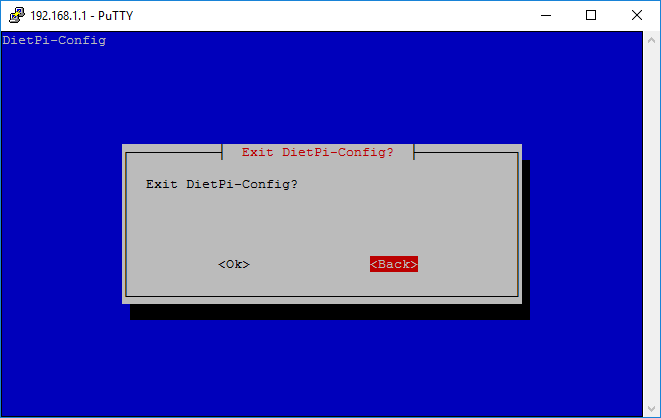
And select Exit:
It will of course ask for confirmation:
And we are back at the prompt:
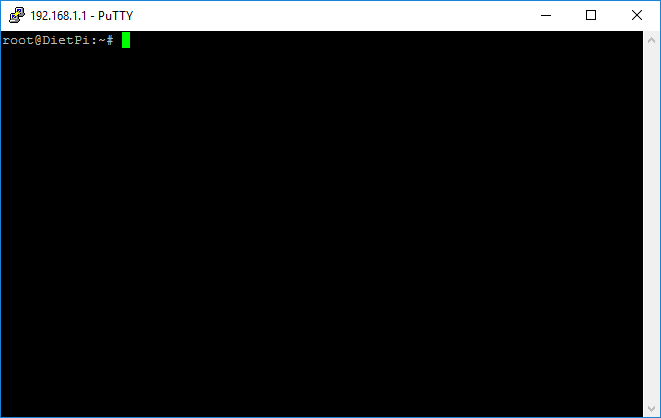
Now we need to run:
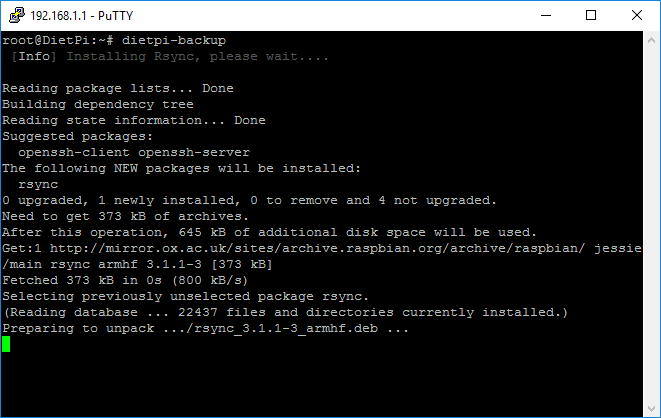
dietpi-backup
By default it isn’t set up so let’s wait till it installs some more packages:
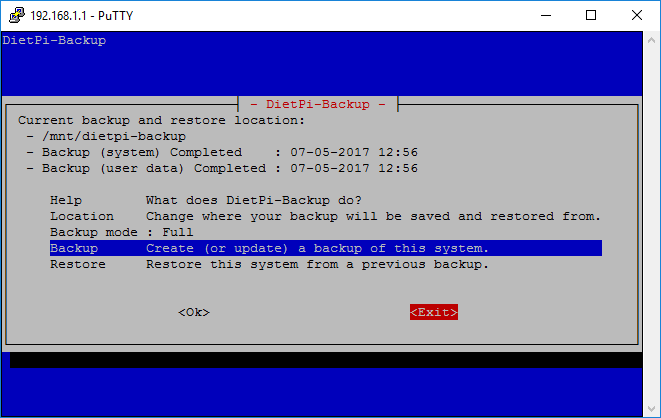
After it’s done the following screen should appear:
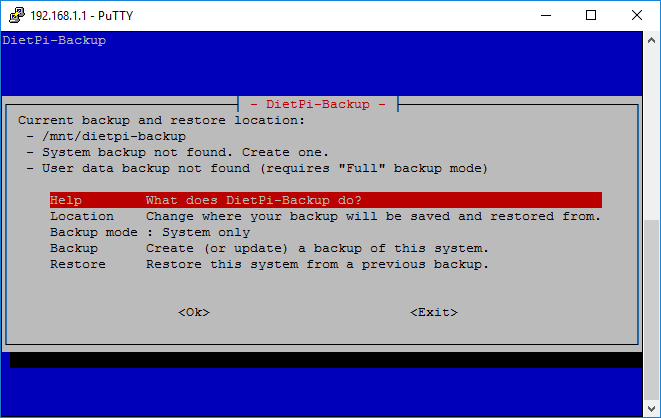
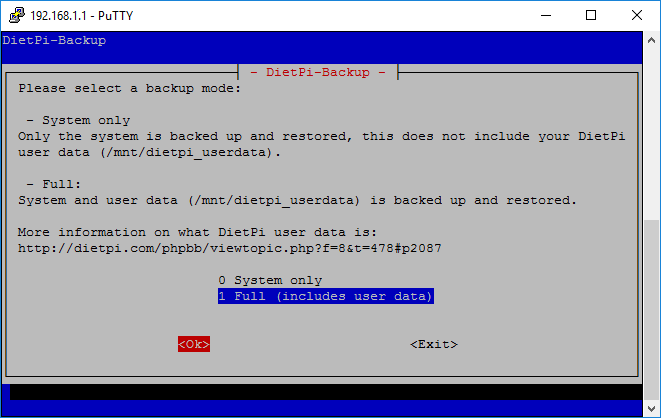
Let’s change Backup mode from System only to Full:
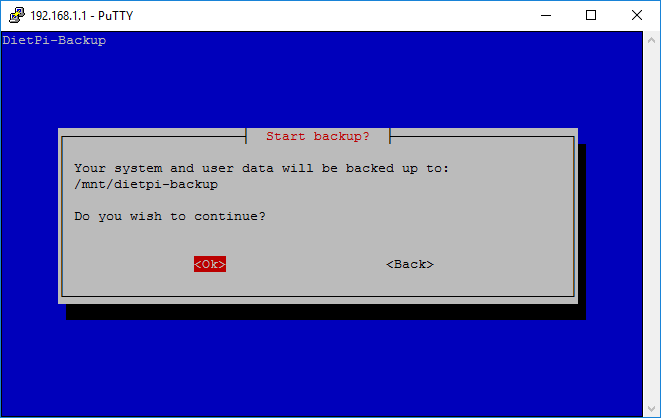
Then we can run create one by going to Backup and hitting Ok:

It will ask for confirmation, hit Ok:
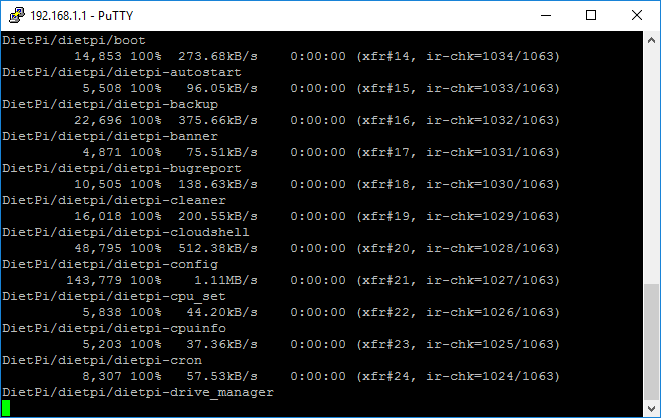
Wait for it to finish:
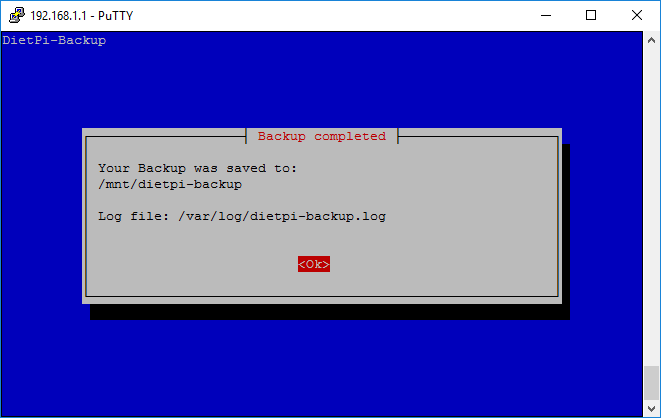
After it’s done it will announce it, and you can check the log file as well if you wish, hit Ok:
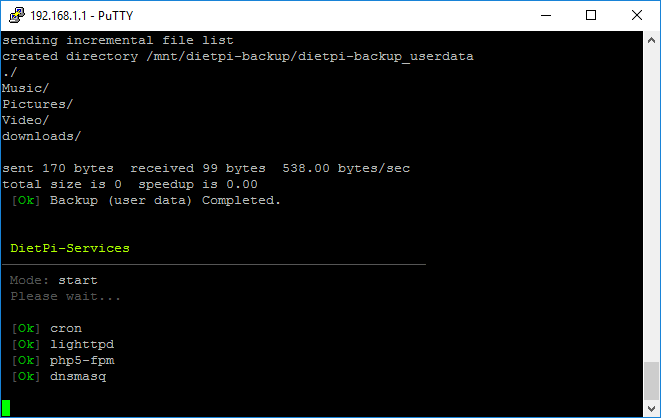
After the backup is done it will restart it’s services:
We’ll be directed back to the DietPi-Backup screen, from where we can Exit:
Hit Ok:
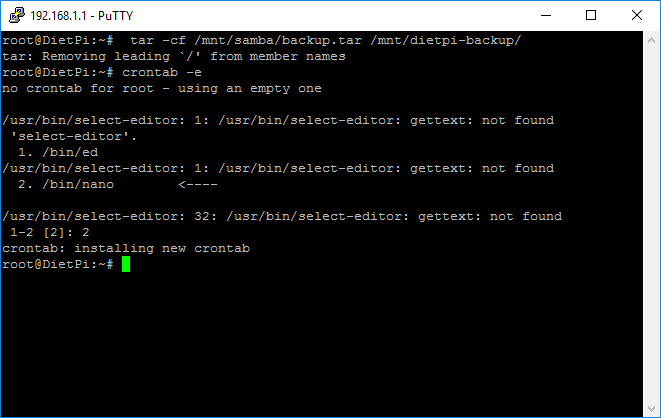
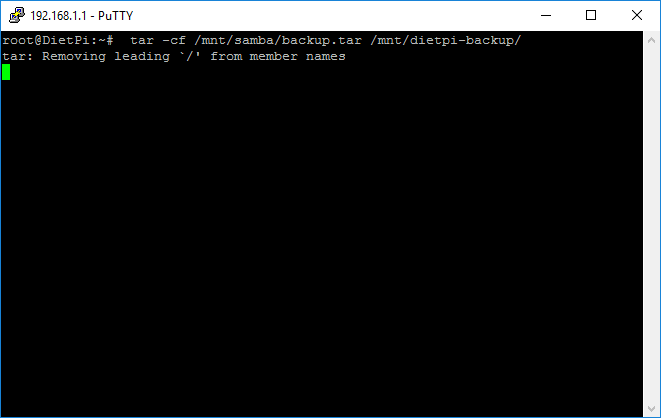
We can tar the backup to the network share we set up above by running:
tar -cf /mnt/samba/backup.tar /mnt/dietpi-backup/
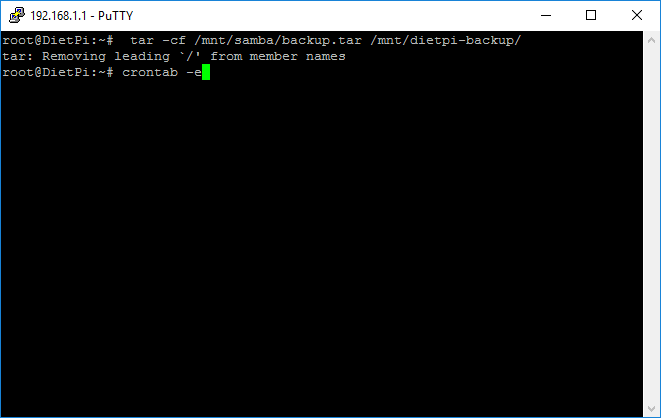
Here’s the nice part: we can automate the whole process by creating a cron schedule for it. Let’s create it now by running:
crontab -e
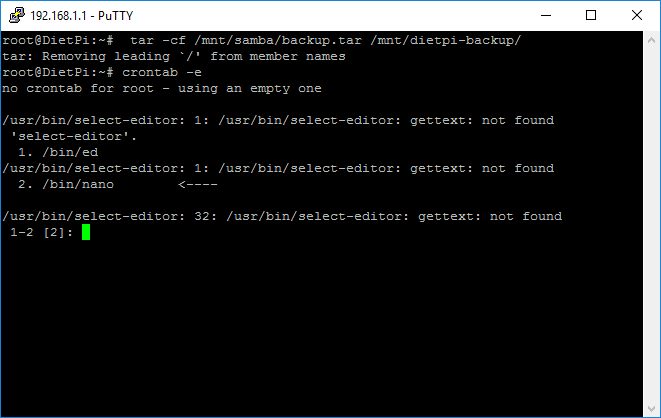
Its the first time we are running it so we need to select the text editor. I recommend nano:
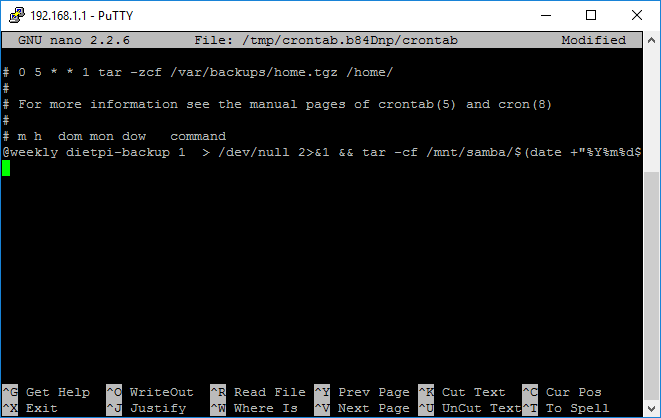
Here’s the crontab for root:
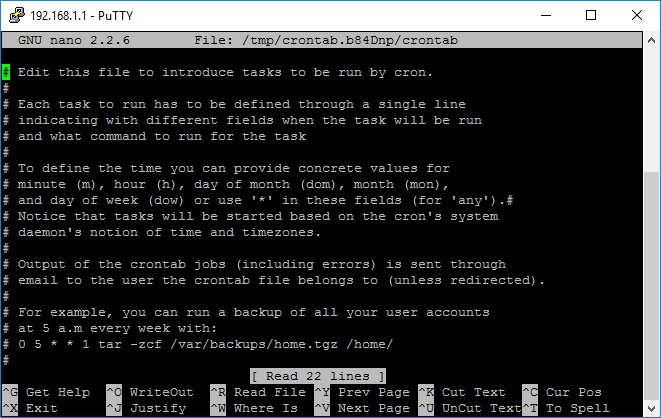
Let’s go to the end of the file and insert:
weekly dietpi-backup 1 > /dev/null 2>&1 && tar -cf /mnt/samba/$(date +"%Y%m%d").tar /mnt/dietpi-backup/ > /dev/null 2>&1
After we save and exit it will be installed and ran weekly: