Let’s face it, CentOS 6.x getting a bit old. If you are in a position where you cannot yet switch to CentOS 7 (for example 32bit enviroment) yet sill want to reap the benefits of a newer LAMP stack this the guide for you. I will be installing it onto a Proxmox VE hypervisor as a virtual machine (for smaller installations a container might be better suited). Let’s start!
Proxmox VM setup
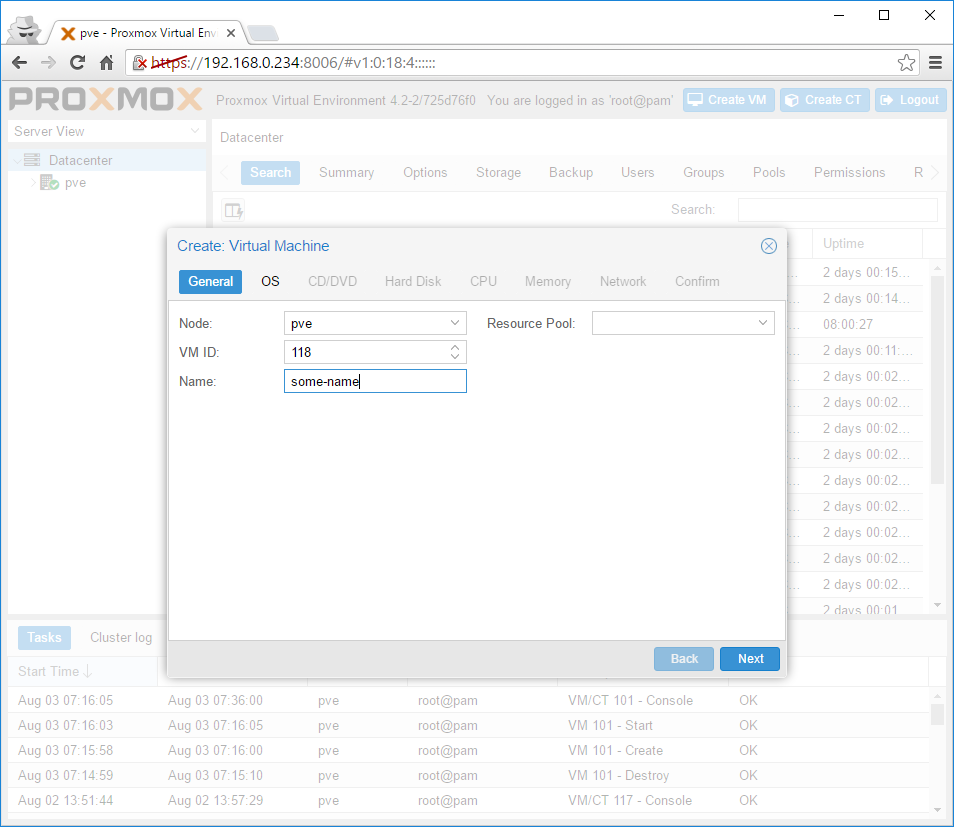
Log in to Proxmox, Click the Create VM button and give your VM a Name, than click Next:
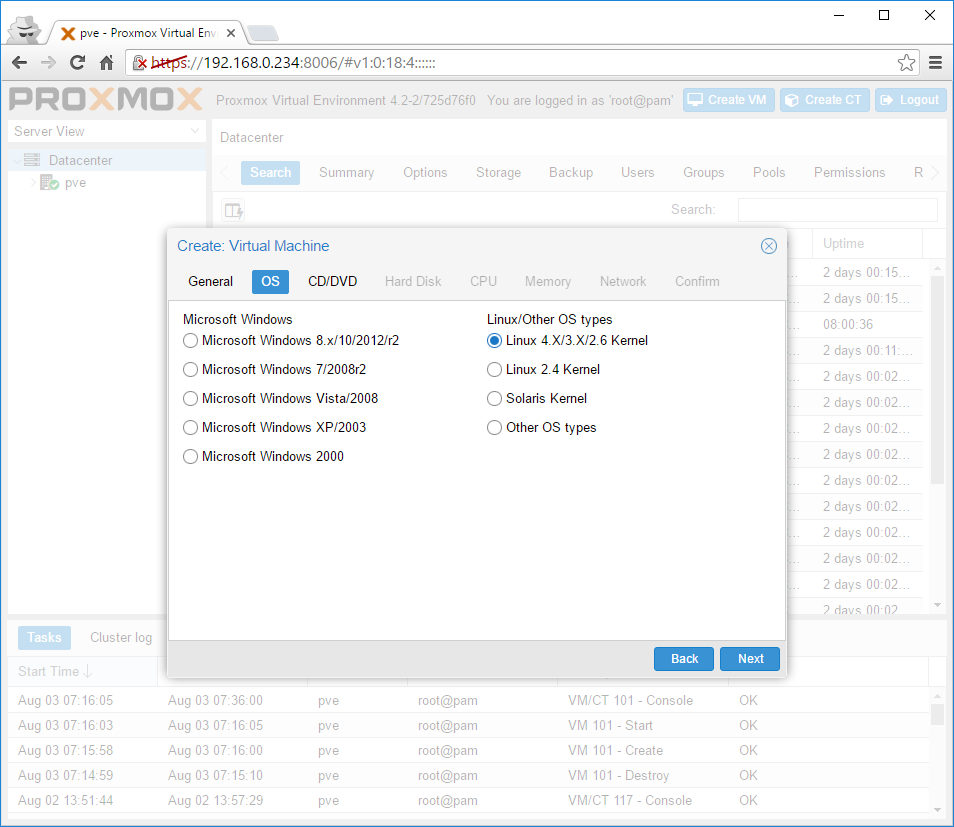
Set the OS to Linux 4.X/3.X/2.6 Kernel:
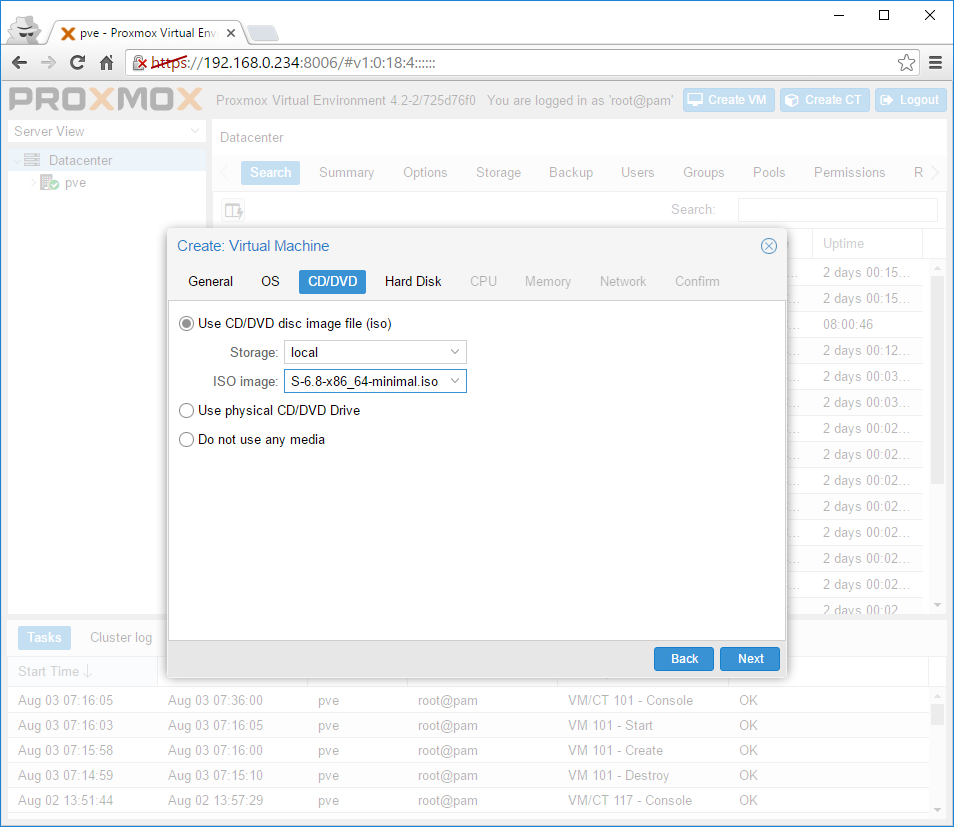
Set the ISO image (I always prefer to use the minimal ones):
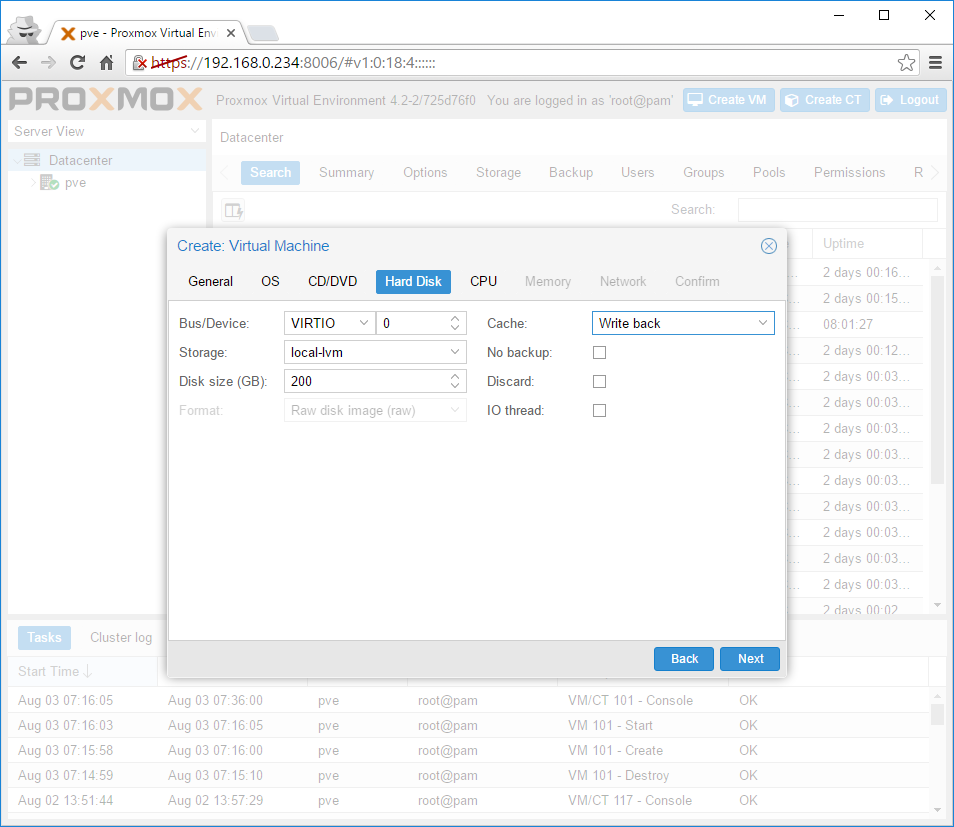
Set the Hard Disk size, change it to VIRTIO and change the Cache to Write back:
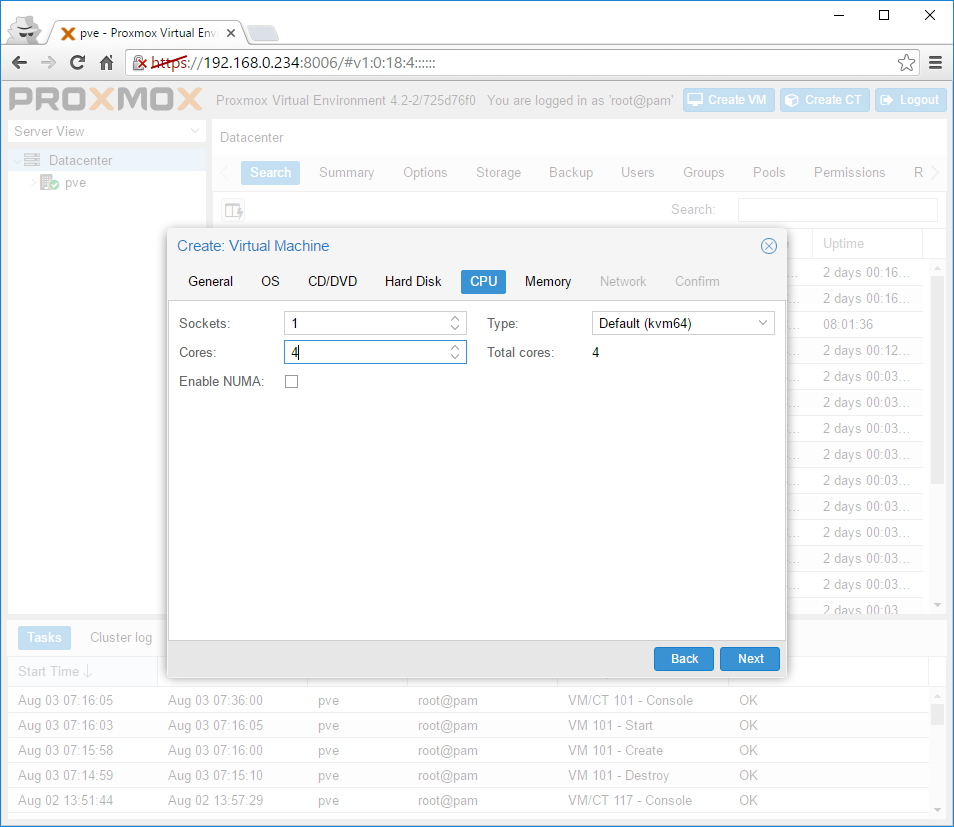
Set the number of Cores:
The Maximum and Minimum memory sizes (or just use a fixed size):

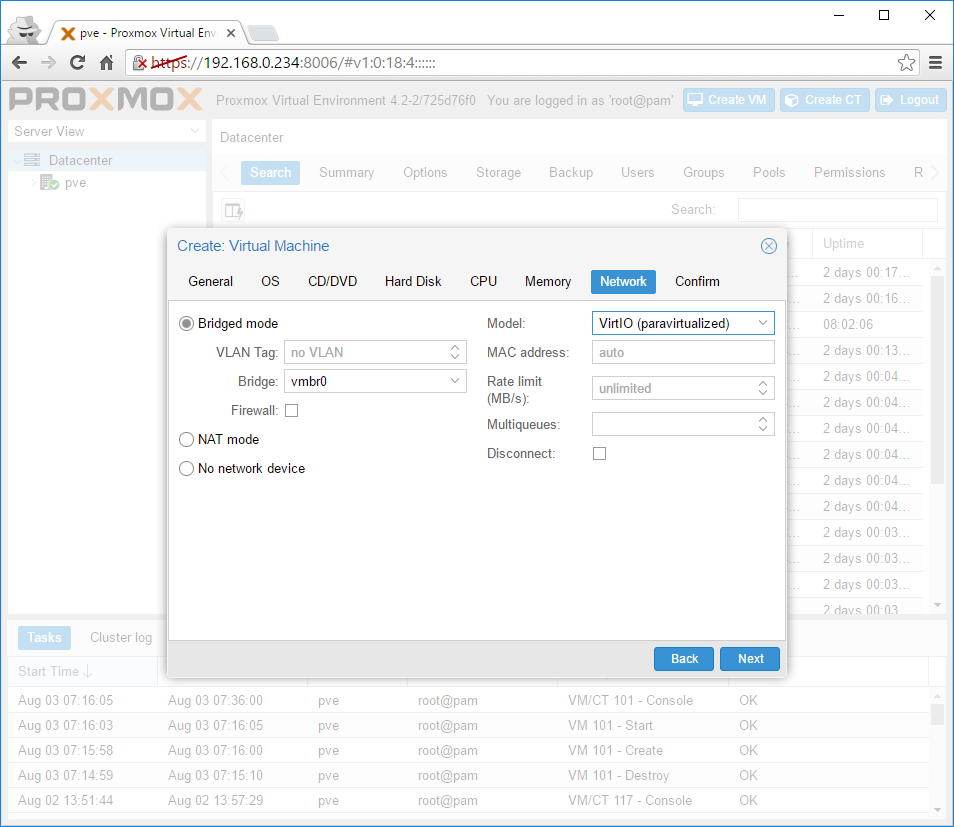
Change the Network Model to VirtIO:
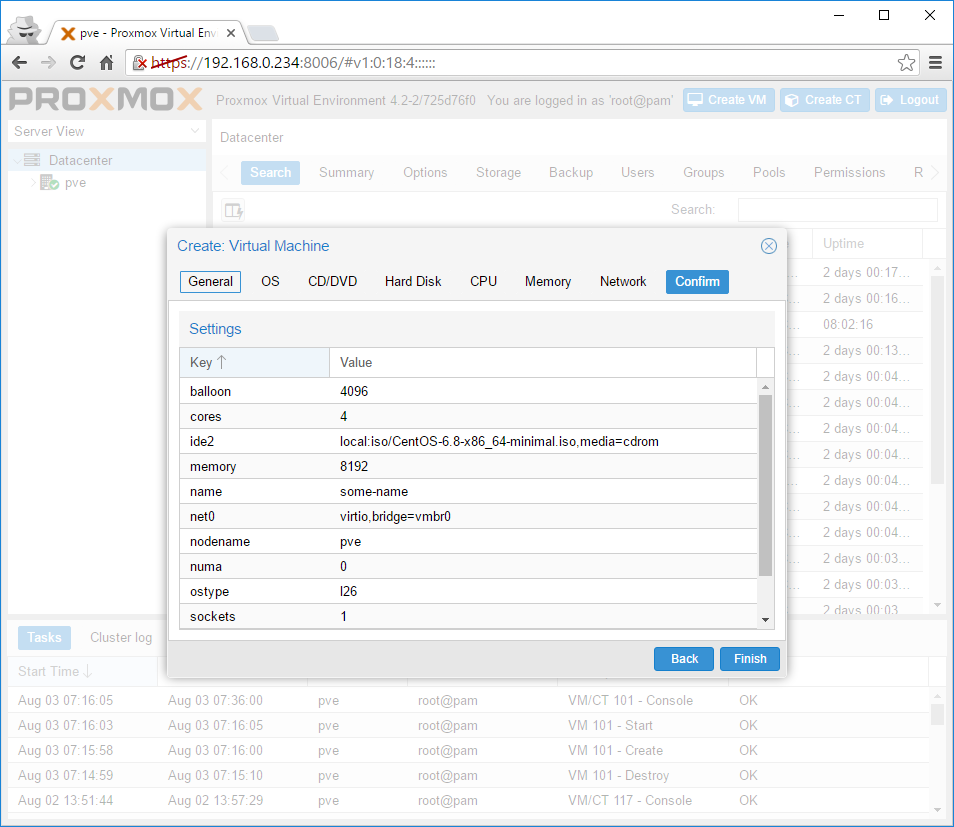
Confirm by pressing Finish:
CentOS install wizard
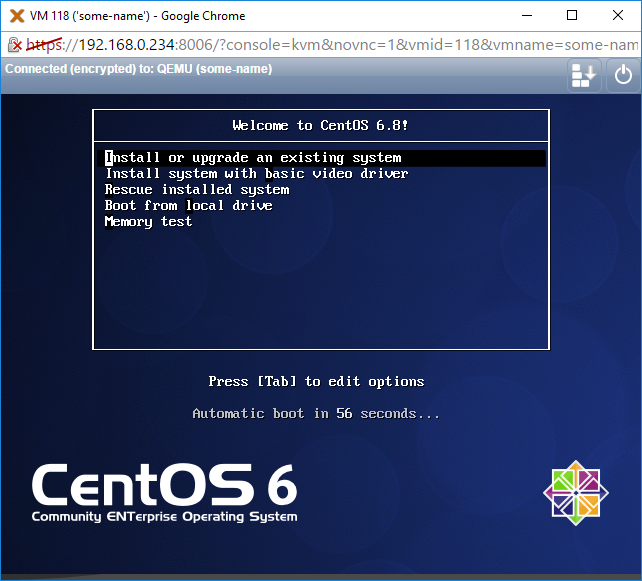
Let’s start the VM and open up the console. The installers boot screen should appear. Select Install or upgrade an existing system:
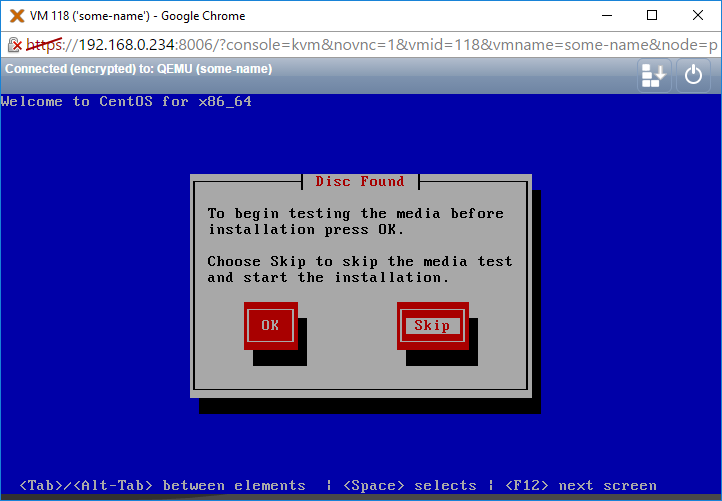
The installer will ask to test the installation media, you can safely Skip this, since we are installing it from a virtual media:
Finally the graphical installer will start, click Next:

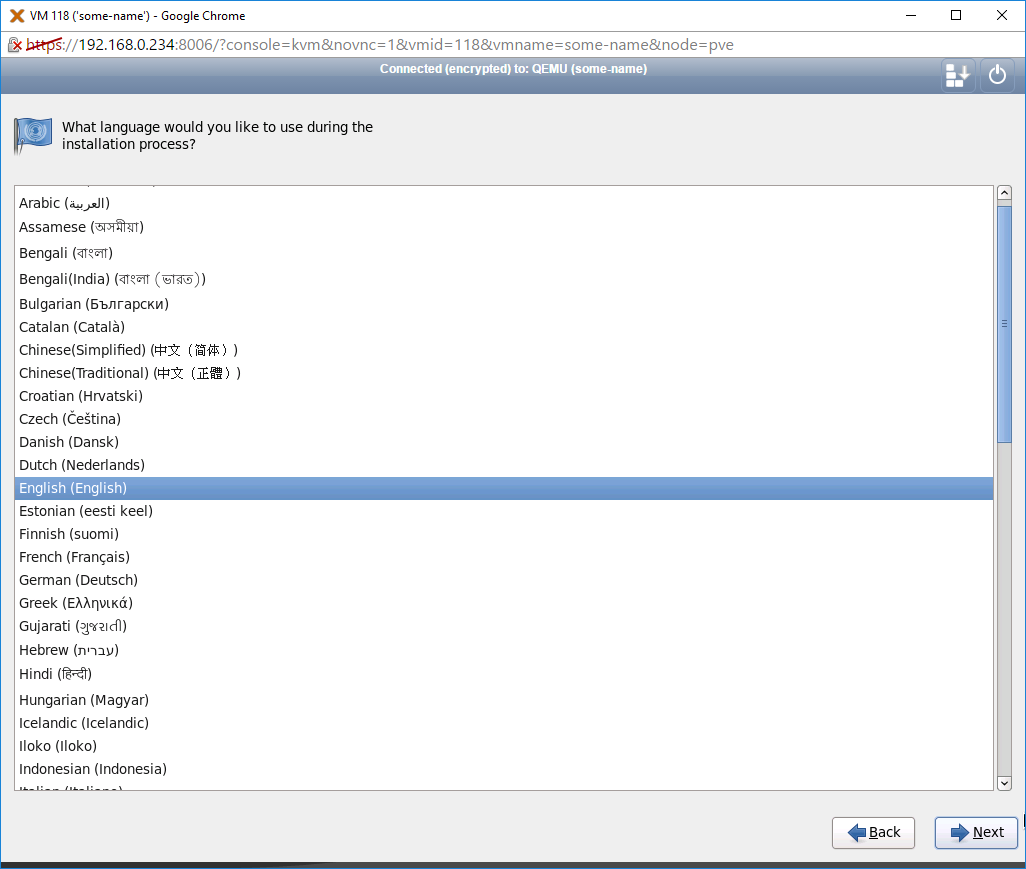
Select your preferred installation language (in my case English) and click Next:
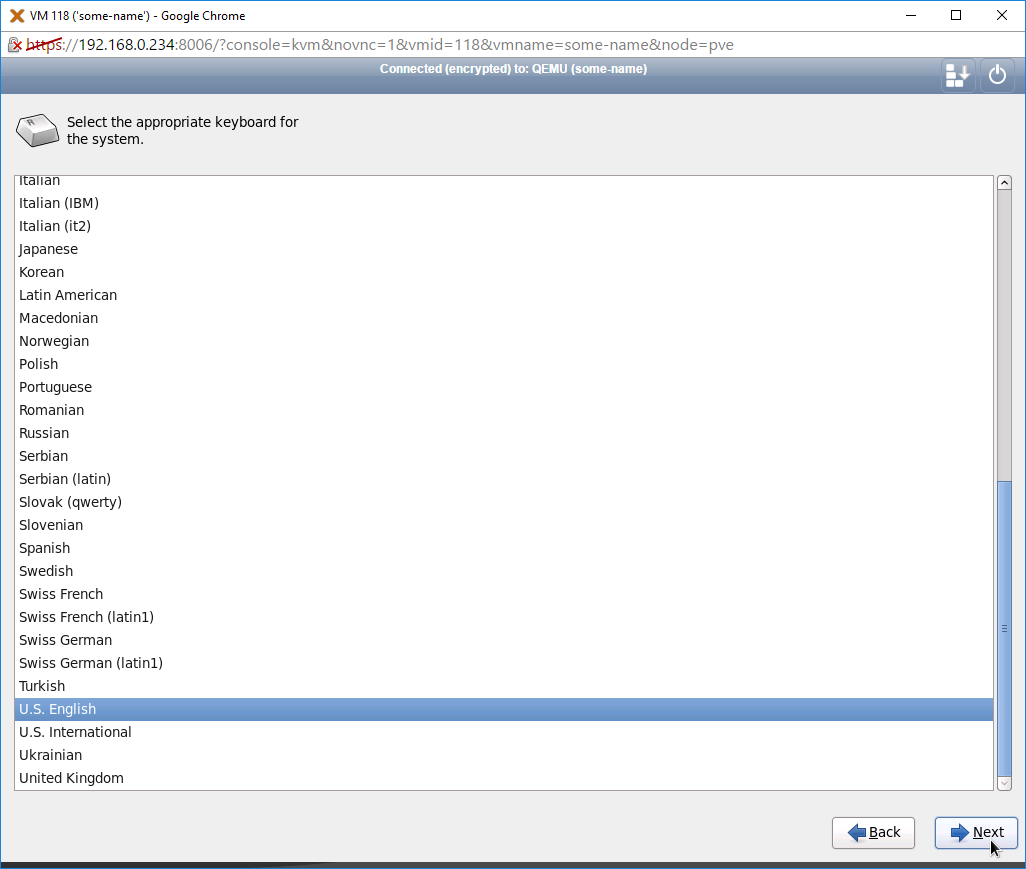
Set your keyboard layout, and click Next:
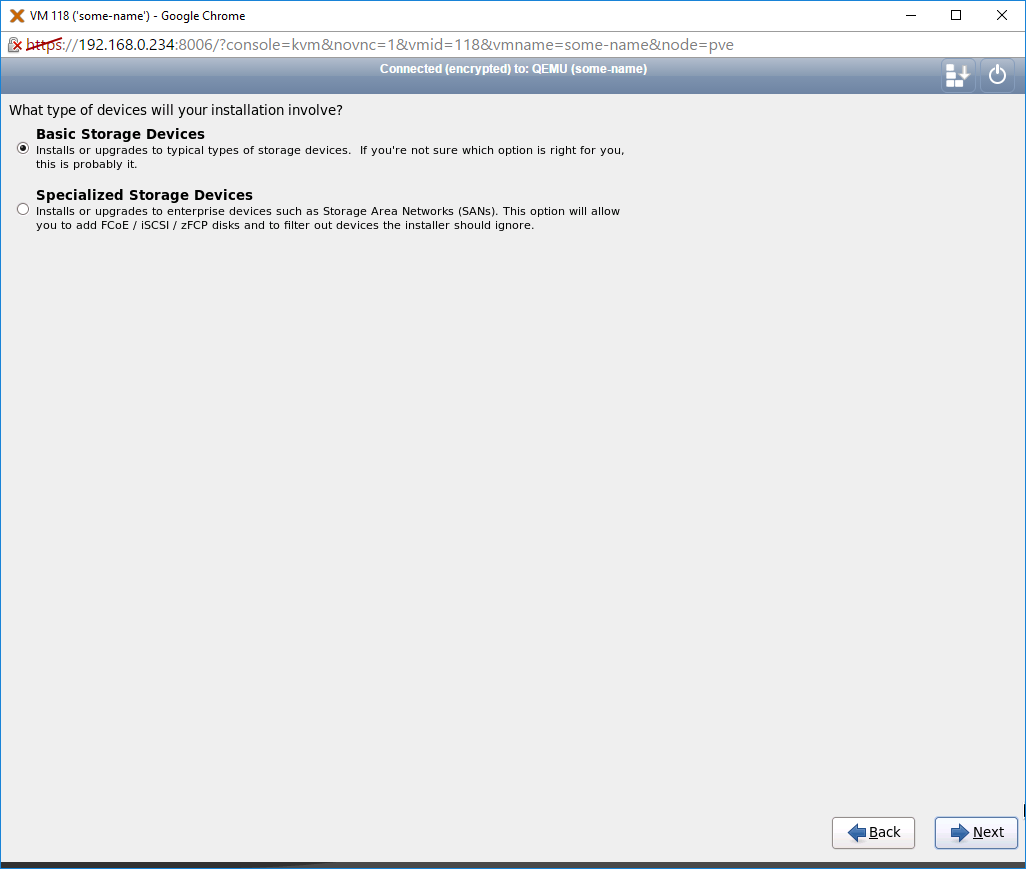
Select Basic Storage Devices and click Next:
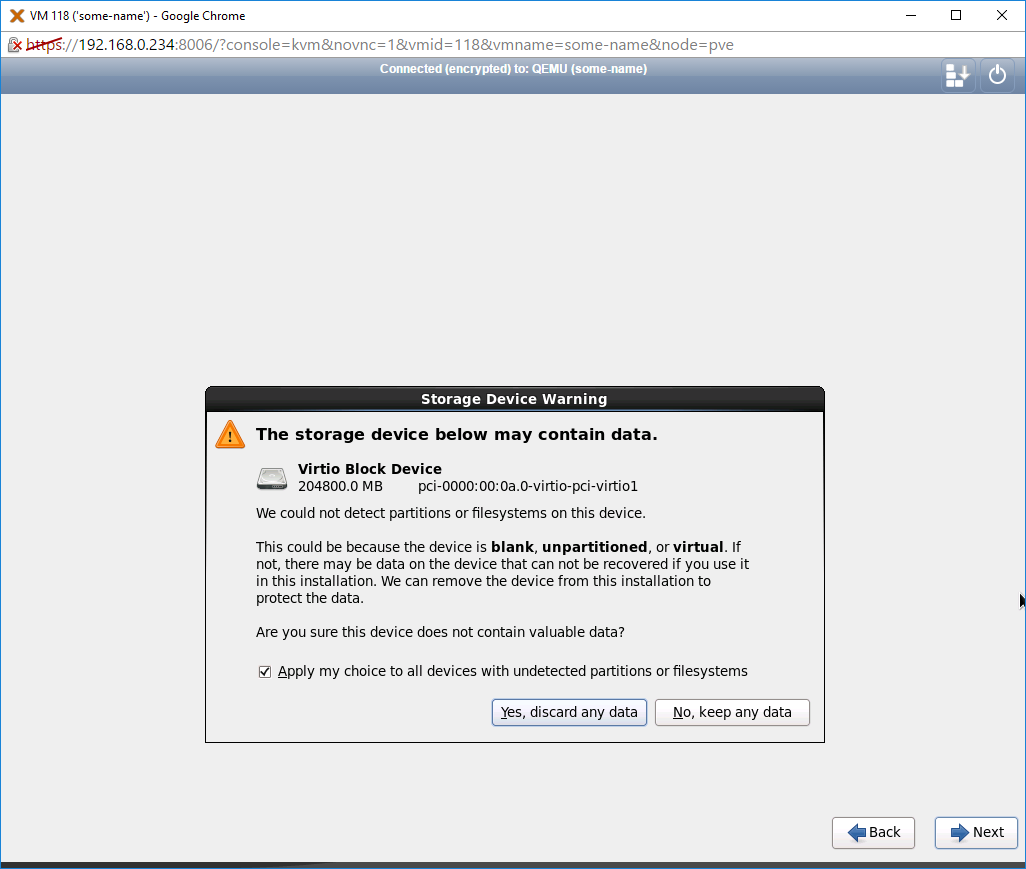
Select Yes, discard any data when the warning pops up:
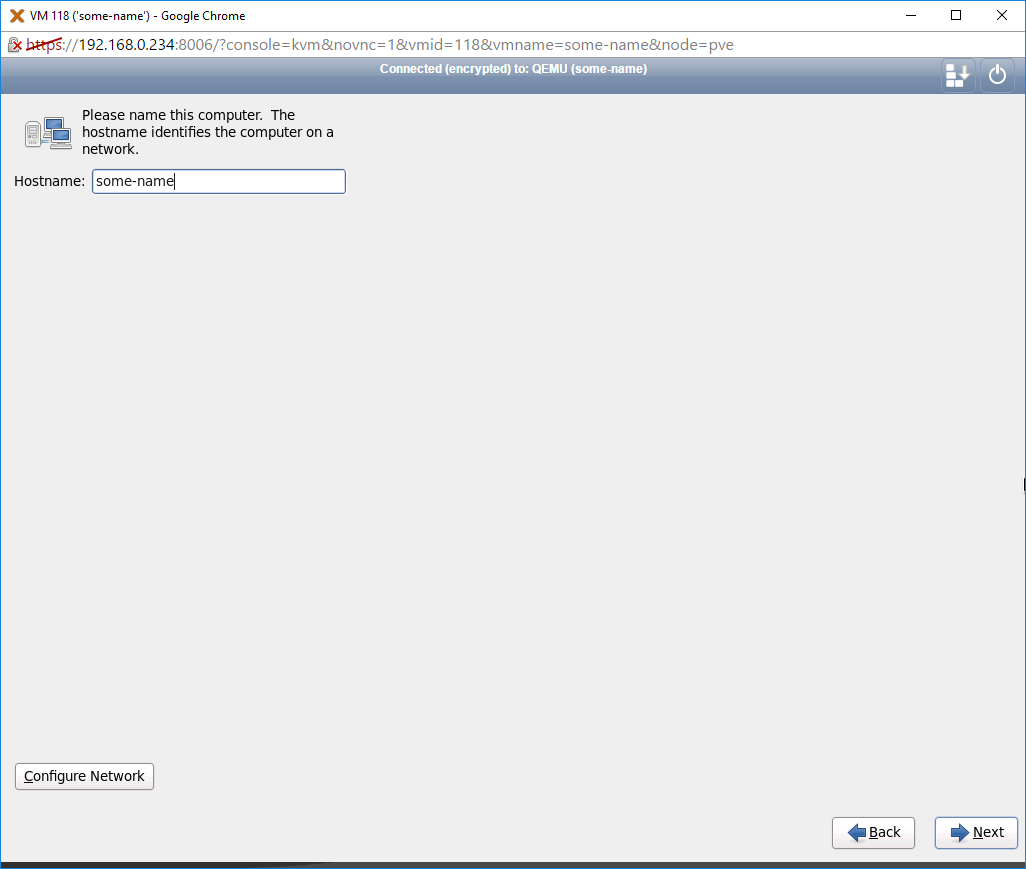
Give your server a Hostname:
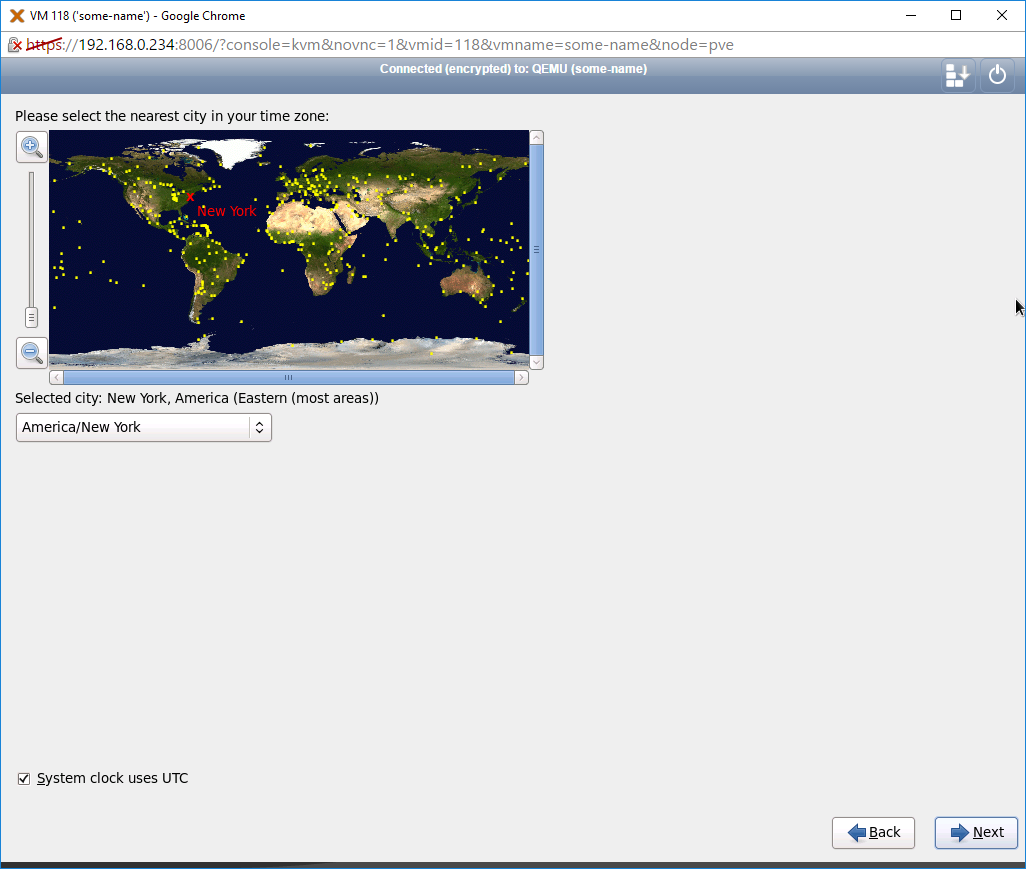
Select your time zone:
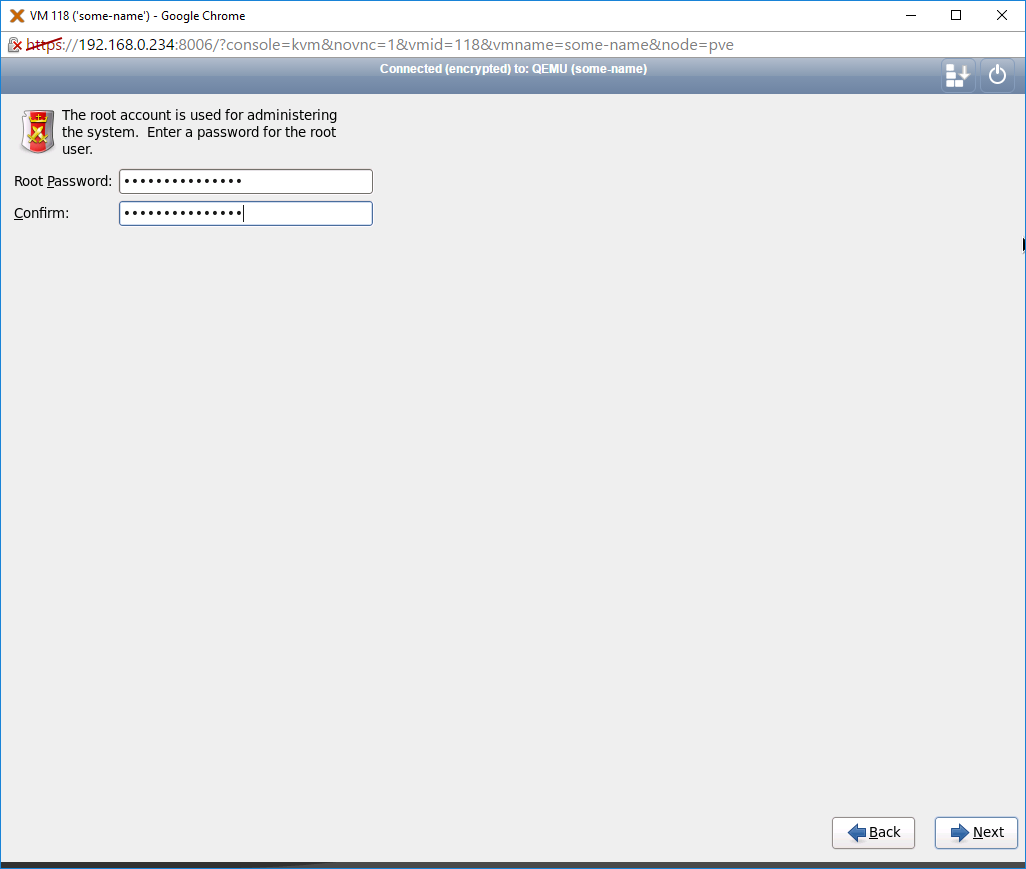
Enter a Root password, make sure to make it secure:
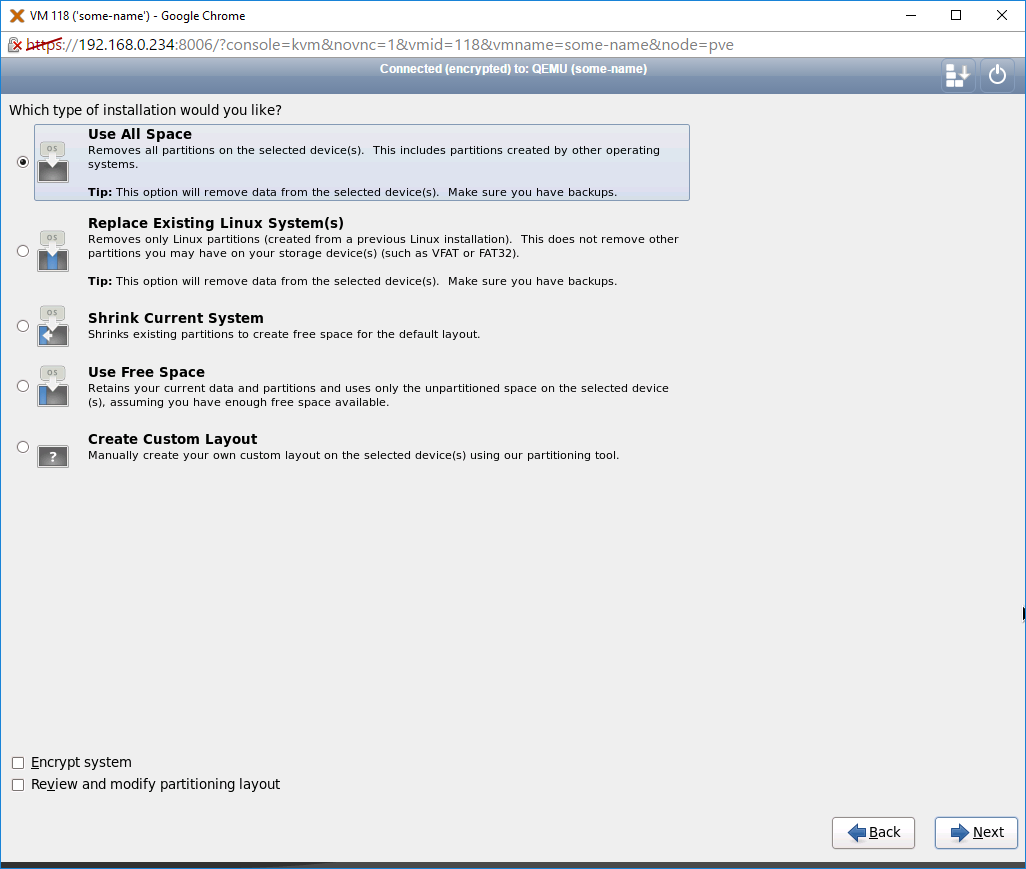
Regarding the type of installation select Use All Space:
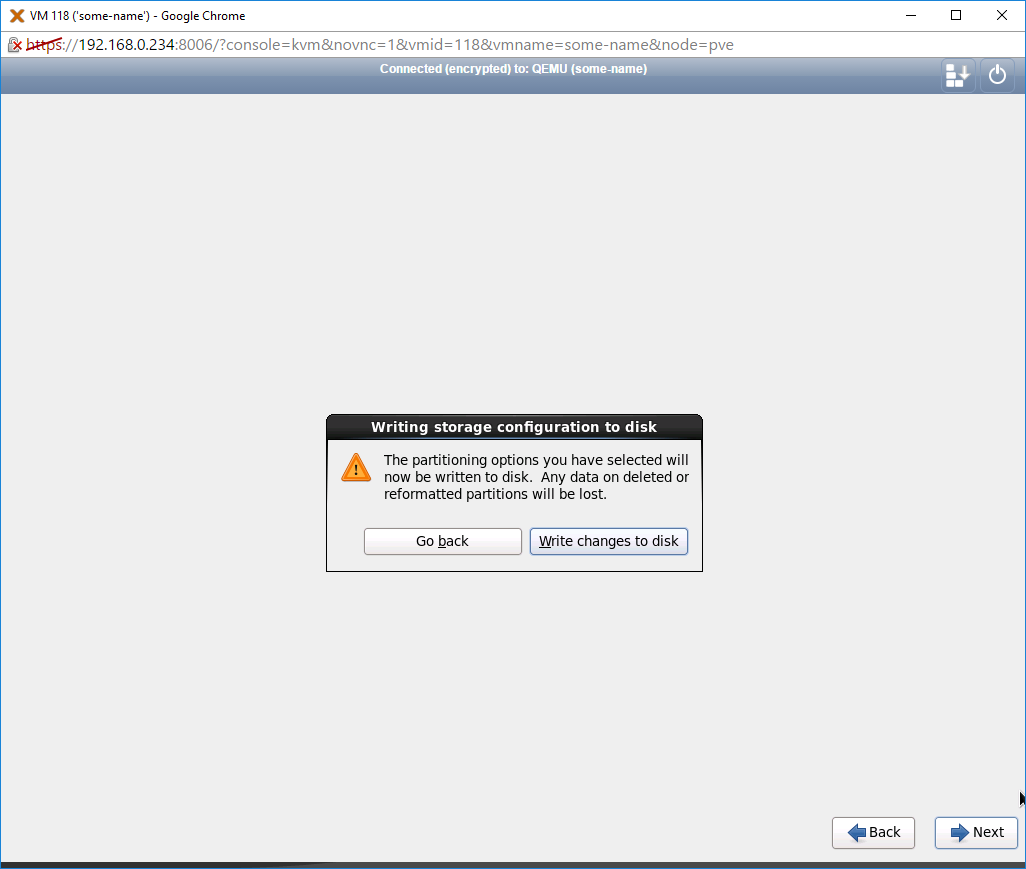
Now that you have the storage configuration sorted click Write changes to disk:
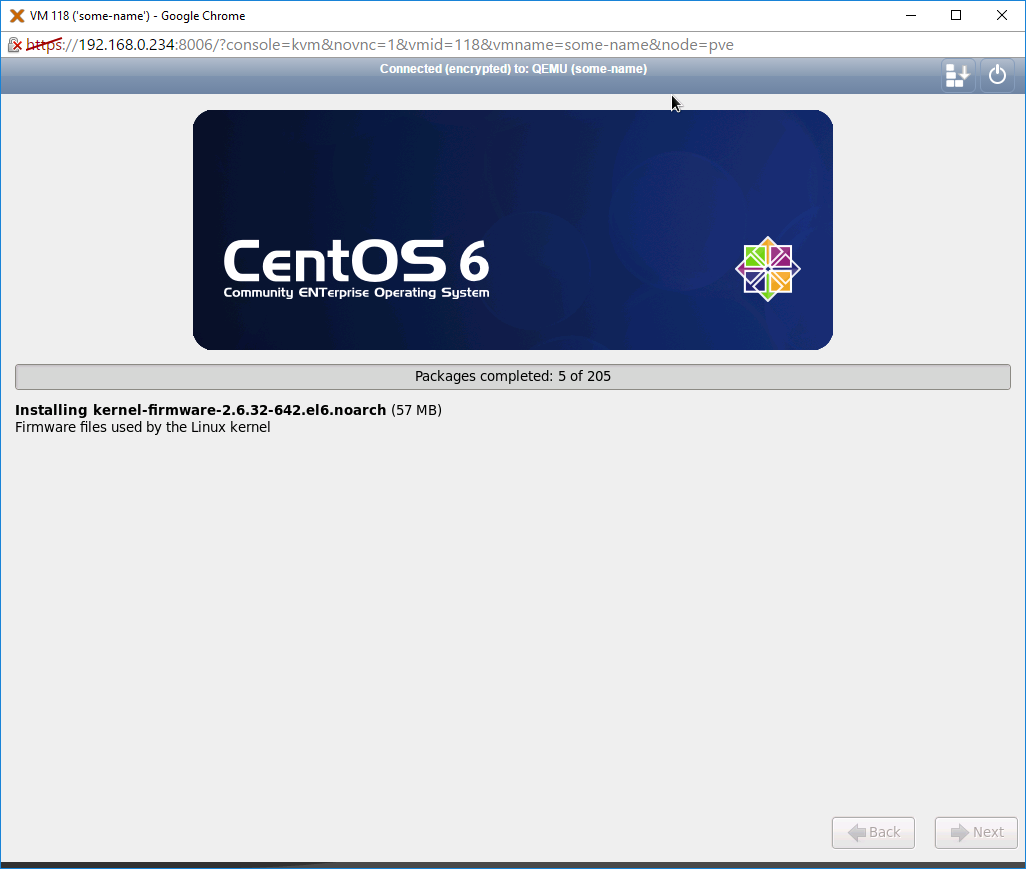
Wait for the packages to install:
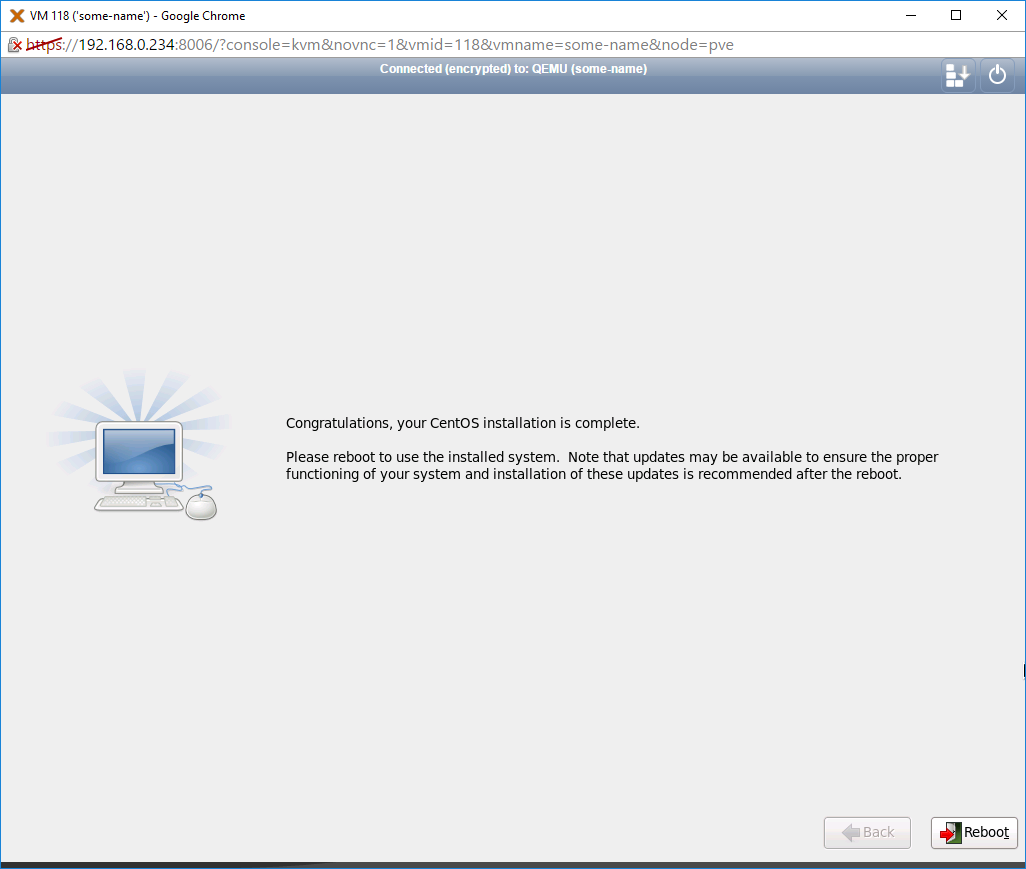
And finally press Reboot:
Post install config
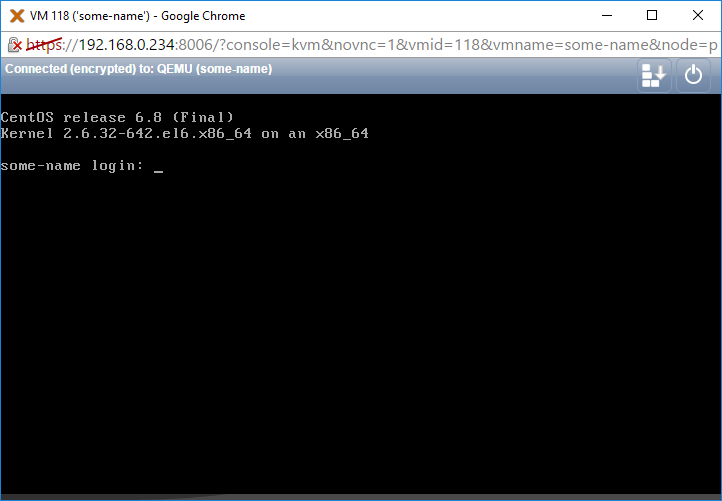
Your CentOS should boot up and you will be prompted with a login screen like this:
Since you might wanna copy paste some commands from this article into your newly installed server let’s take a bit and talk about SSH. You can securely run remote commands from your machine on the server with it. Usually all linux distros have an SSH server built in, you just need a client to connect with. On windows you can use PuTTY or on Linux you can use the ssh command (type man ssh in your terminal for its man page). For that to happen, though, you first need to be able to connect to your server via IPv4 (or IPv6, but we will focus on the former). There are two main modes of IP assignment in any network: static or automatic (also known as DHCP).
Setting an IP address via DHCP
This is pretty straight forward. Login with user root and the password you set during installation and issue the following command:
ifup eth0
That’s it, it will tell you the IP address that it acquired in the console, and you can connect to that with your SSH client.
Setting a static IP address
Things get a bit more complicated here, because we need to edit some configuration files. The easier command line text editors (nano, mcedit, etc.) are not included in the minimal installation of CentOS, so we have to rely on vi. Its an old and really powerful editor, but for newcomers it can be quite scary.
Follow these steps exactly and you will have no issue:
- run the following command:
vi /etc/sysconfig/network-scripts/ifcfg-eth0
- press i (small caps I) to enter insert mode
- edit the file to include the following. In this example case I will be using 192.168.0.191 as my address in a 192.168.0.0/24 subnet, my gateway being 192.168.0.1:
NETWORK=192.168.0.0

NETMASK=255.255.255.0

IPADDR=192.168.0.191

GATEWAY=192.168.0.1
- change the following line
BOOTPROTO=dhcp
to
BOOTPROTO=none
- press esc (the Escape key)
- enter ZZ (two capital Zs)
NOTE: if at any point you wish to exit vi without saving the changes press esc and than type :q! (colon, lower case q, exclamation mark)
Bring up the interface by running:
ifup eth0
That’s it, it will tell you the IP address that it acquired in the console, and you can connect to that with your SSH client.
Installing required packages
Update your installation, by running:
yum -y update
Run the following command to install the utilities that we will need to install Virtualmin:
yum install wget screen mc nano
Now that we have nano installed let’s edit the network script for eth0 once more, to make sure that our interface will be brought up across reboots:
nano /etc/sysconfig/network-scripts/ifcfg-eth0
and change the line:
ONBOOT=no
to:
ONBOOT=yes
Exit nano (Ctrl+X) and save the file (answer Y).
Download Virtualmin by running the following command:
wget http://software.virtualmin.com/gpl/scripts/install.sh
Run the script by typing:
/bin/sh install.sh
Follow the installation wizard of Virtualmin.
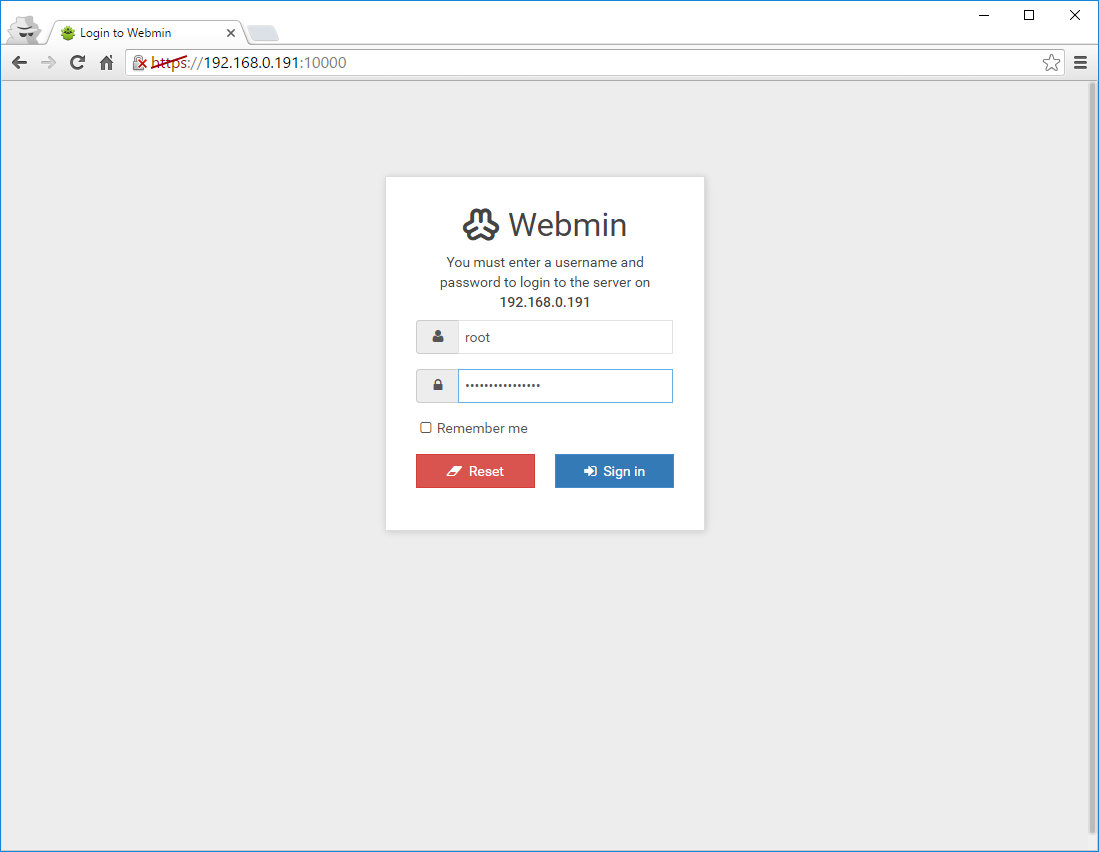
After it’s set up, you can access the Virtualmin panel by visiting your server’s 10000 port via https, in my case that would be http://192.168.0.191:10000
Virtualmin post install wizard
After a certificate validation error (cause it is self signed) you should get the following login screen, where u can log in as root:
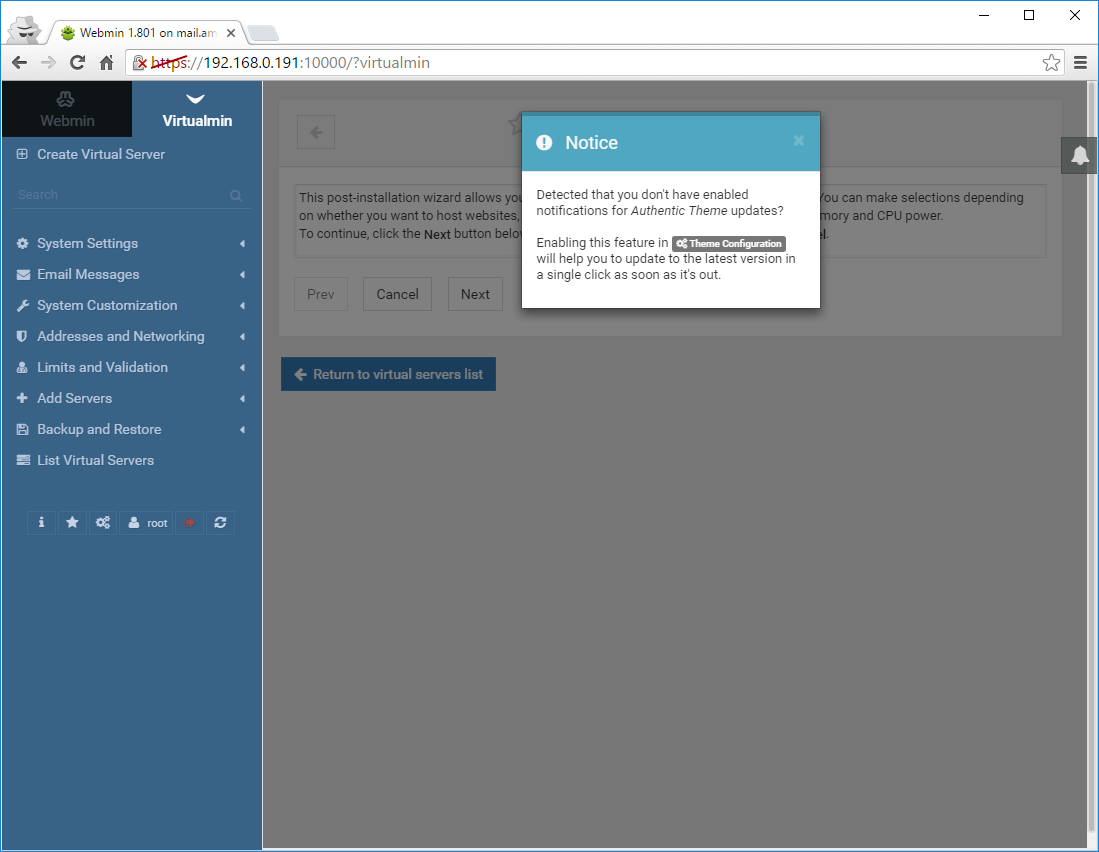
Authentic Theme complains regarding notifications, it is safe to ignore (for now):
The Post-Installation Wizard appears, click Next to get started:

Set both Preload Virtualmin libraries and Run email domain lookup servers to Yes and click Next:

Set Run ClamAV server scanner to Yes and click Next:

Set Run SpamAssasin server filter to Yes and click Next:

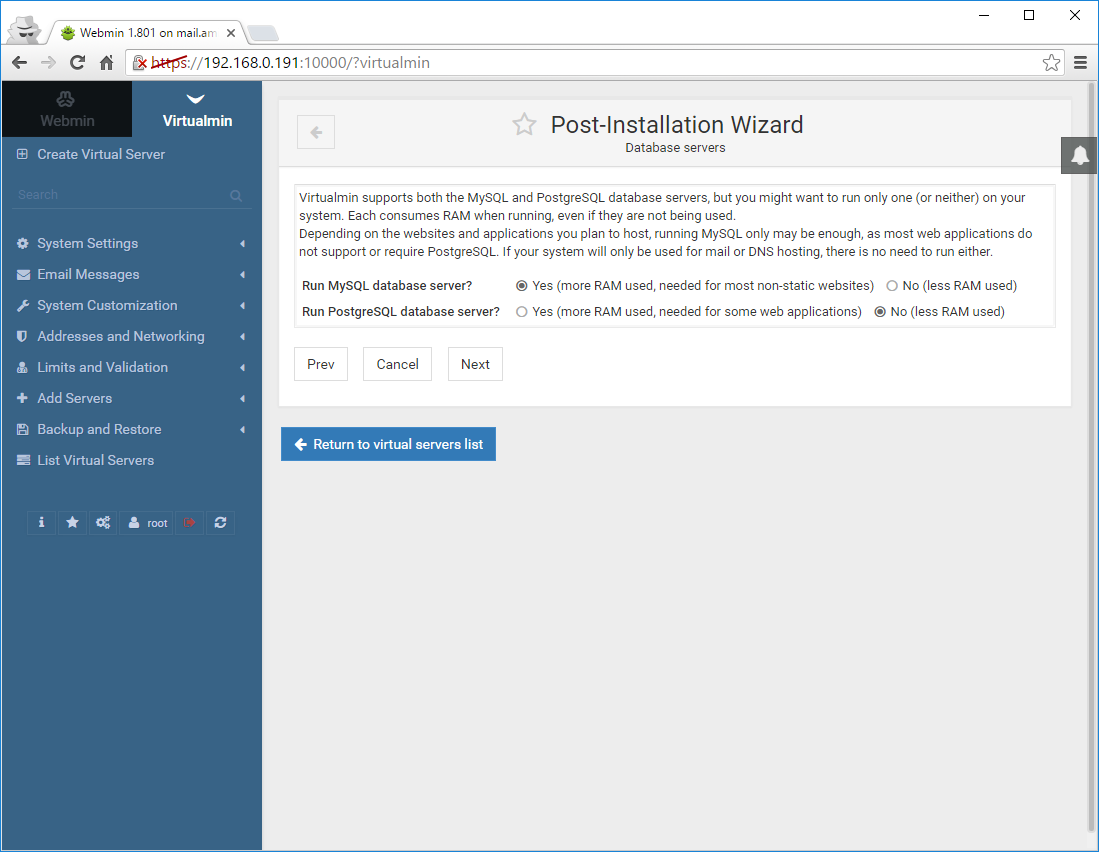
Leave Run MySQL database server on Yes and Run PostgresSQL database server on No and click next:
Give a secure root password for your MySQL server and click Next:
Note: the textbox is plaintext, be careful no one is watching over your shoulder.

Select the appropriate MySQL configuration size. In almost all cases this should be set to Huge system and click Next:

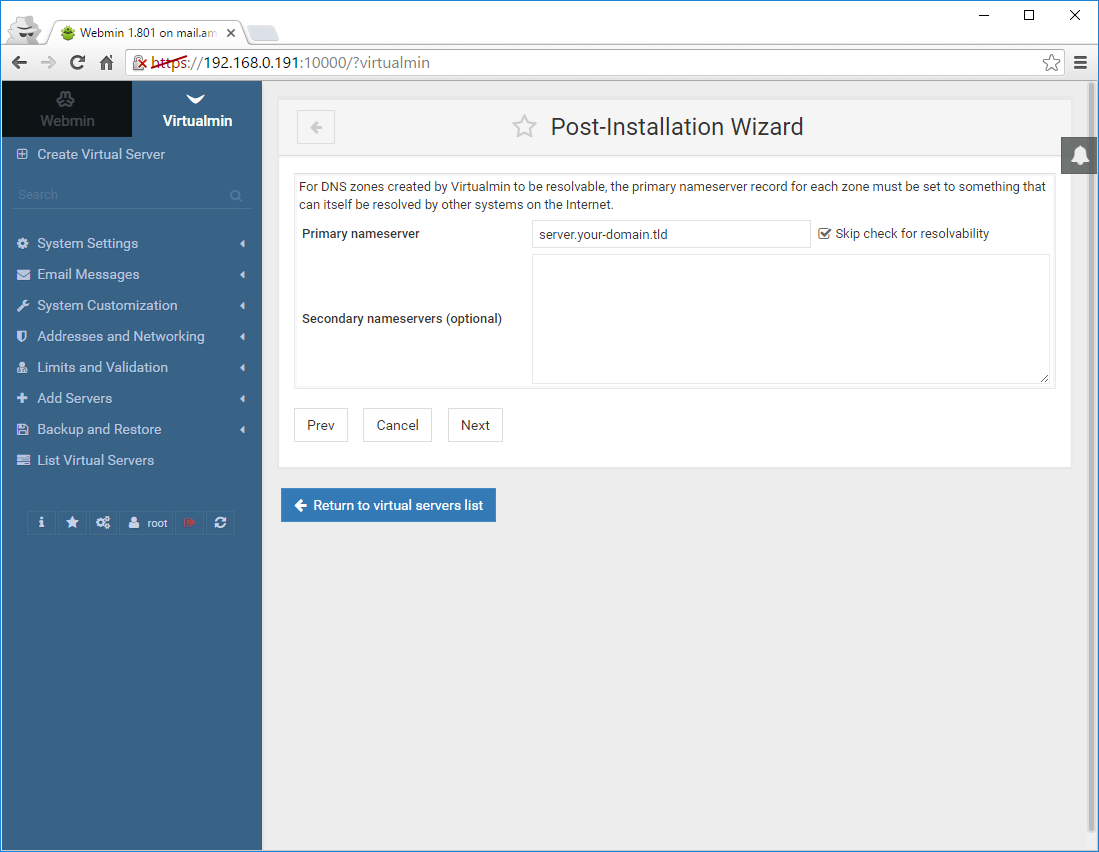
Set your servers hostname as the Primary nameserver, and check Skip check for resolvability if you haven’t set the external DNSes yet and click Next:
Select Only store hashed passwords and click Next:

Hit Next one more time to commit your changes:
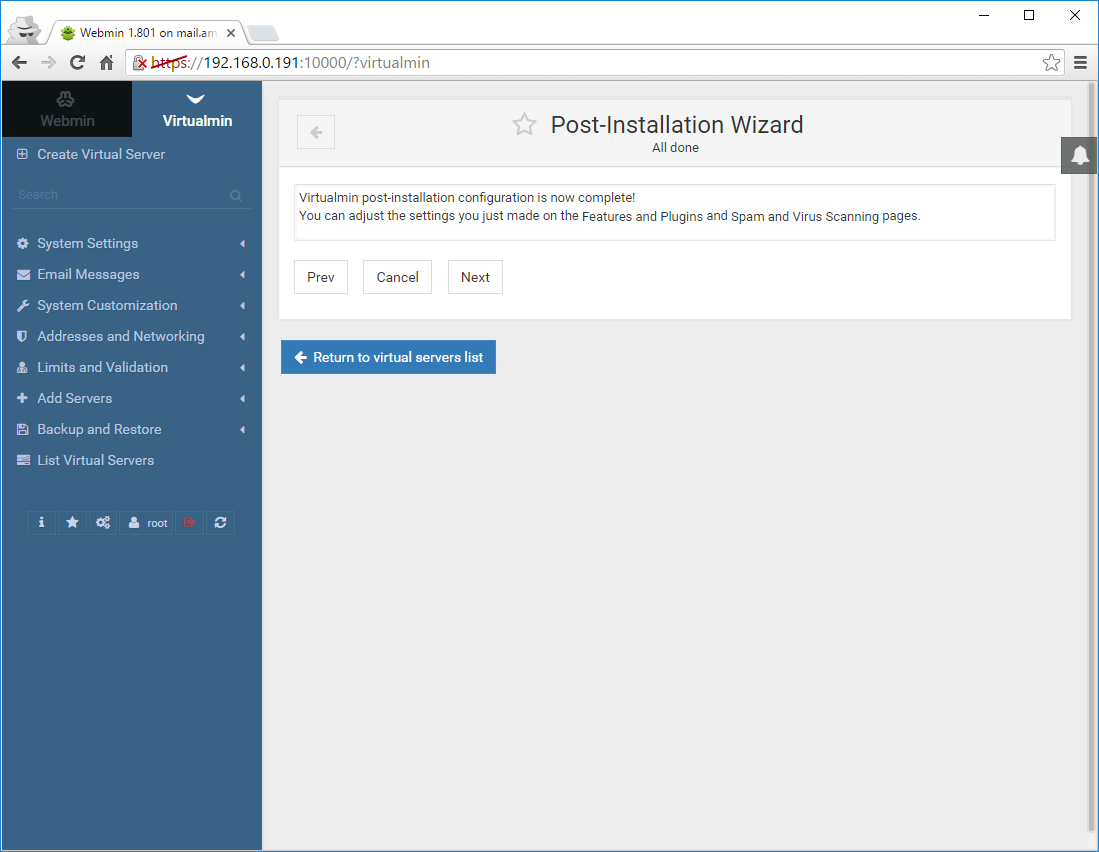
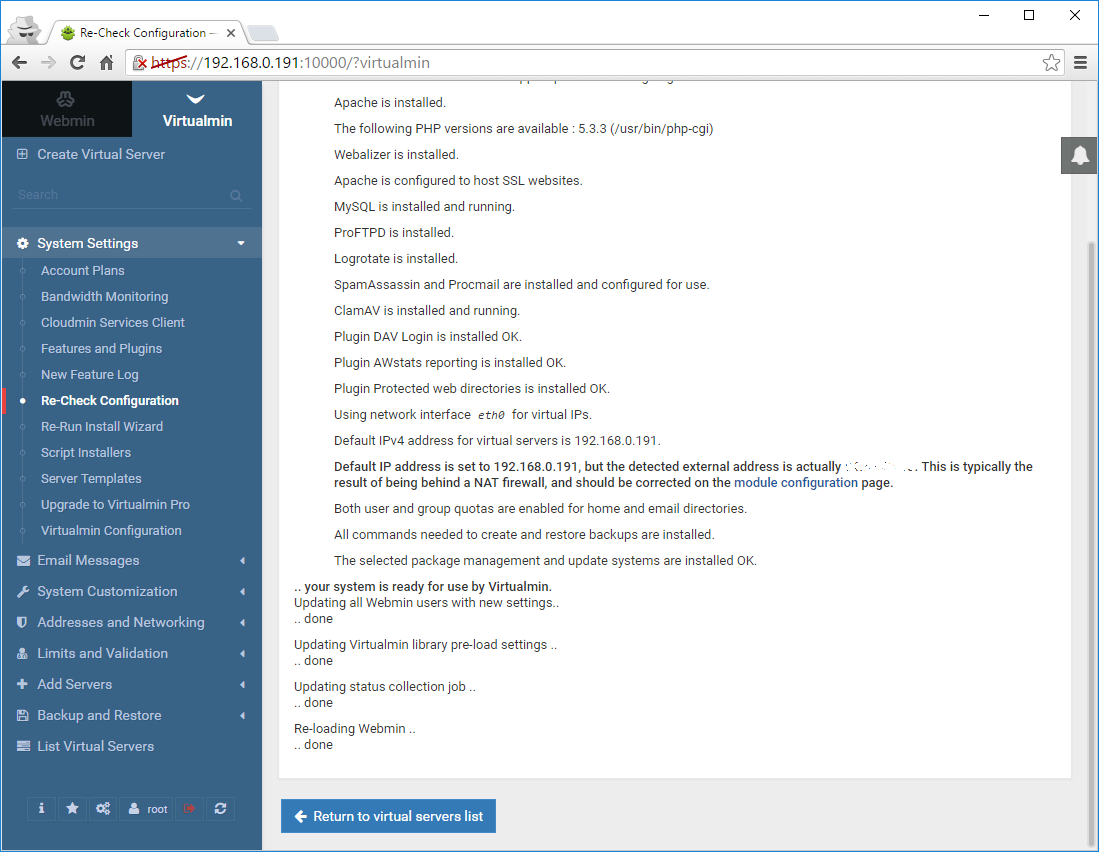
Wait for the settings to propagate. In my case I’m using an internal IP address, and the wizard detects that my external address is different. This is normal in a NAT-ed (behind a firewall setup), just don’t forget to open the appropriate ports. Press Return to virtual servers list:
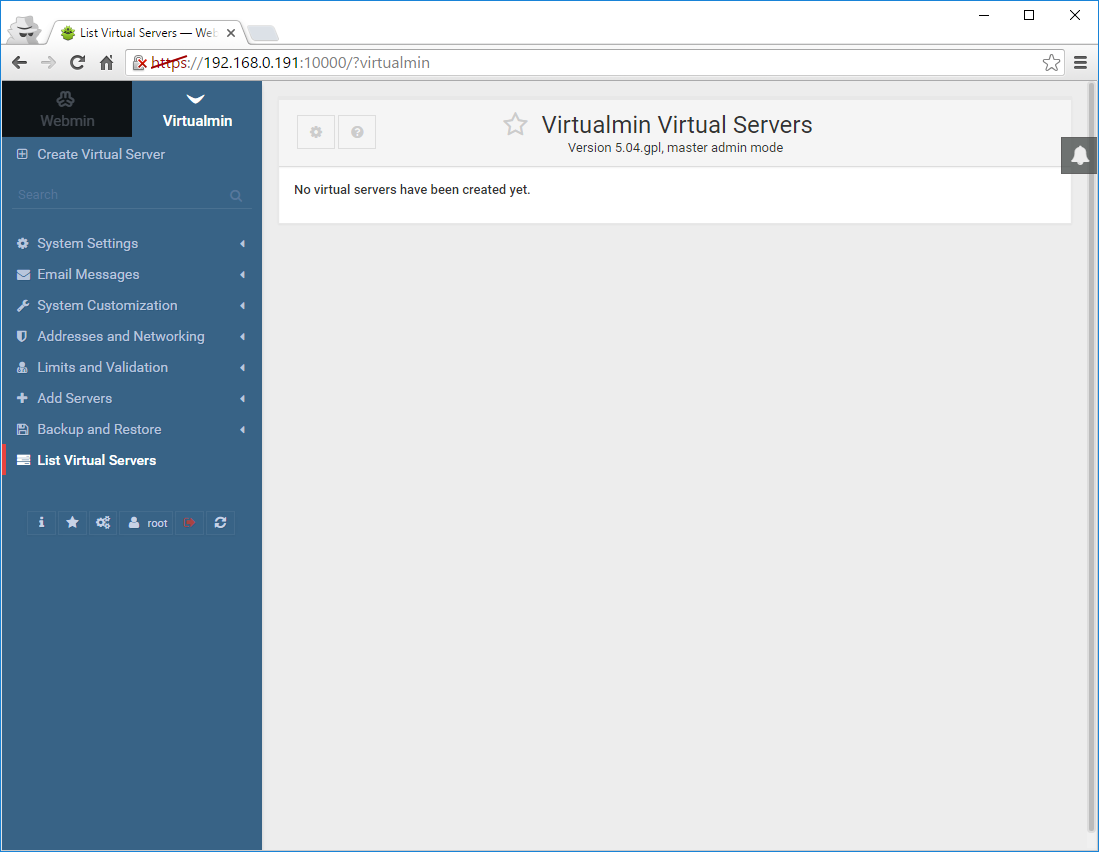
After it’s done you should have the following screen, since you have no virtual servers created yet.
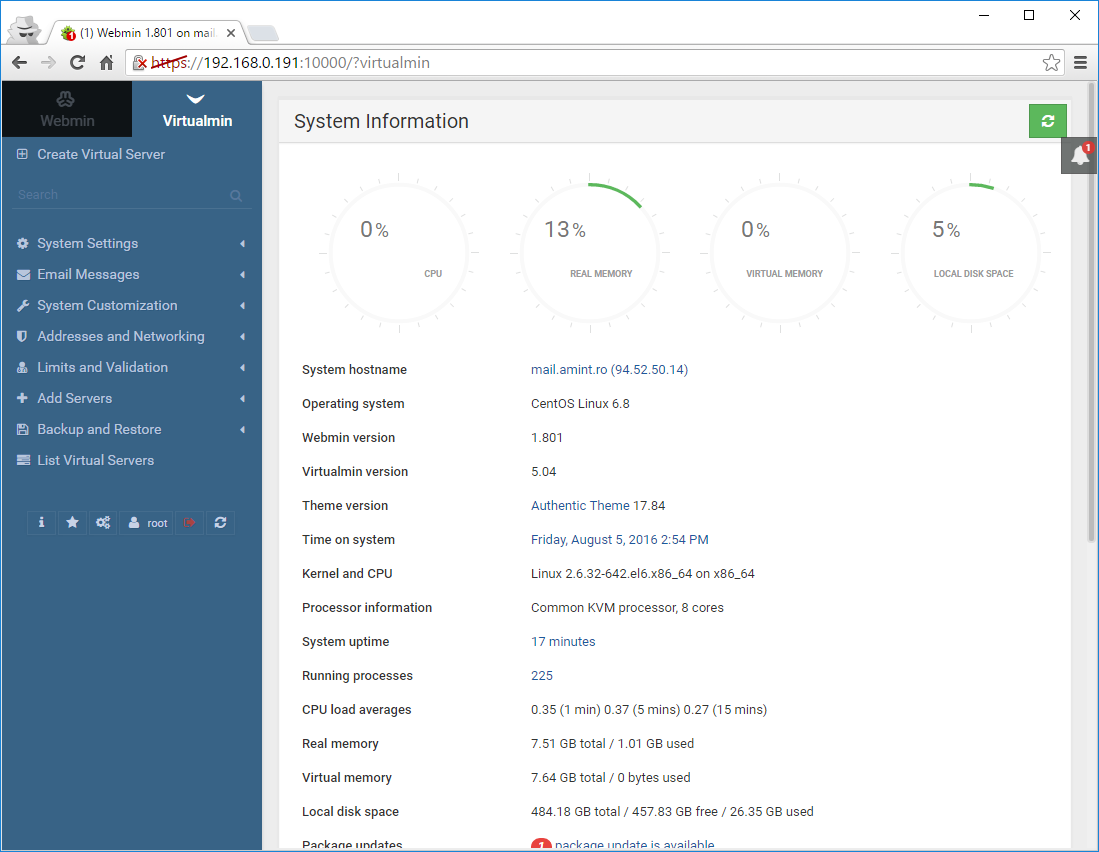
Clicking on the Virtualmin tab on the top left will give you some pretty graphs regarding CPU, Memory and Disk usage:
Needed 3rd party packages
Add epel and remi repos (same for x32 or x64):
rpm -Uvh http://dl.fedoraproject.org/pub/epel/epel-release-latest-6.noarch.rpm
rpm -Uvh http://rpms.remirepo.net/enterprise/remi-release-6.rpm
Immediately disable them, cause they have some conflicts with Virtualmin (most notably proftpd):
nano /etc/yum.repos.d/epel.repo
change every instance of enabled=1 to enable=0
nano /etc/yum.repos.d/remi-safe.repo
change every instance of enabled=1 to enable=0
nano /etc/yum.repos.d/remi.repo
change every instance of enabled=1 to enable=0
Double check your enabled repos by running:
yum repolist
It should output no more than this:
Loaded plugins: fastestmirror
Loading mirror speeds from cached hostfile
* base: mirror.solarvps.com
* extras: mirror.atlanticmetro.net
* updates: mirror.metrocast.net
repo id               repo name                                      status
base                  CentOS-6 - Base                                6,696
extras                CentOS-6 - Extras                                 62
updates               CentOS-6 - Updates                               289
virtualmin            RHEL/CentOS/Scientific 6 - x86_64 - Virtualmin   144
virtualmin-universal  Virtualmin Distribution Neutral Packages          69
repolist: 7,260
Update MySQL
Run the following command to update mysql:
Note: this will also update PHP from 5.3 to 5.4.
yum --enablerepo=remi update mysql-server
After it’s installed run the following command:
mysql_upgrade -p
Install additional PHP versions (optional)
For PHP 5.5 run:
yum install --enablerepo=remi php55
yum install --enablerepo=epel --enablerepo=remi php55-php-gd php55-php-mcrypt php55-php-mbstring
yum install --enablerepo=remi php55-php-pdo php55-php-mysqlnd
For PHP 5.6 run:
yum install --enablerepo=remi php56
yum install --enablerepo=epel --enablerepo=remi php56-php-gd php56-php-mcrypt php56-php-mbstring
yum install --enablerepo=remi php56-php-pdo php56-php-mysqlnd
Note: these will be installed as SCL (software collections) and can all be installed in addition to your main PHP version without conflicting with it.
Install Redis (optional)
Redis is a key value storage engine that can be used to speed up some parts of a website. To install it run:
yum install --enablerepo=epel jemalloc yum install --enablerepo=remi redis
Fix ProFTPD
Edit ProFTPDs config file by running:
nano /etc/proftpd.conf
Remove the last entry regarding mod_sftp.c or comment it out:
#LoadModule mod_sftp.c
#<IfModule mod_sftp.c>
#
# SFTPEngine on
# Port 2222
# SFTPLog /var/log/proftpd/sftp.log
#
# SFTPHostKey /etc/ssh/ssh_host_rsa_key
# SFTPHostKey /etc/ssh/ssh_host_dsa_key
#
#</IfModule>
Restart the service:
service proftpd restart
Fix FastCGI
Open the php module file that apache loads:
nano /etc/httpd/conf.d/php.conf
change (remove):
<FilesMatch \.php$>
    SetHandler application/x-httpd-php
</FilesMatch>
to (add):
AddHandler php5-script .php
Restart apache:
service httpd restart