This post serves as a how to on how to set up MySQL master-master replication. Since I’m doing it on Windows, I wanted to make it as easy as possible, so I will be using a free SQL client, namely SQLyog community edition, that can be downloaded from here. For the MySQL itself the official community edition installer was used downloadable from here. In the following example my two servers IPs will be: Server A: 192.168.0.184 and Server B: 192.168.0.188.
Do all of the steps for both servers, there are some differences between the two, that will be pointed out in red or blue.
Installing MySQL Server
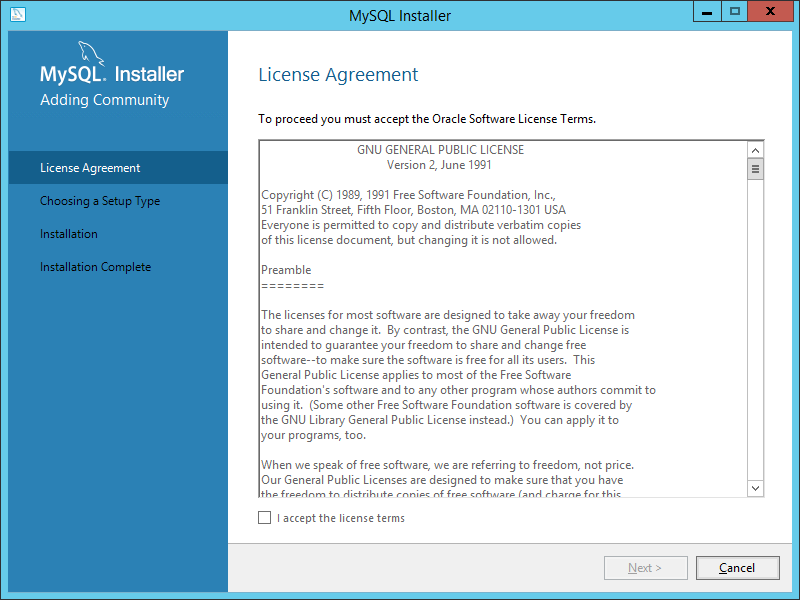
Run the msi installer, accept the terms and click Next:
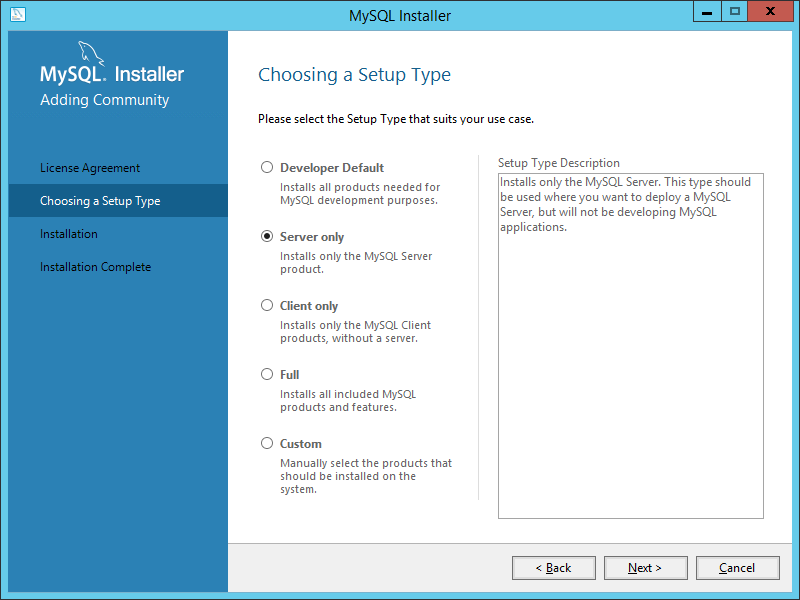
Select Server only and click Next:
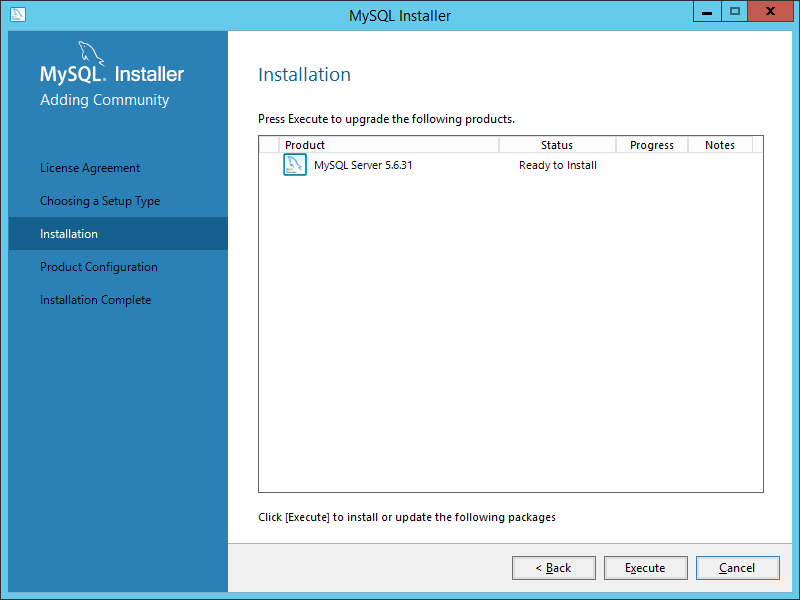
Click Execute:
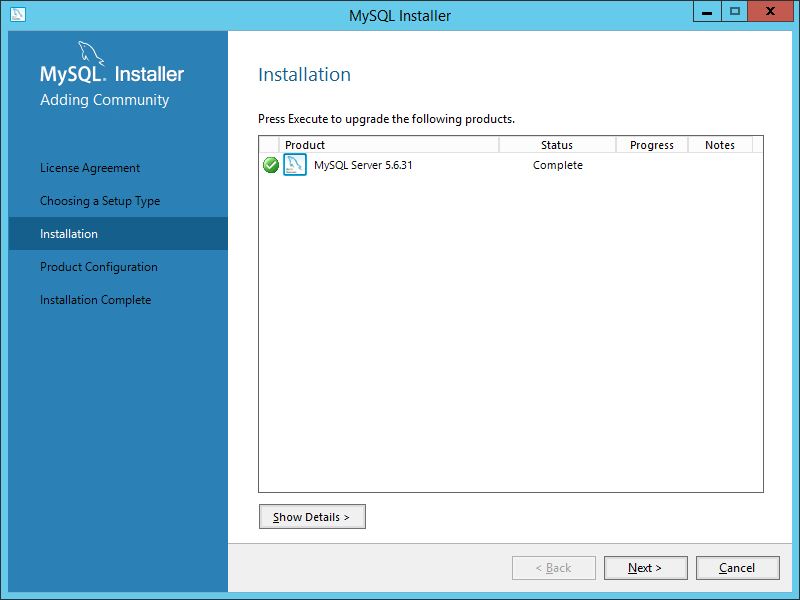
Click on Next:
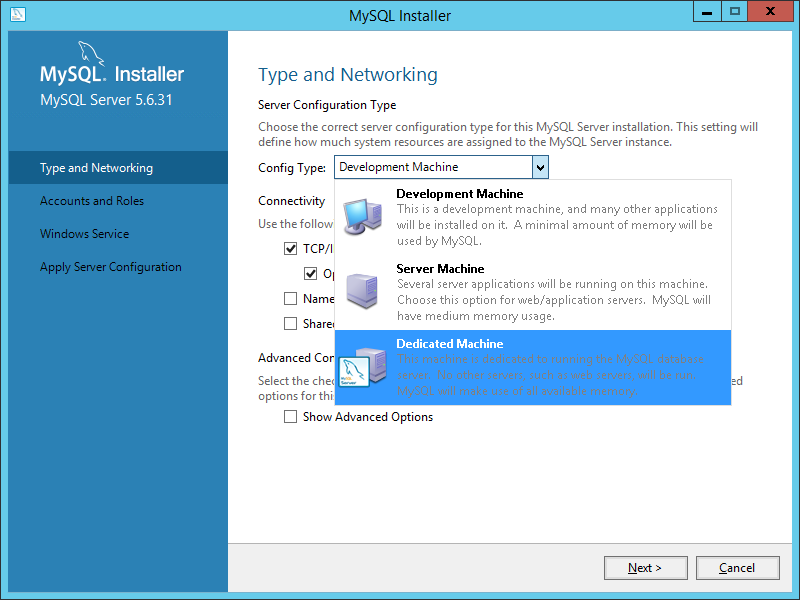
Change the Config Type as needed, in my case I will set it to Dedicated Machine, leave everything else as is, and click Next:
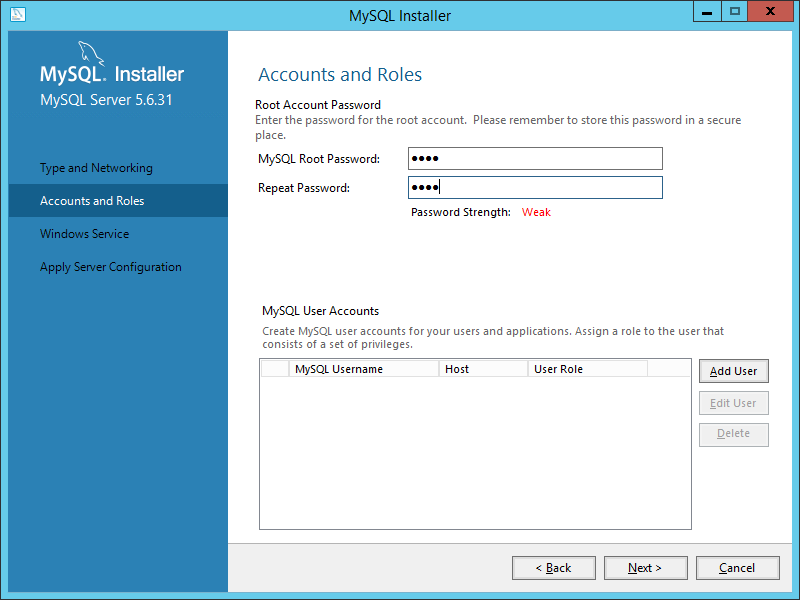
Set a root password, try to not set a weak one like I did and click Next:
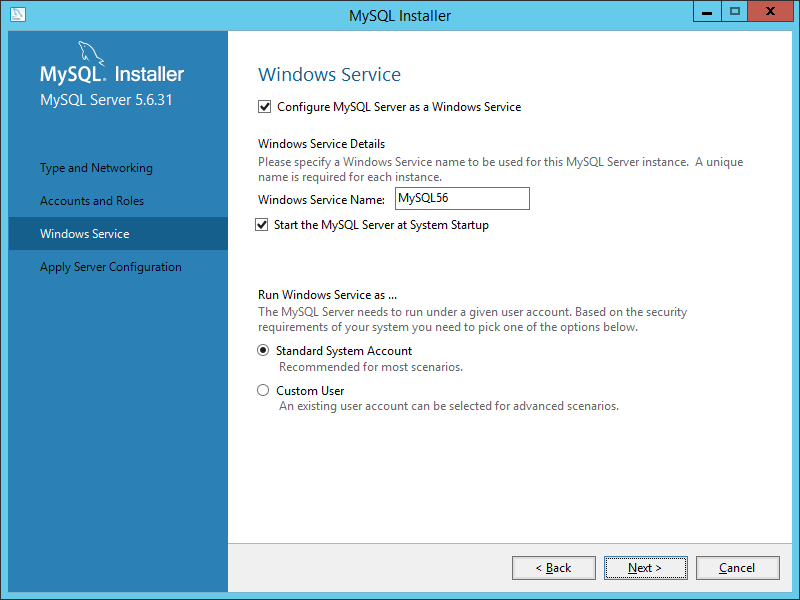
Leave everything as is on the Windows Service step and click Next:
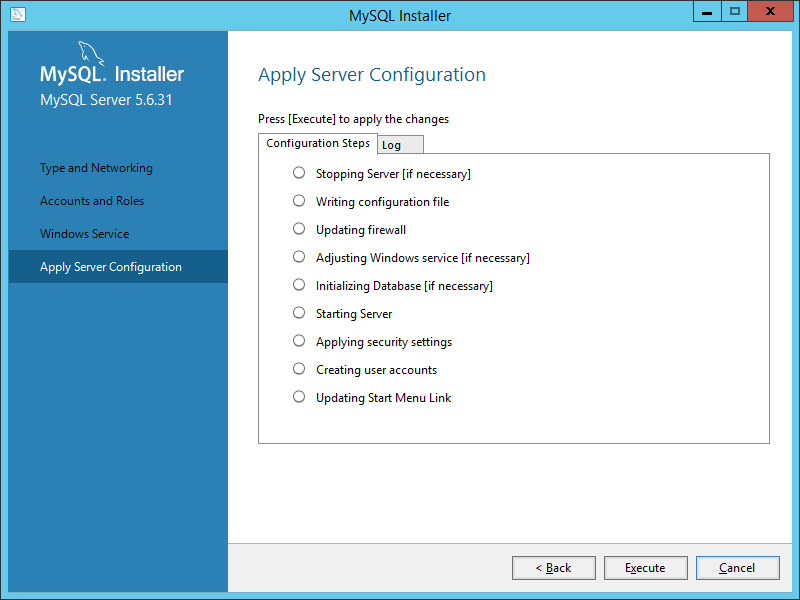
Click on Execute:
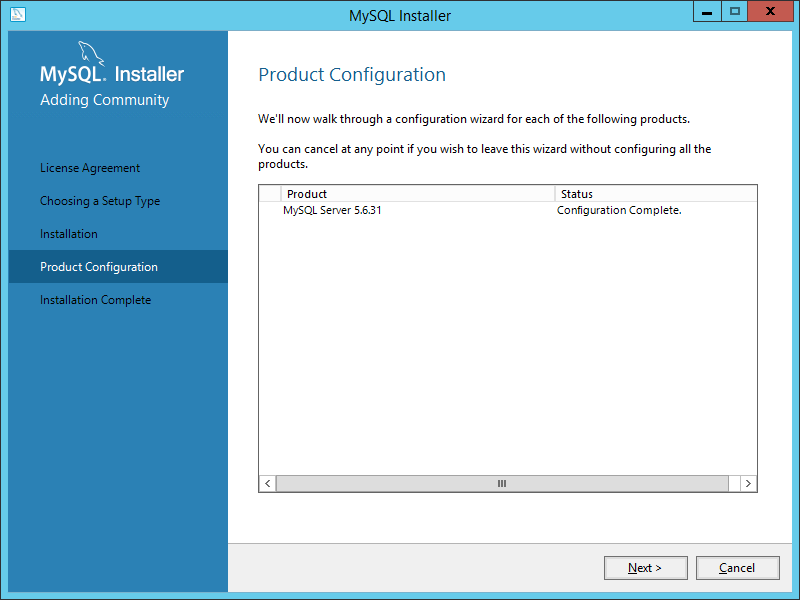
Wait for it to finish than click Next:
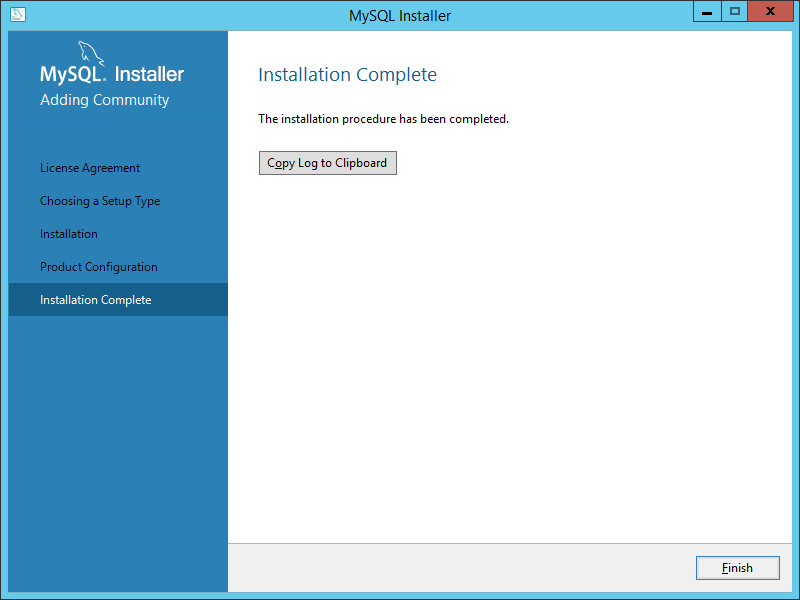
And finally Finish:
Installing SQLyog
Run the installer downloaded earlier. Select whatever language you prefer and click OK:
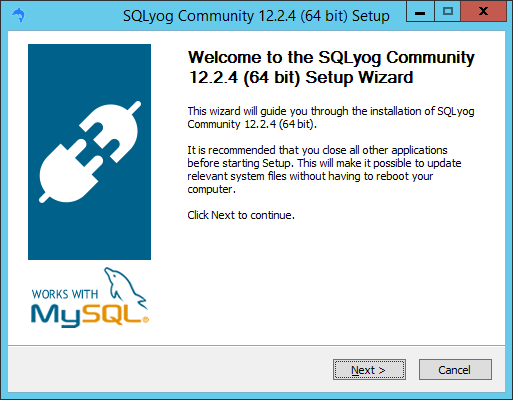
Click Next:
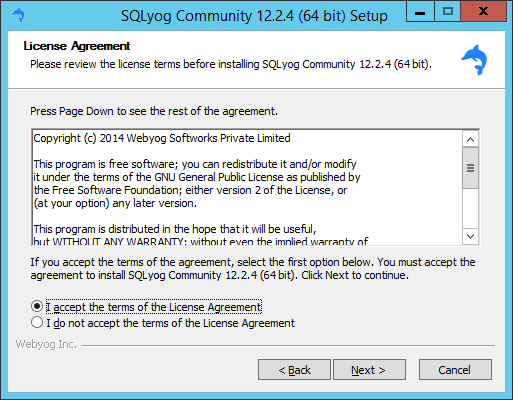
Accept the agreement and click Next:
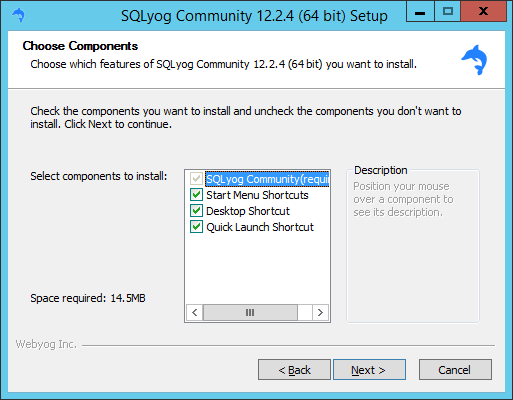
Leave everything as is and click Next:
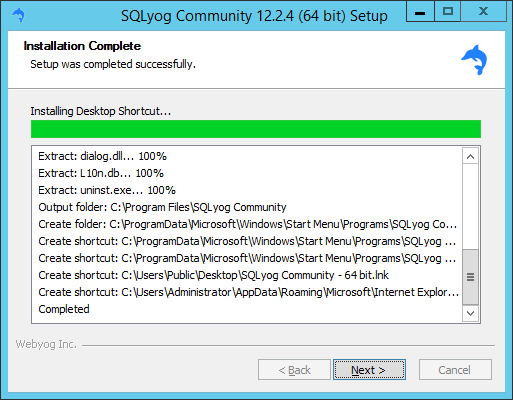
Wait for the installer to finish, than click Next:
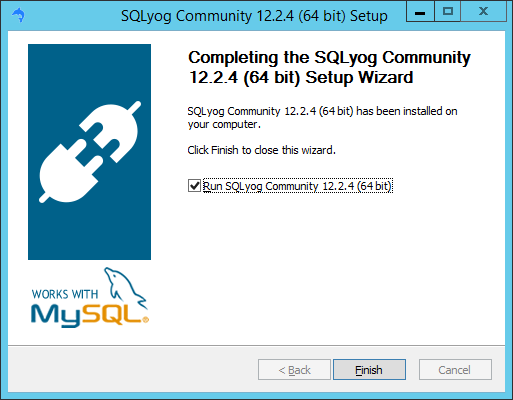
And finally Finish:
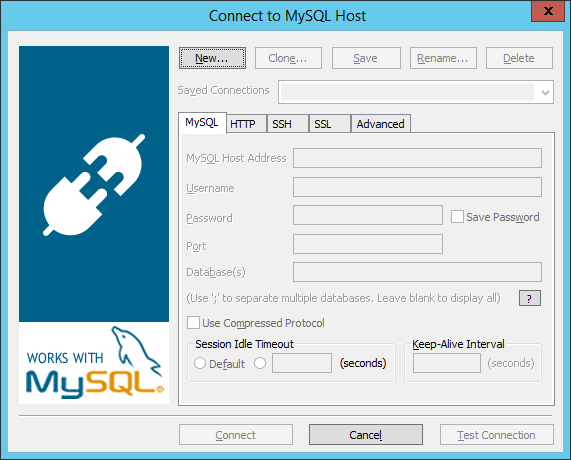
The first time SQLyog starts there will be no hosts set. Let’s set one up now by pressing New…:
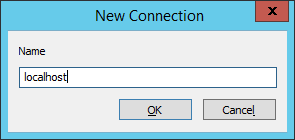
Name the connection, I suggest it to be localhost and click OK:
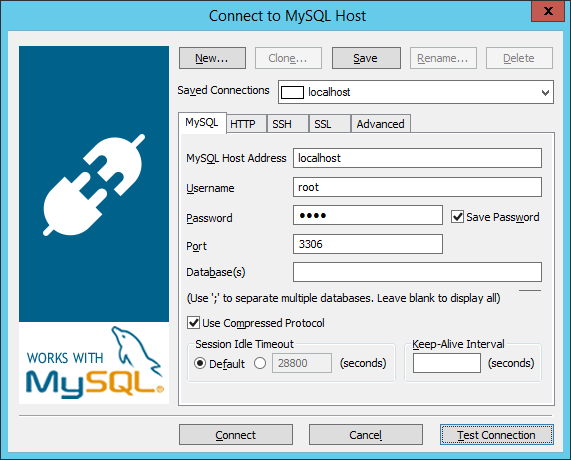
Enter the root password, and click Test Connection:
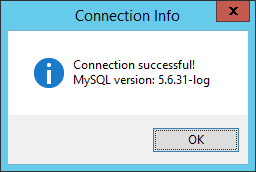
If everything wen’t well you will get this message with the version number of your MySQL sever:
Click on Connect, than at the Save changes prompt click Yes:

Allow root access from local network
Note: this step is optional, but usually needed for other reasons.
Click on the red shirted person on the top button bar:
The User Manager screen will pop up. Create a new user by clicking Add New User:
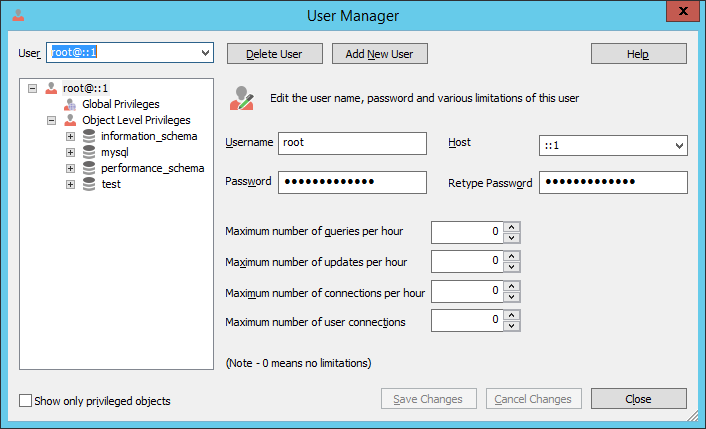
Enter root as Username, your local subnet as Host (in my case 192.168.0.%) and a Password twice and click Create:

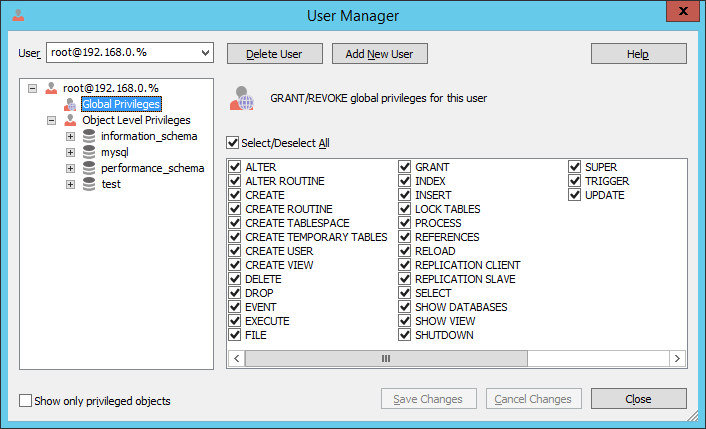
Select ALL the privileges and click Save Changes:
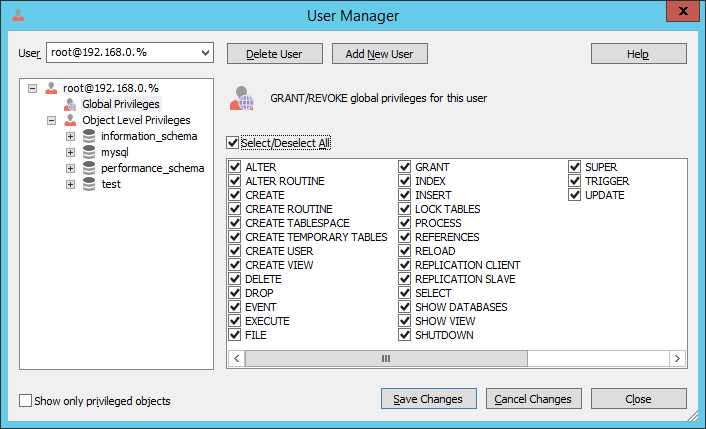
It should look like this:
Creating the replica user
While still in SQLyog’s User Manager screen click Add New User once more and enter replicator as Username, % as Host and set a password, than click Create:
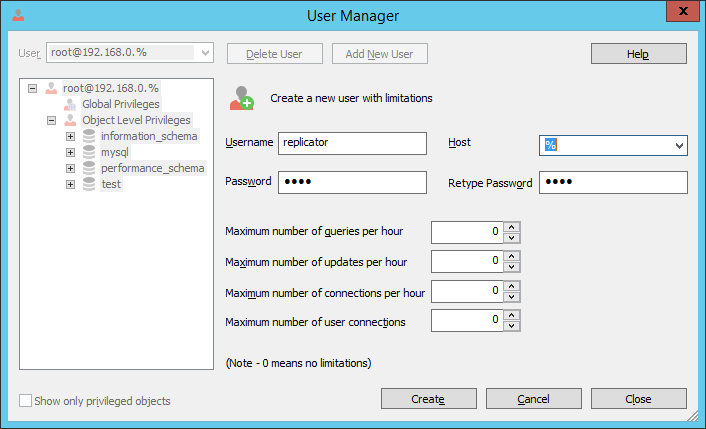
Give the replicator user Replication Slave rights and nothing else:

Editing the config files
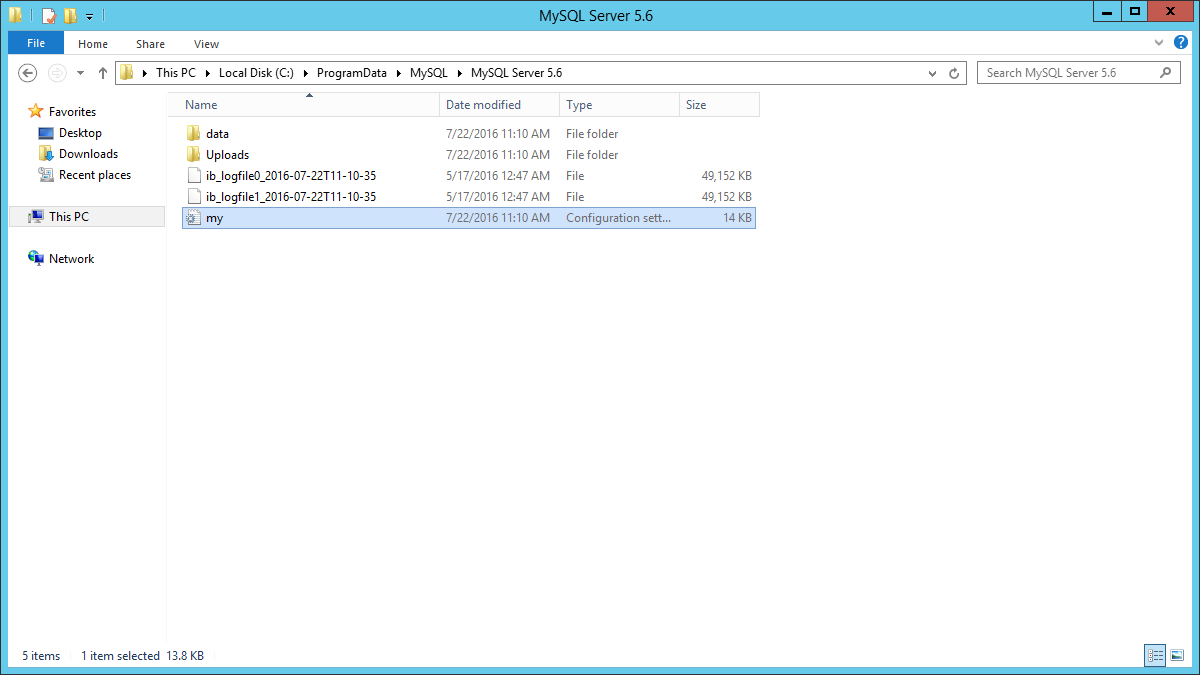
We need to edit the my.ini file, the servers configuration file. Start up windows explorer, by pressing WinLogoKey + E:
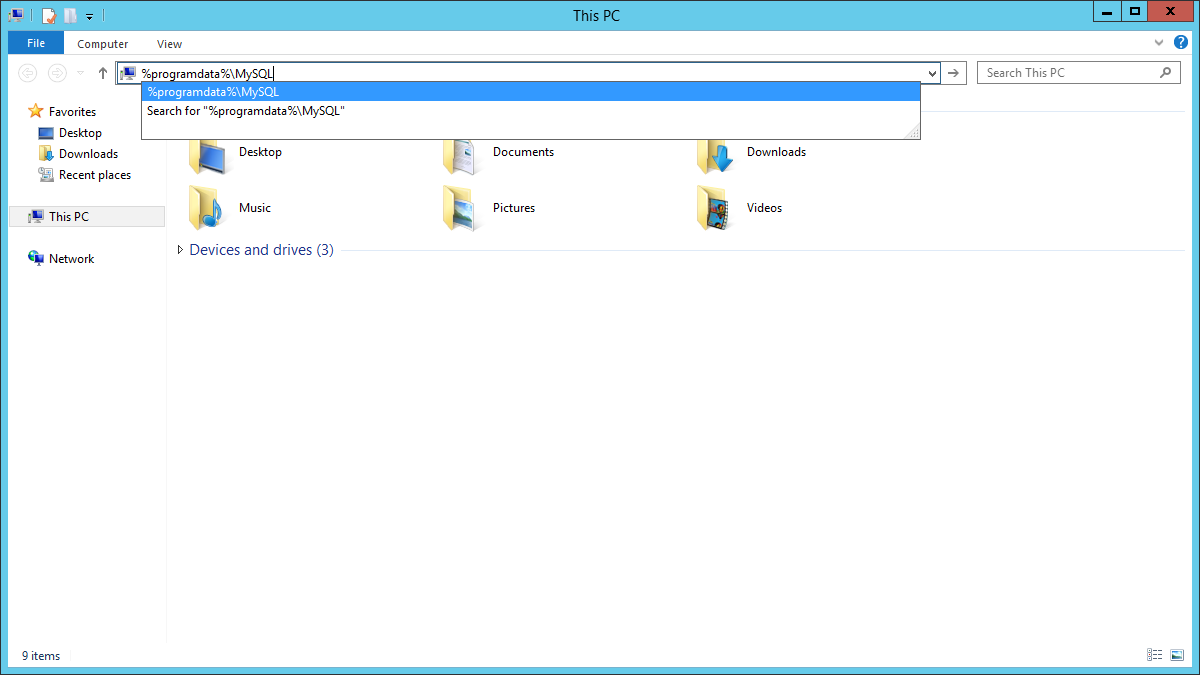
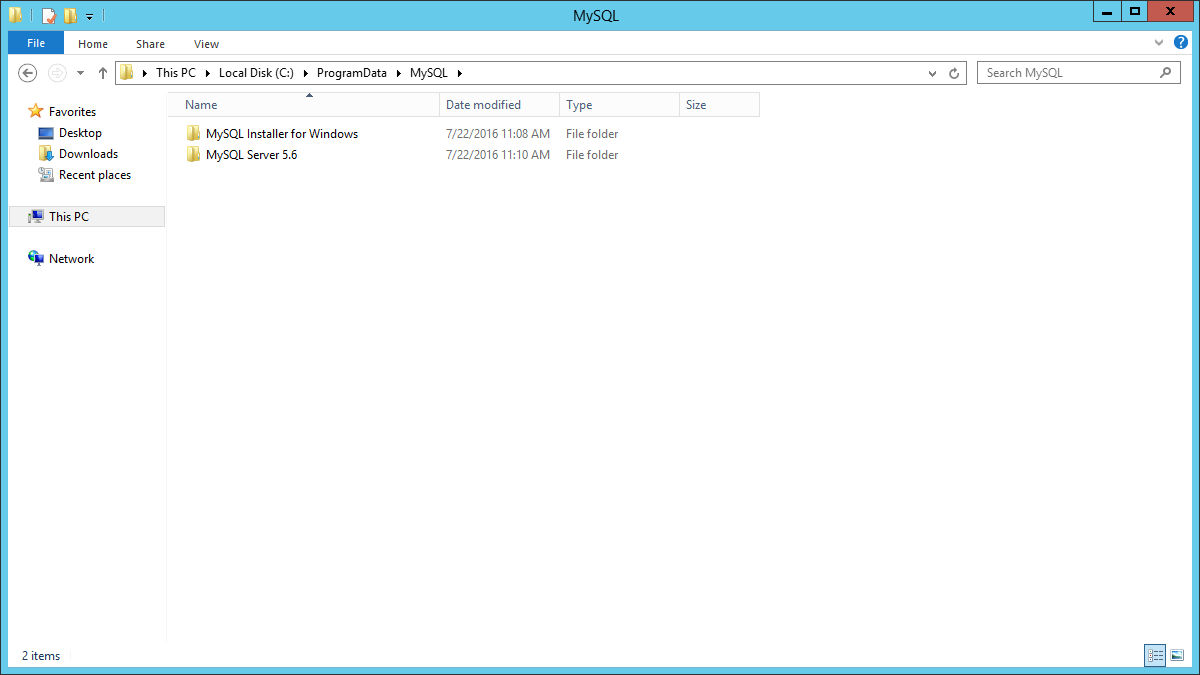
And navigate to %programdata%\MySQL:
Go inside the folder MySQL Server 5.6 (or MySQL Server 5.7, etc. depending on the version you installed):
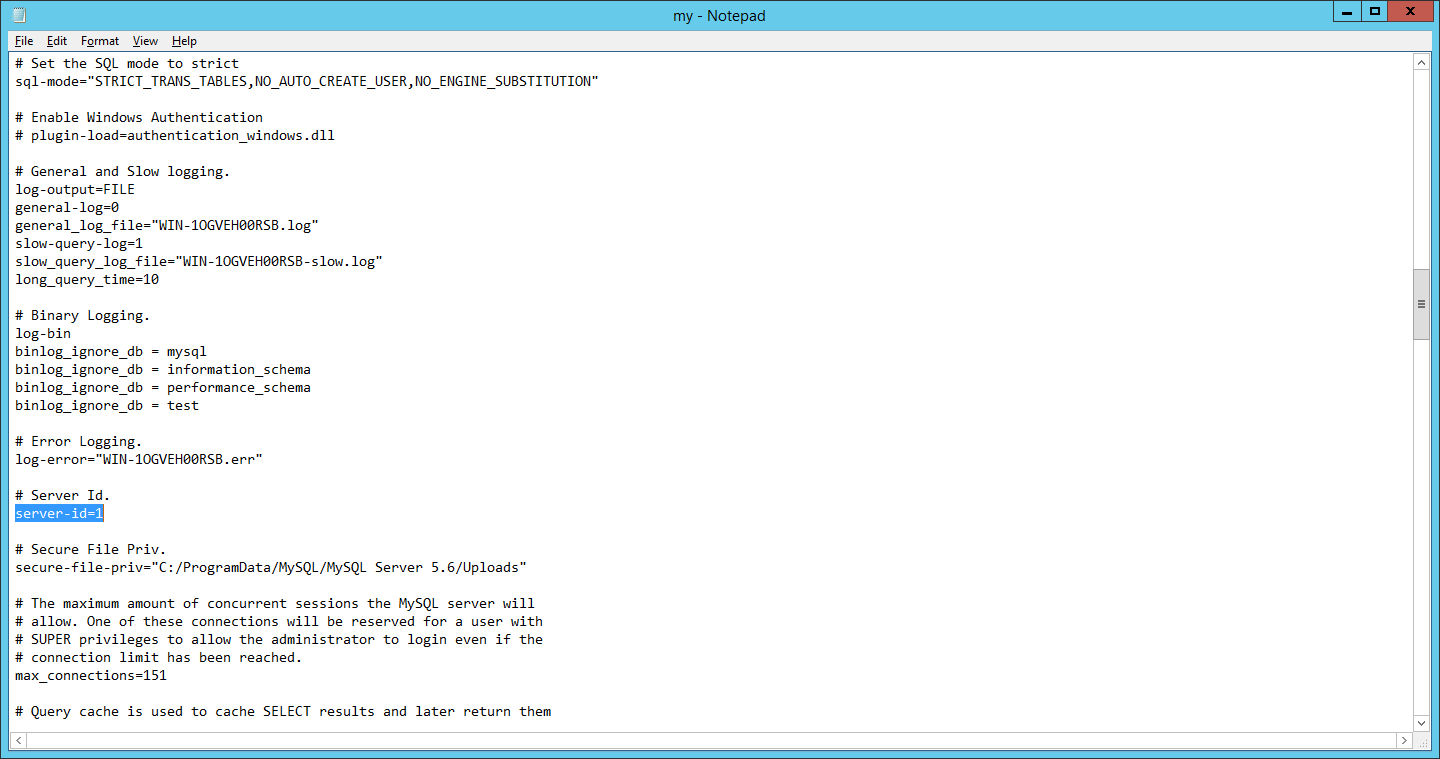
And double click on my.ini:
Notepad should pop up:
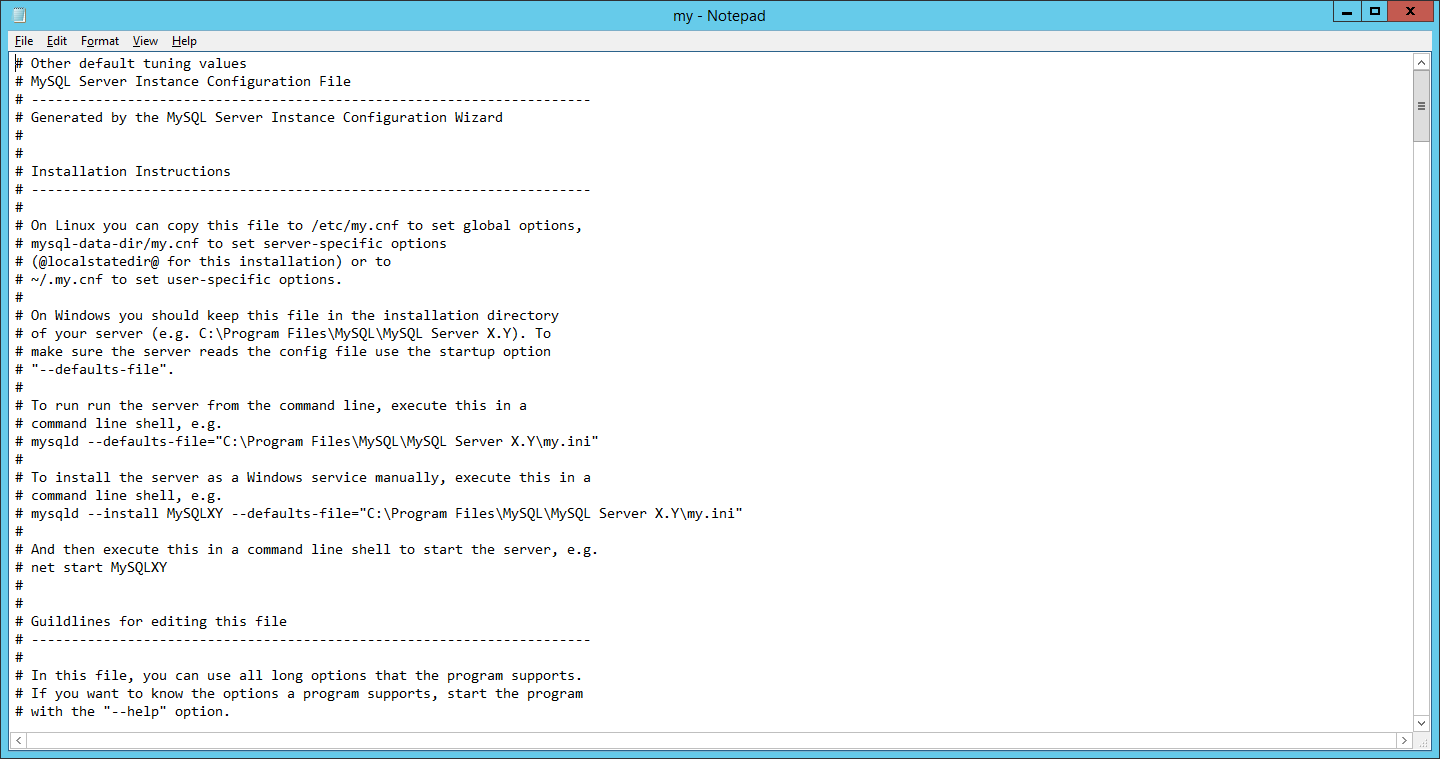
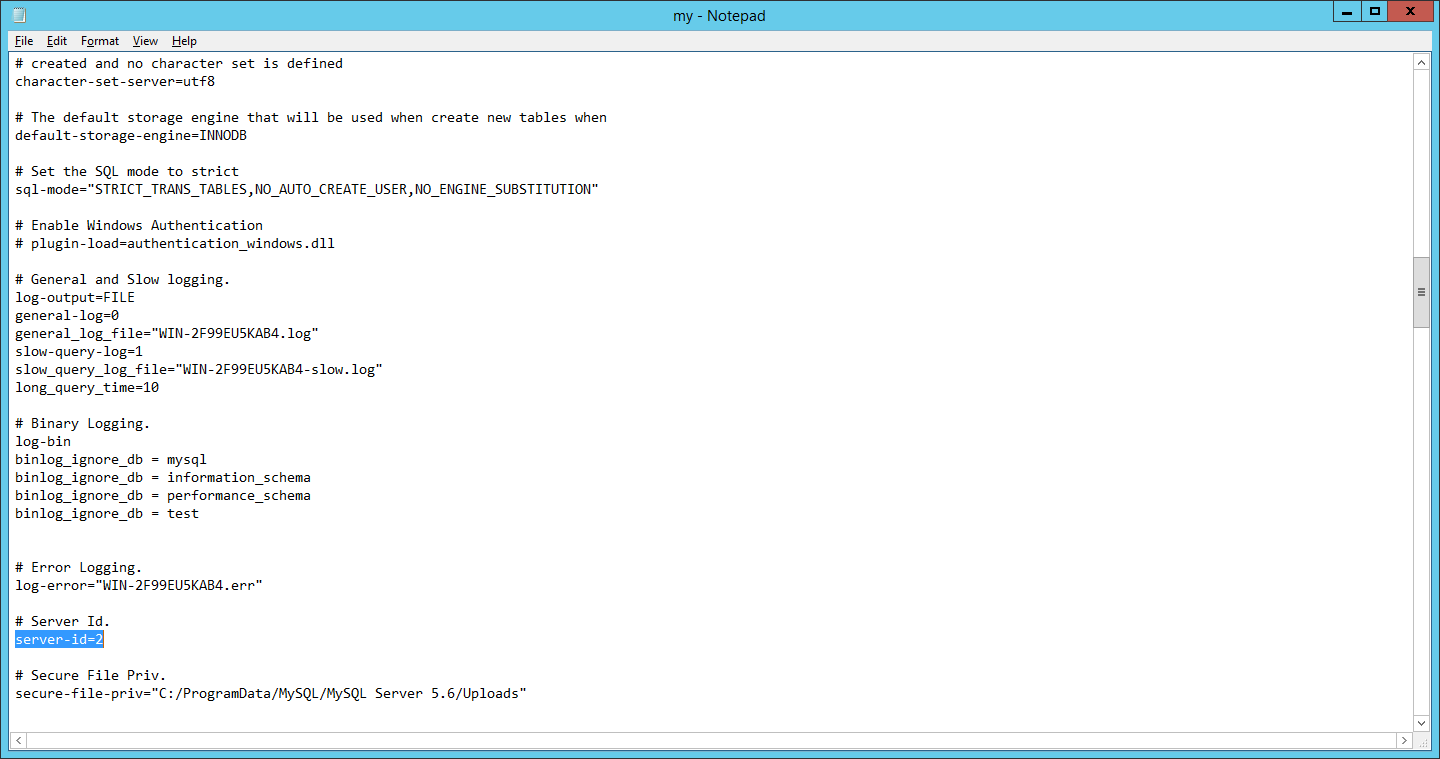
Find (CTRL+F) the text log-bin:
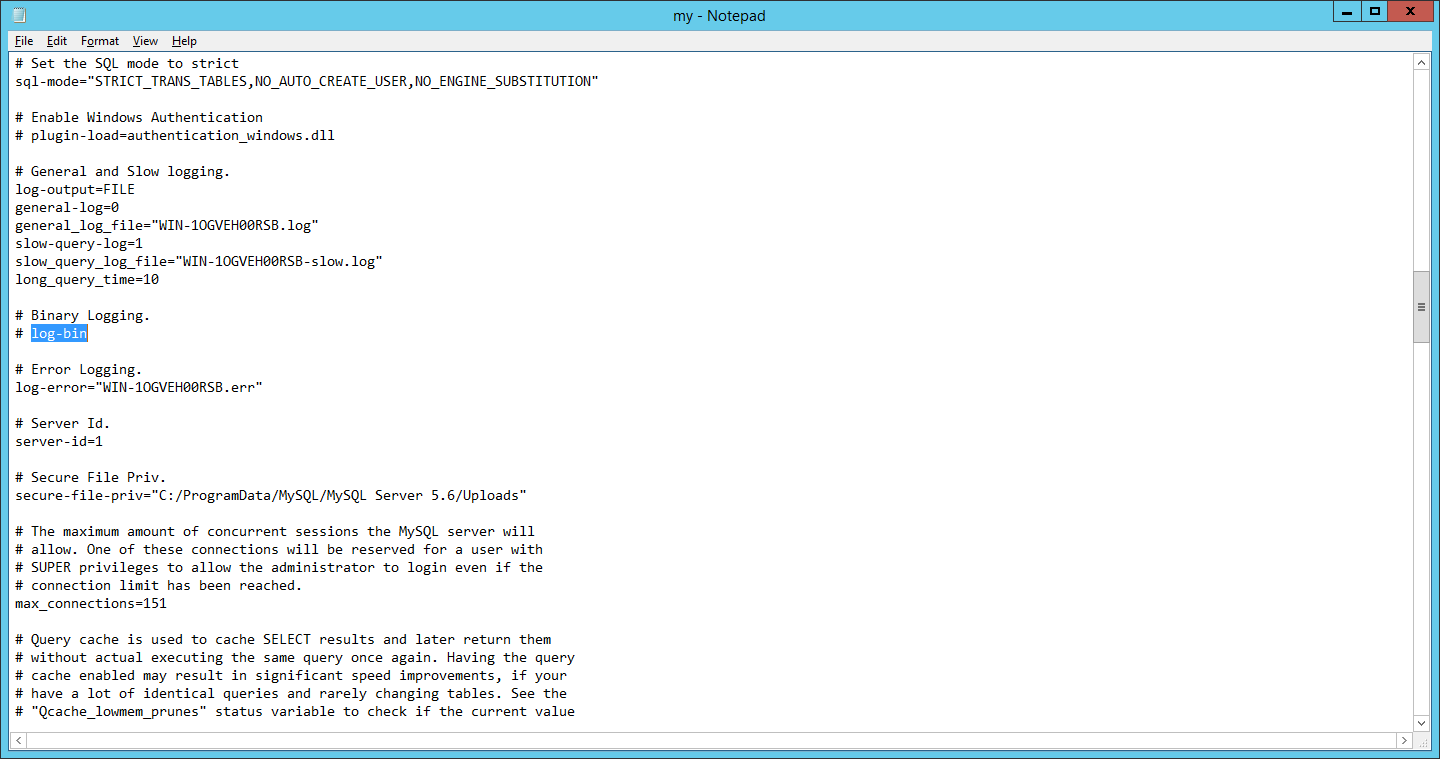
Remove the hashtag symbol before it and enter the following:
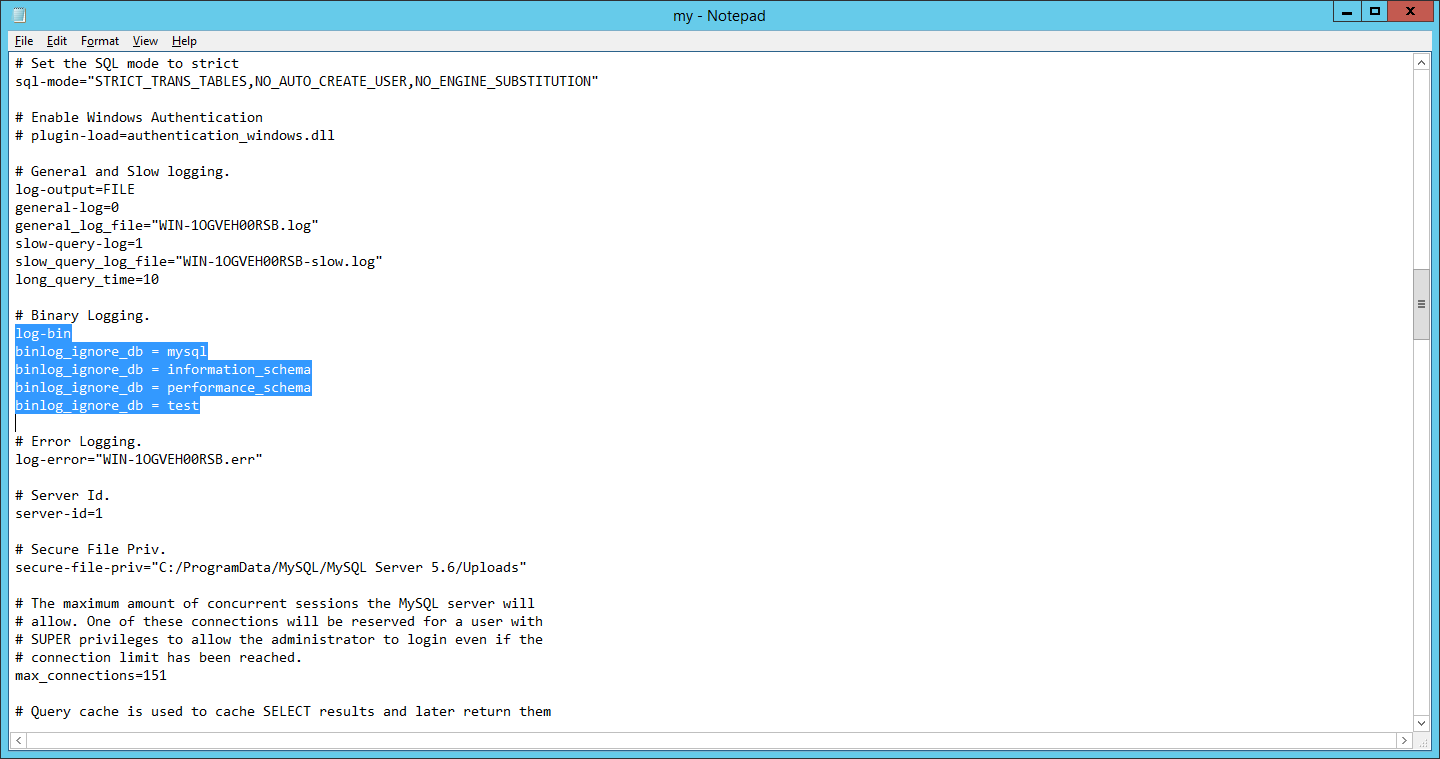
binlog_ignore_db = mysql
binlog_ignore_db = information_schema
binlog_ignore_db = performance_schema
binlog_ignore_db = test
It should look like this:
A bit lower down the file there is an entry named server-id with a value of 1. Do not change it on this server, but on the other one it should be set to 2:
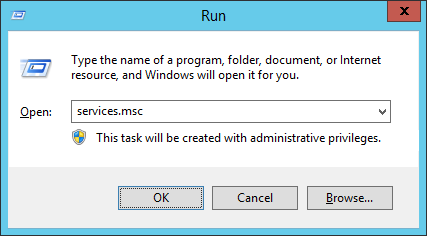
 Save the config file and run services.msc:
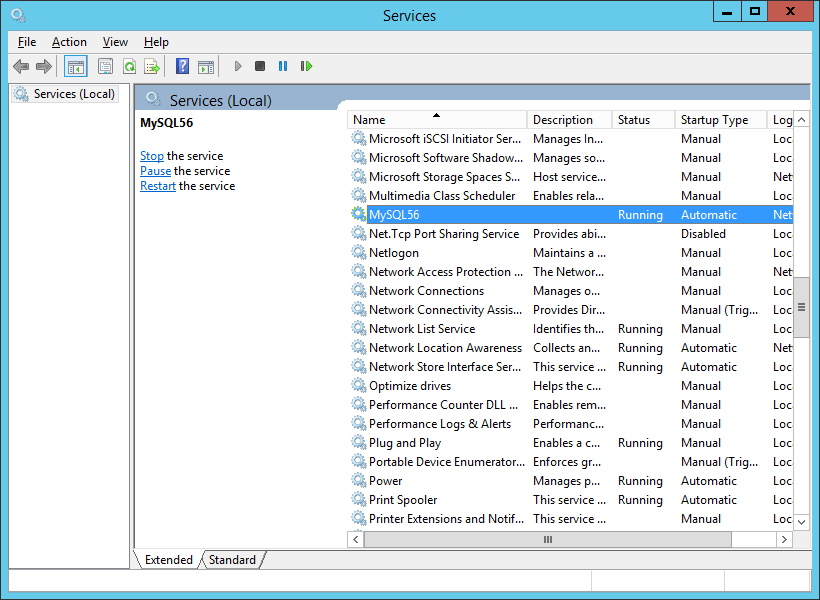
Find the MySQL service and restart it to commit the configuration changes:
Setting up the replication
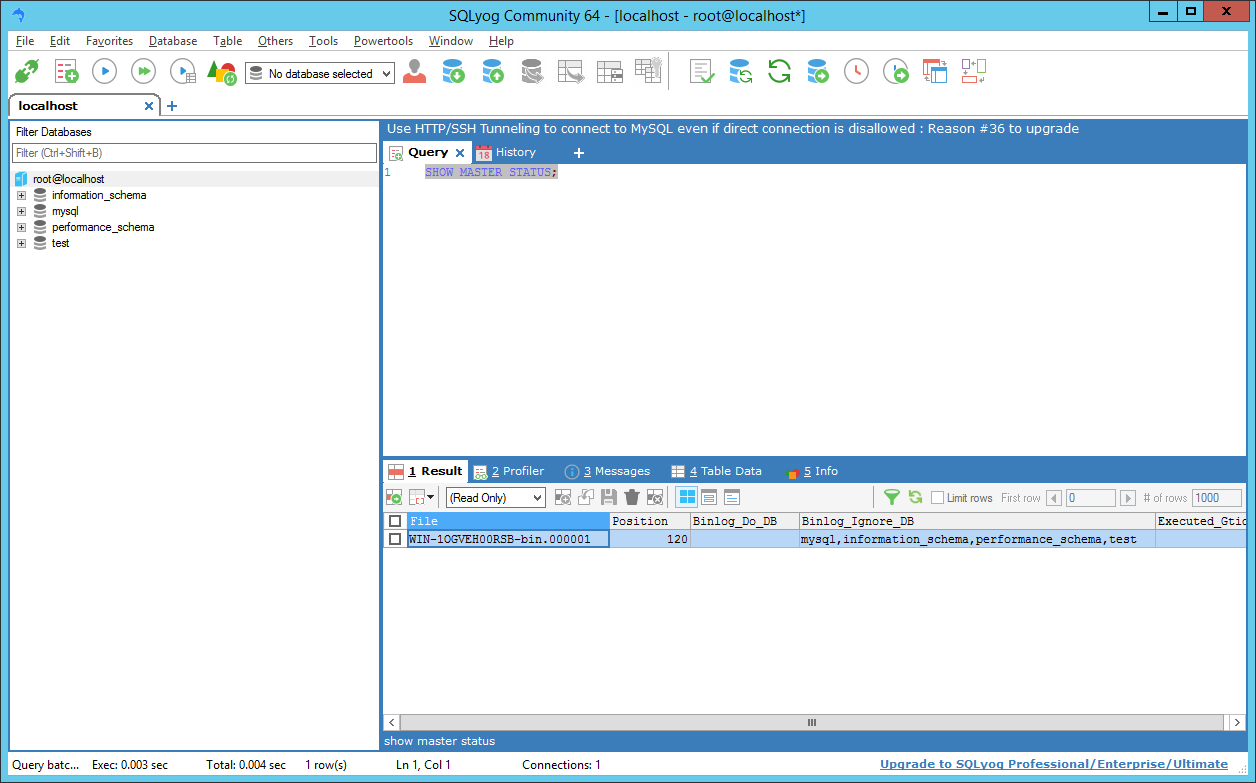
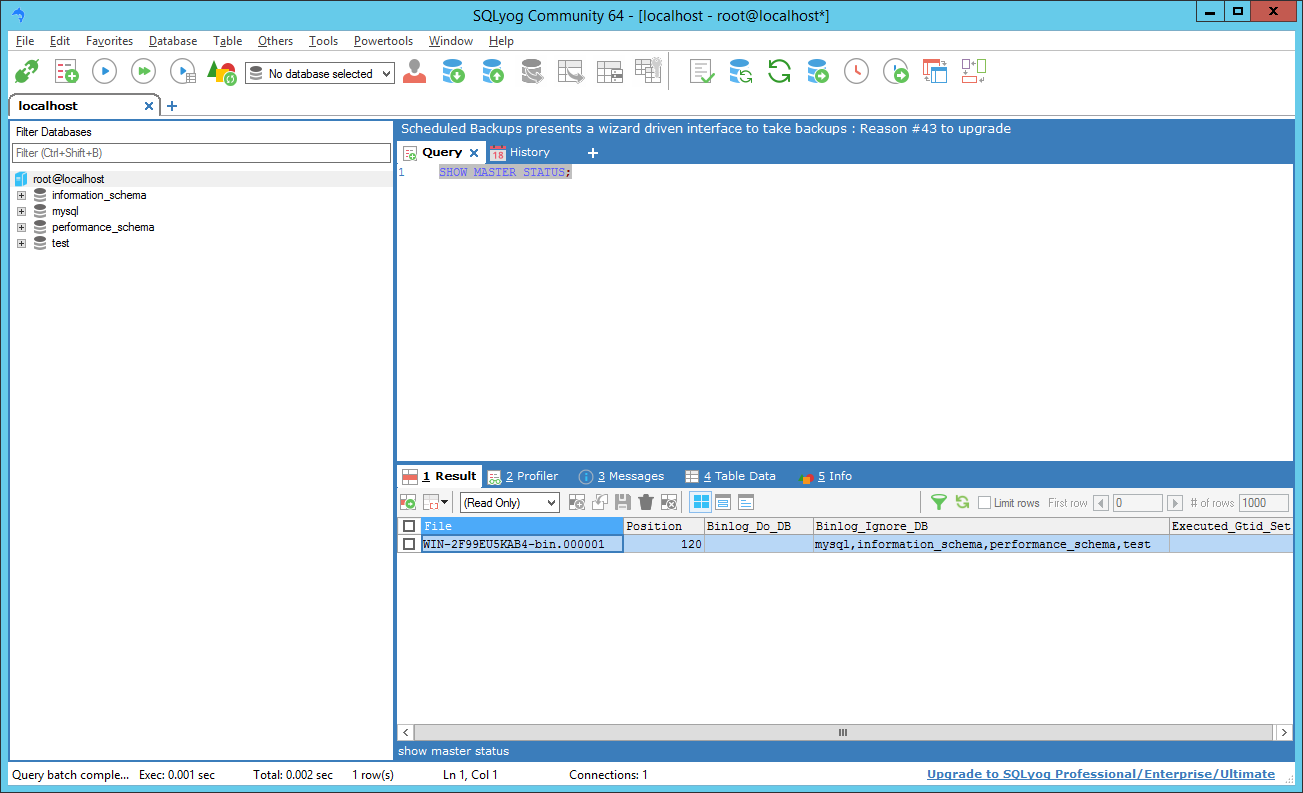
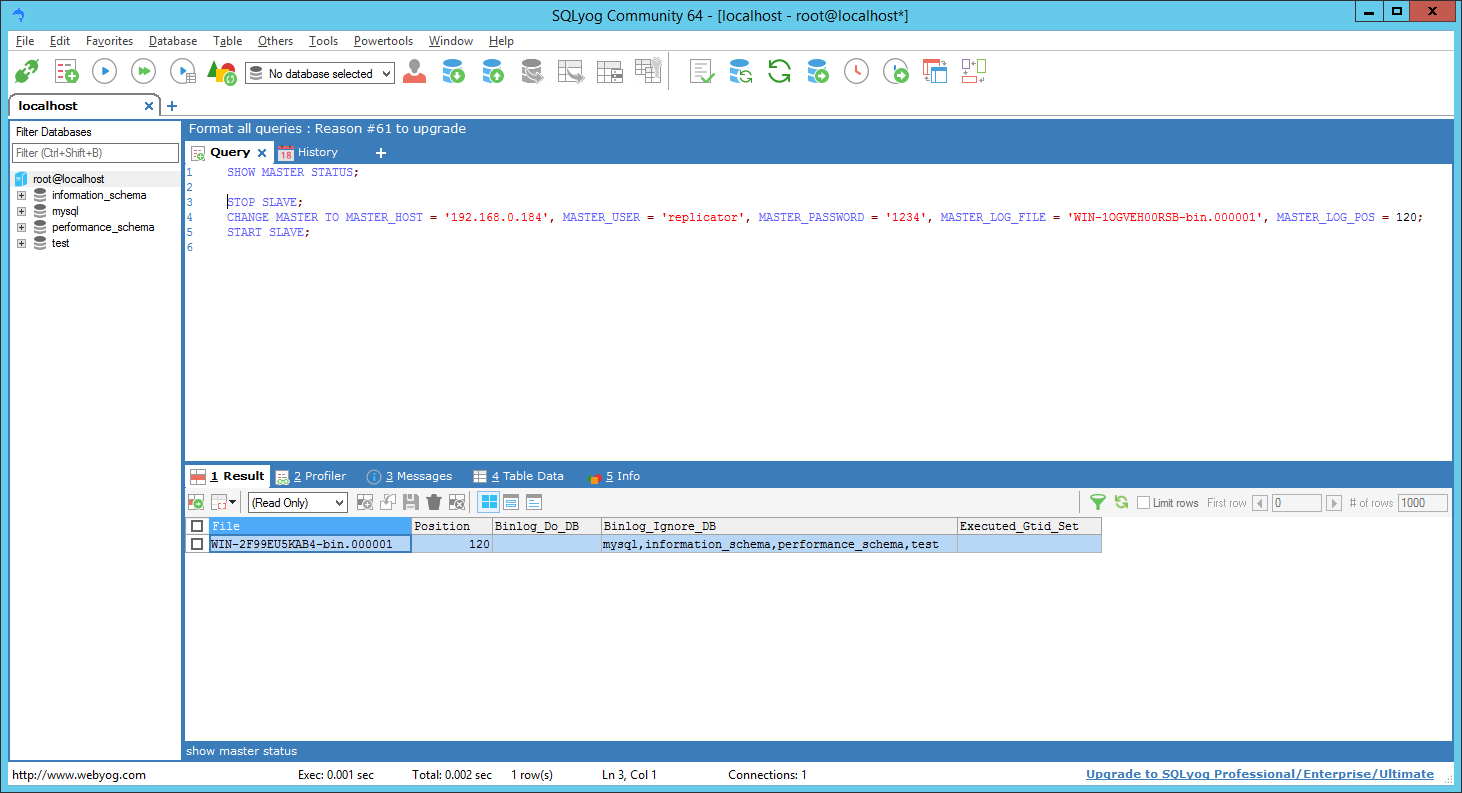
Back to SQLyog for a bit. Run the following query on the first server:
SHOW MASTER STATUS;
It should output something like this, with a File and a Position, take note of those, cause we are going to need them later:
A reminder that on the second server the server-id should be set to 2:
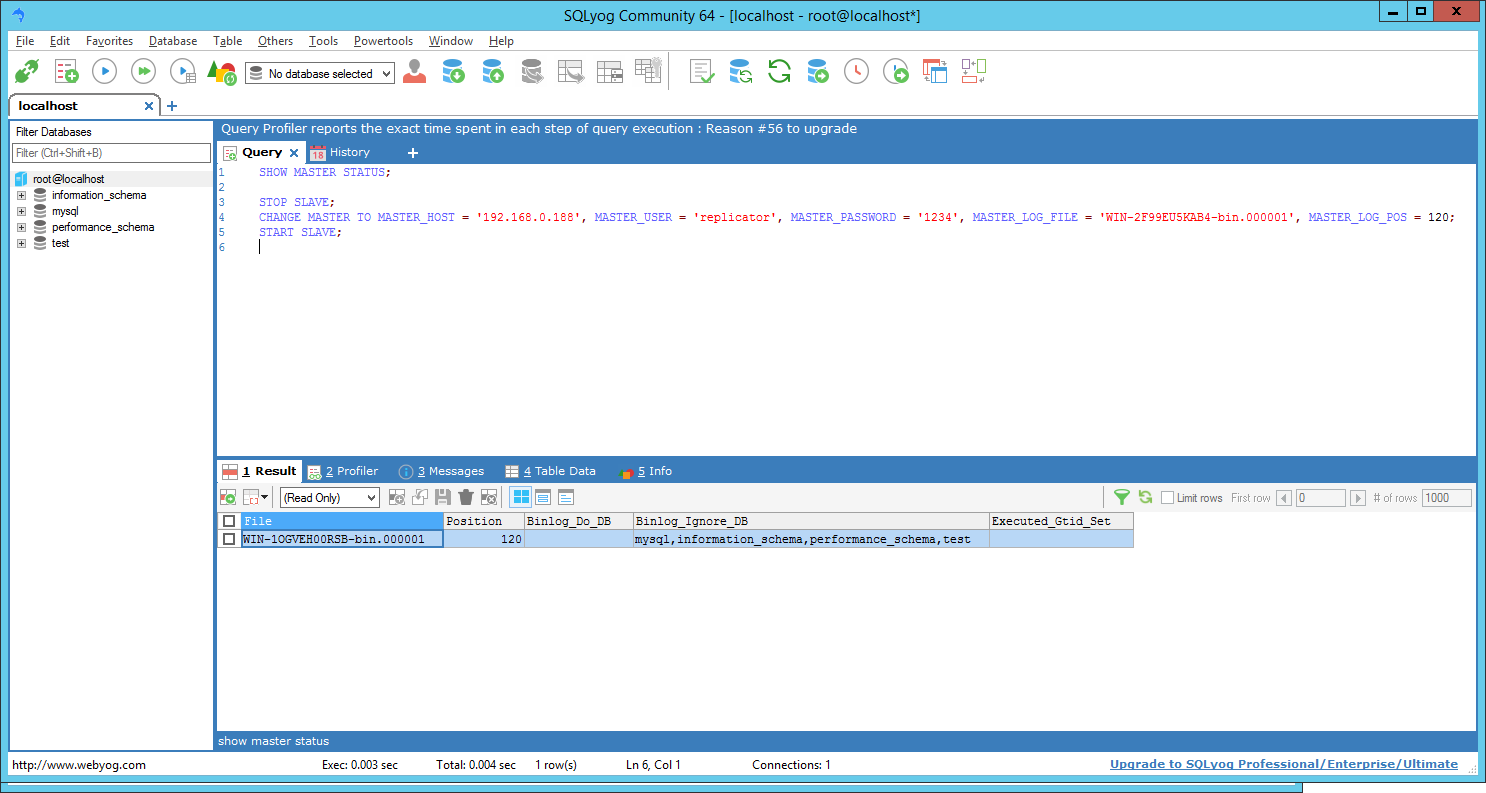
Run the following query on the second server:
SHOW MASTER STATUS;
This also should output something like this, with a File and a Position, take note of those, cause we are going to need them later:
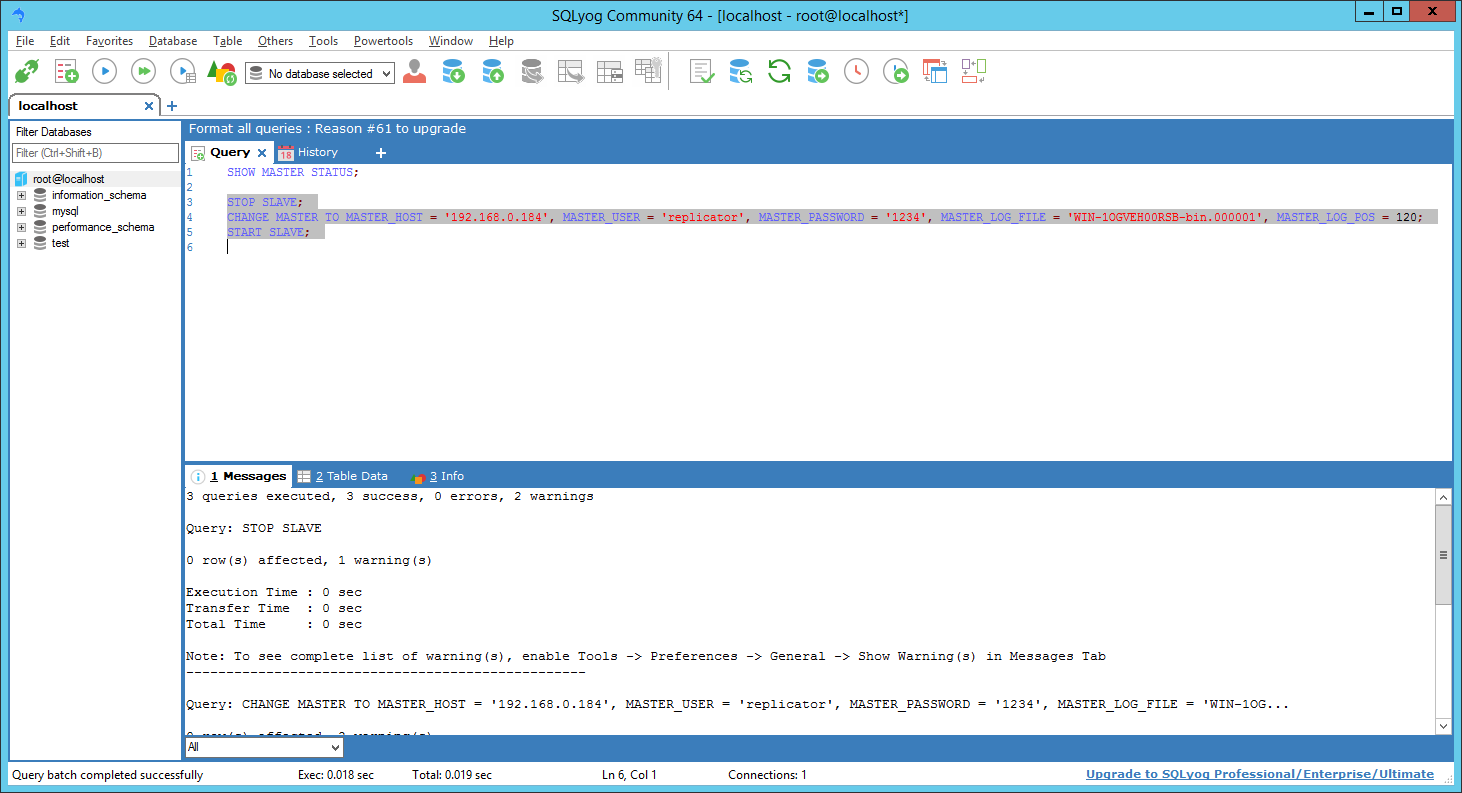
We need to run the following query on both servers, but with different parameters:
STOP SLAVE;
CHANGE MASTER TO MASTER_HOST = 'other-servers-ip', MASTER_USER = 'replicator', MASTER_PASSWORD = '1234', MASTER_LOG_FILE = 'other-servers-file', MASTER_LOG_POS = other-servers-position;
START SLAVE;
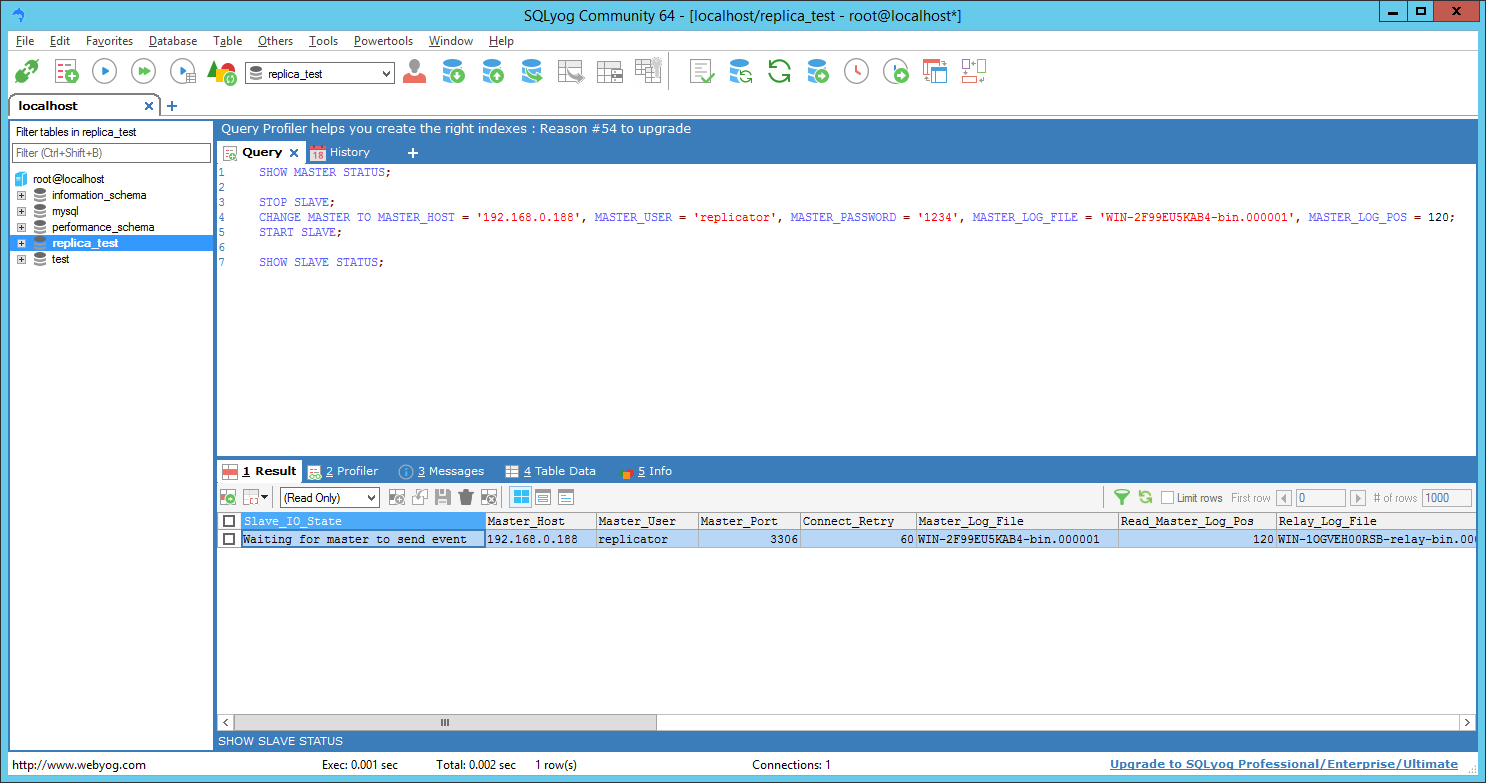
So on the second server we run it with the parameters the first server gave us, like so:
Don’t forget to select all three lines, before pressing F9:
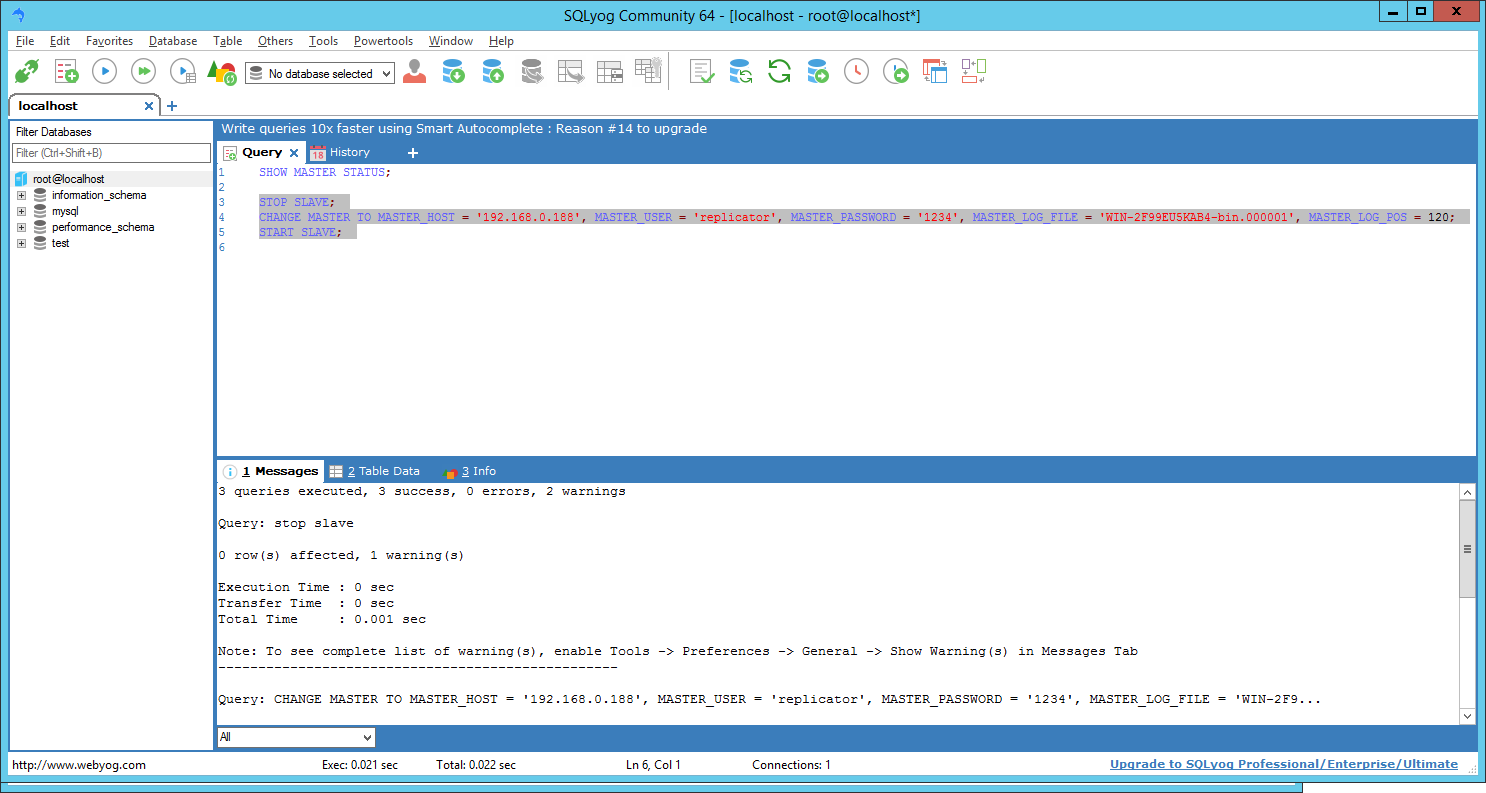
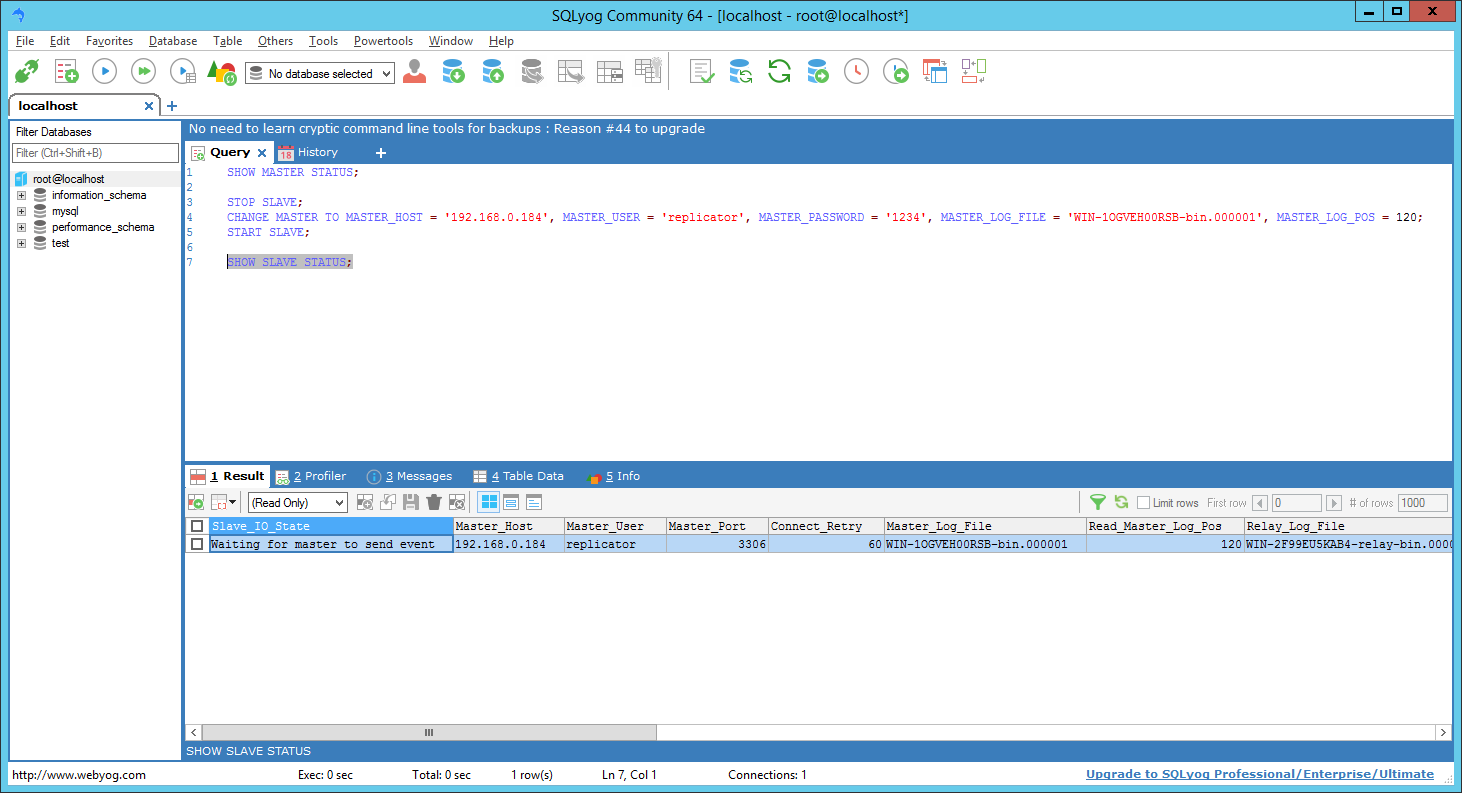
Likewise on the first server we run it with the parameters the second server gave us:
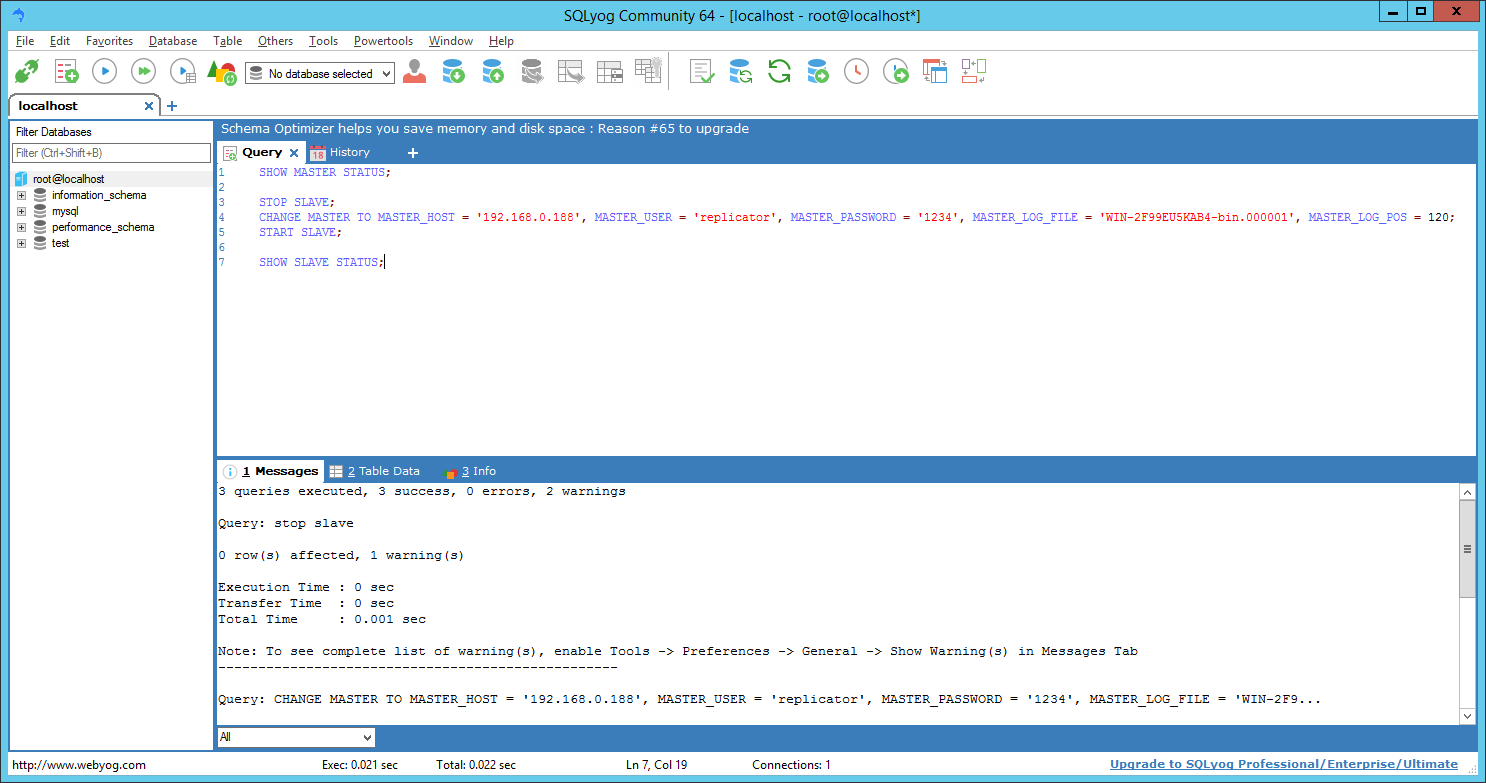
We can check if everything is fine, by running:
SHOW SLAVE STATUS;
Here is the output on the first server:
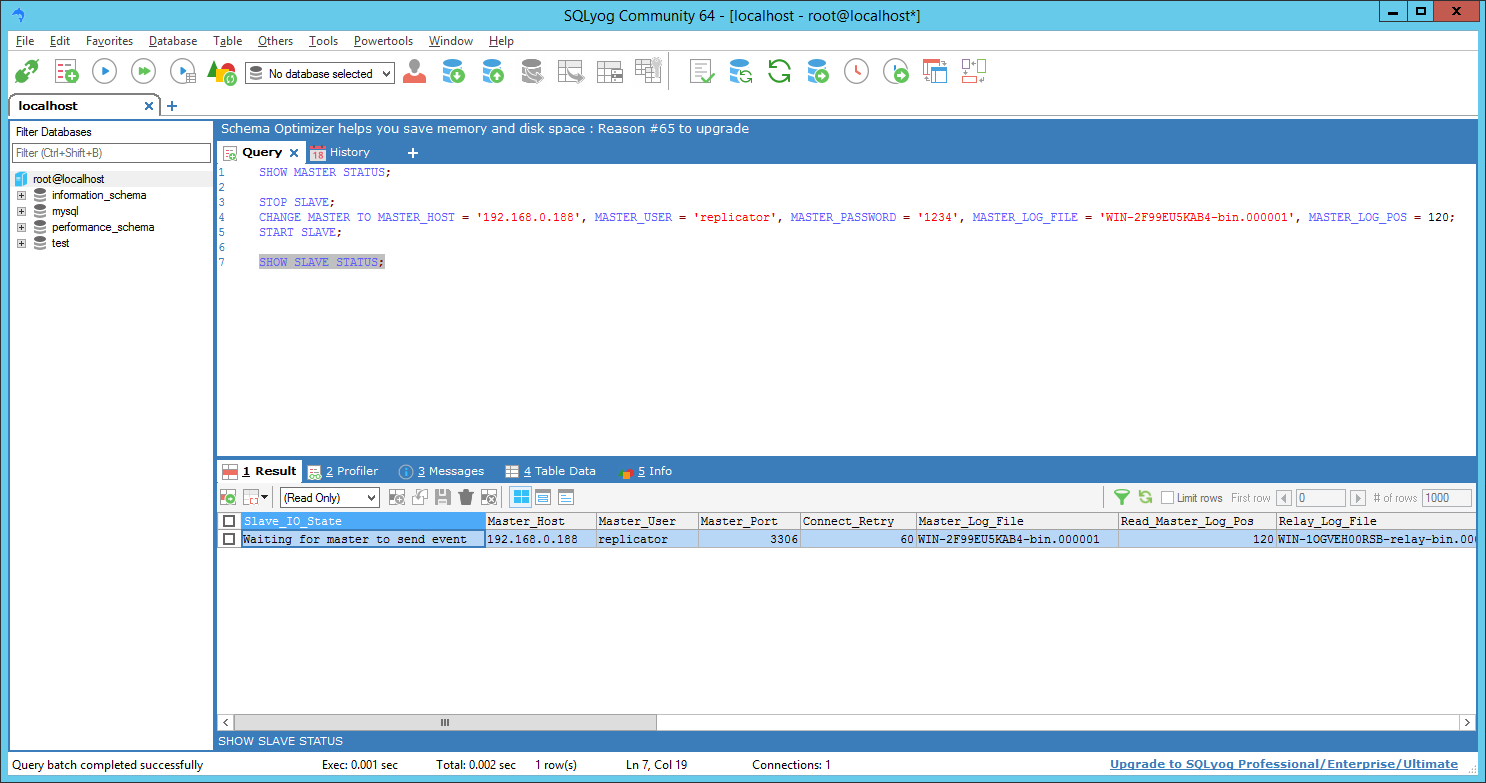
And on the second server:
Further testing
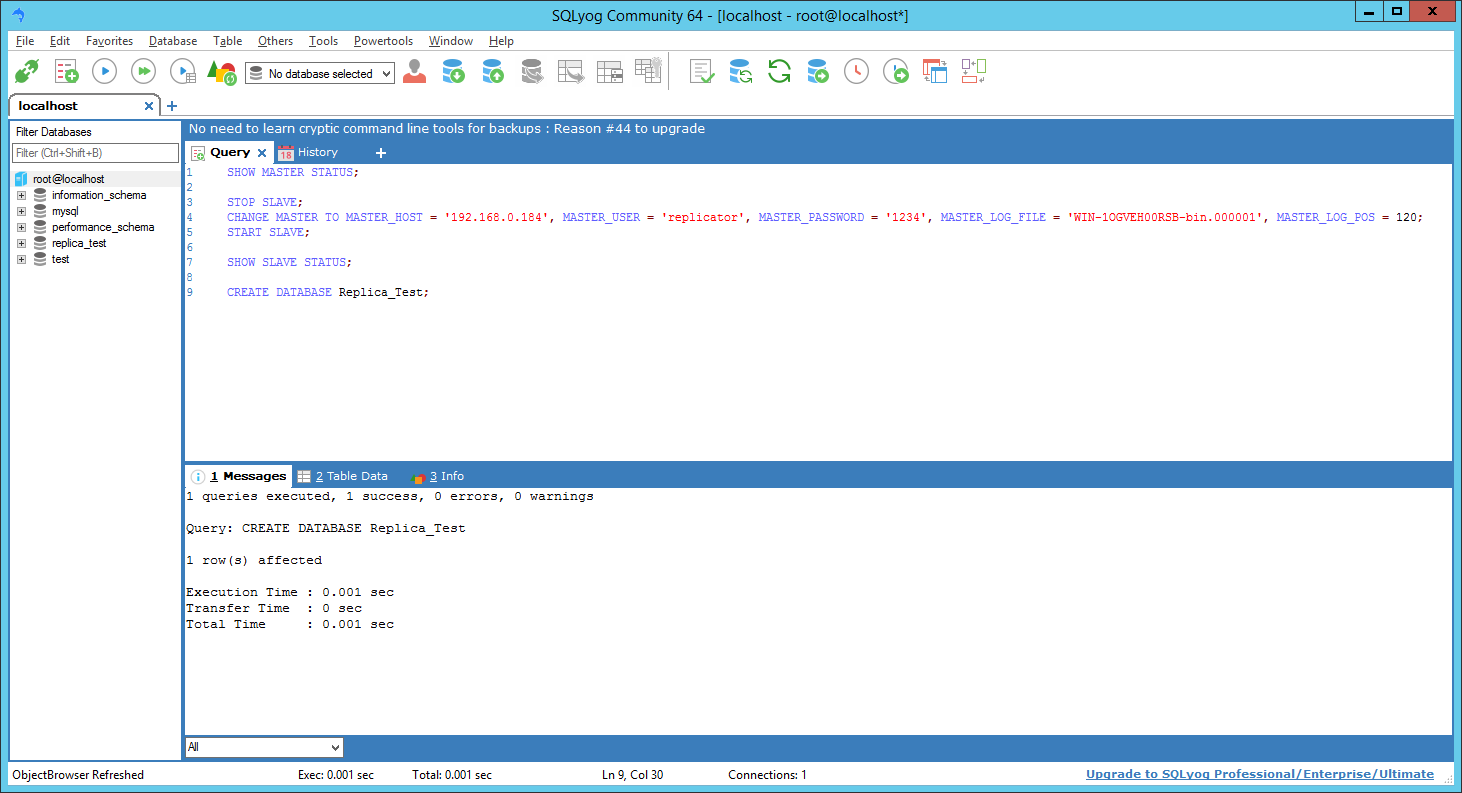
We can create a test database on either of the servers, in my case on the second server by running:
CREATE DATABASE Replica_Test;
And after refreshing the database list, by pressing F5 we can see that it was created:
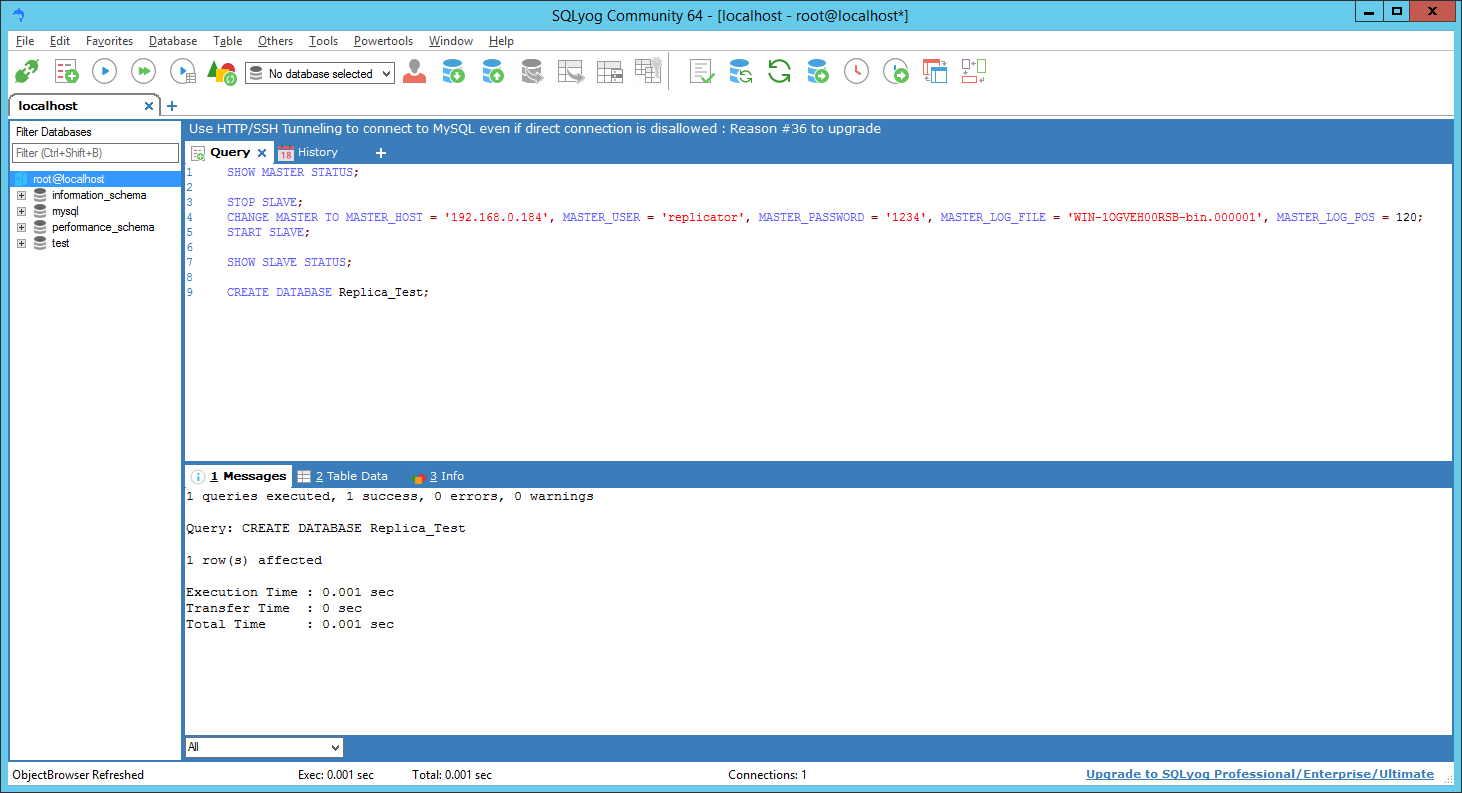
Refreshing it on the first server as well we can see that it did replicate:
Deleting it from the first server by pressing del:

Has the same effect on the second server:
hello here u say on the second server
so should we use 2 os for replication
i only have one my.cnf
Yes, you gonna need 2 servers, since this post aims to explain how to sync the two together.
Awesome Article 🙂
Everything is given from scratch and I was looking for this only.
Thumbs Up Dude 🙂