pfSense is in my opinion THE best firewall solution. Besides the usual stuff that all routers can do: Load Balancing (both Inbound an Outbound), can be set up to support hardware failover, has pretty decent OpenVPN integration (but also supports IPsec and PPTP) and best of all? It’s free! We will soon dive into the more complex tasks regarding pfSense, but we have to start from somewhere so let us first install it.
I’m gonna assume that you already have some kind of hardware, any old PC (within reason) will do actually, and that you already have some means of booting from iso, that can be downloaded from here.
For the purposes of this installation my WAN (external) address will be 192.168.10.43, and my LAN (internal) address will be 192.168.1.1.
After booting you are presented with the following screen:
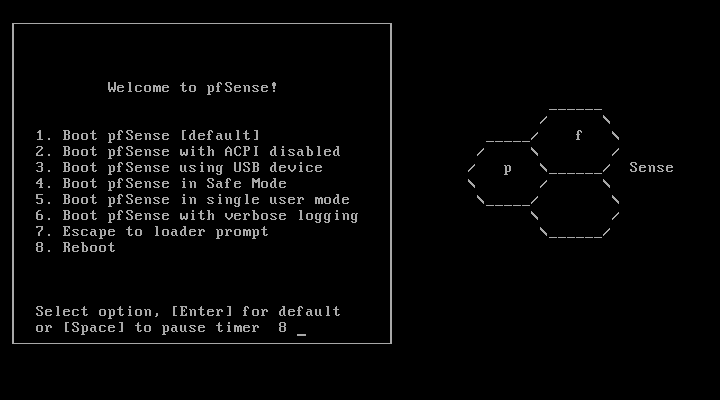
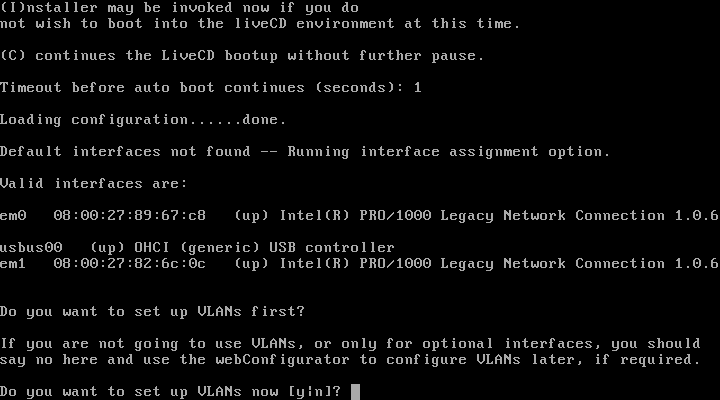
Wait for the timeout to finish or select option 1. A wizard will help you set up your network interfaces. First up it will ask you to set up your VLANs, let’s press y to see whats that about:
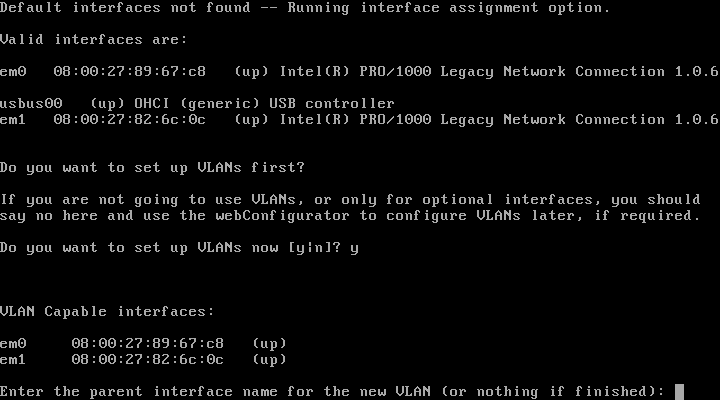
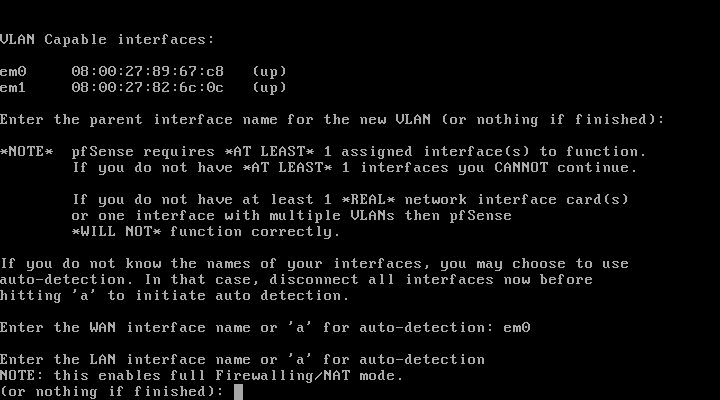
You will get a list of VLAN capable interfaces and they status. As you can see we have two devices em0 and em1. We don’t want any VLAN setting for now, so just press enter to exit the VLAN portion of the wizard:
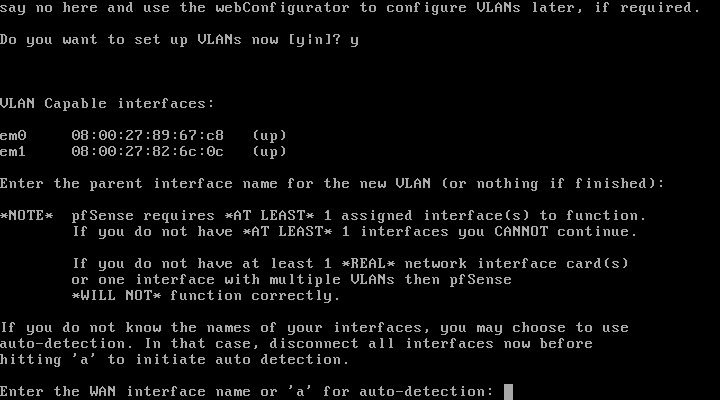
Now we must specify the WAN (external) interface. We got the interface MAC addresses from the previous screen, so we just need to find out what interface is connected to the external network. In my case it is em0, so I’m gonna enter em0 here:
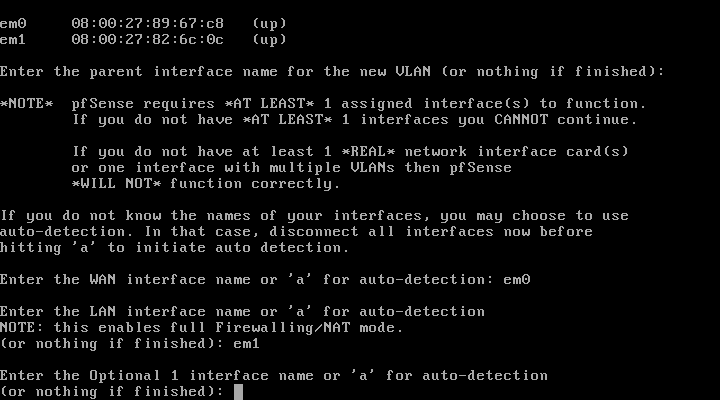
After WAN is set up, it will ask for the LAN (internal) interface. Naturally that will be em1 in my case (the only other interface left), so let’s enter that:
Finally it will ask for another interface, an Optional one. If you have more than 2 interfaces you can enter them here as Optional 1, Optional 2, and so on, for later use. Since we have only two that are already set up, leave this blank and just press enter:
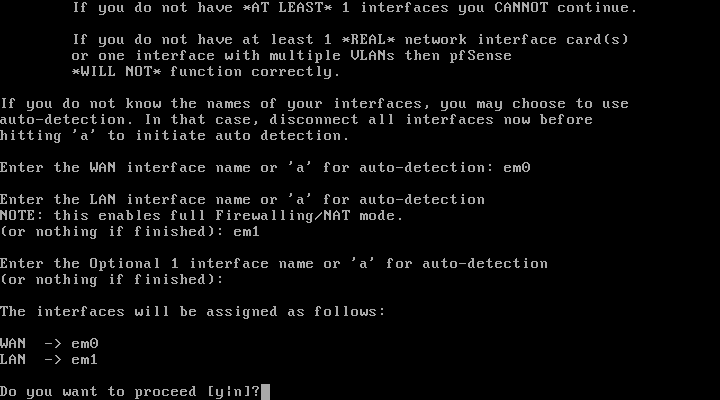
The wizard will create a summary of your interface assignment and ask you to proceed, press y:
That’s it! It’s all set up, you should have basic routing and fire-walling set up. This is how the machine should look:
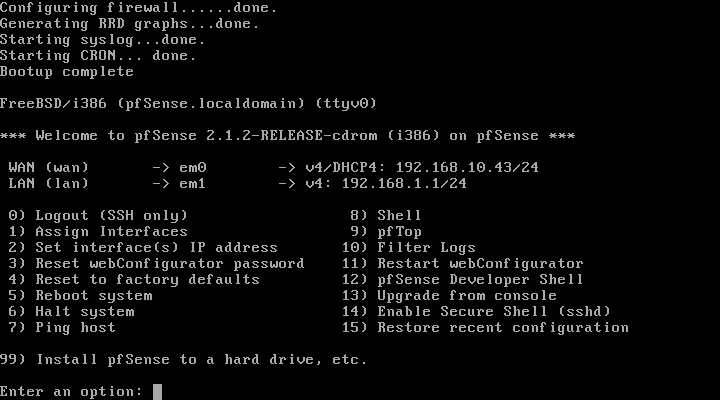
Notice the last option, 99) Install pfSense to hard drive, etc. This indicates that pfSense isn’t actually installed to your server, it’s just running from the Live CD. Before continuing you should check that everything is set up properly (for example you didn’t mistake WAN and LAN interfaces) if not, you can just restart and start again, no configuration is saved till this point. If everything is ok we can set it up so it will remember your settings and boot from the HDD. To do that press 99 to enter the pfSense installer. You are presented with the following screen:
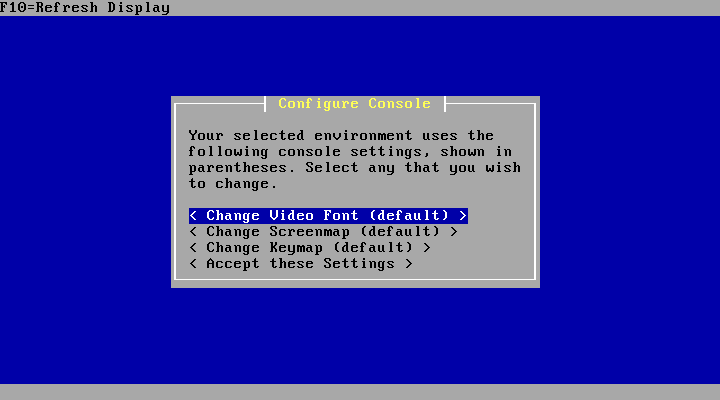
Here you can change the Font, Screenmap and the Keymap, you can leave it at the default settings and just go to Accept these Settings. After that, you are presented with the following screen:
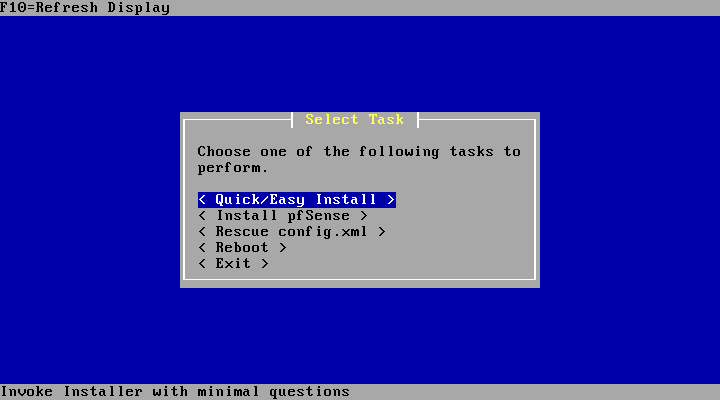
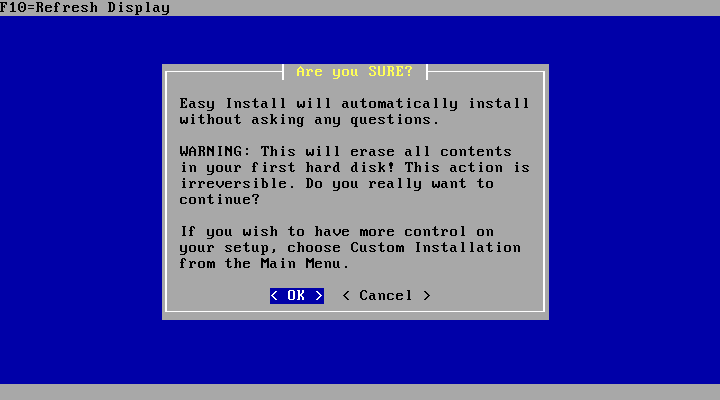
Install pfSense gives you a lot of options about partitioning and so on, Rescue config.xml can be used to install pfSense with a config file you already have from an older install, Reboot is pretty self-explanatory. Here we gonna chose Quick/Easy Install because, well it’s quick and easy. It will display the following screen, warning you that you will loose ALL data on your hard drive, press OK if you are okay with that:
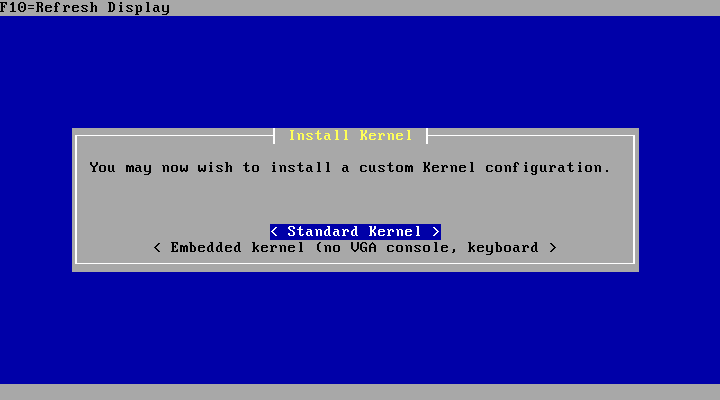
It will ask you which kernel you would like, select Standard Kernel (if your installing pfSense on an Embedded device than this tutorial isn’t for you, and you probably already know what you are doing) and press enter:
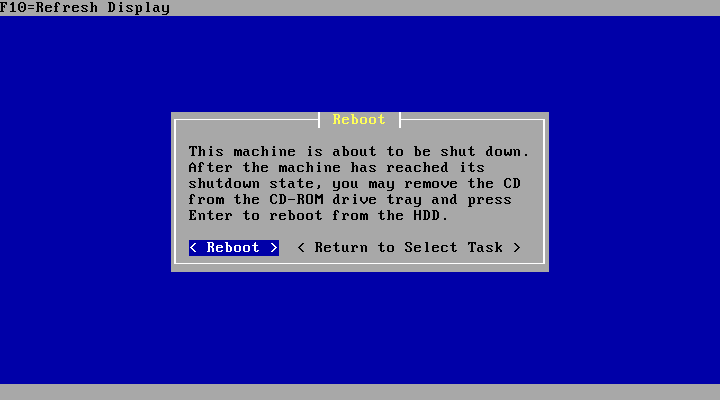
Finally after the installer finishes it will ask for a reboot. Remove the Live CD and select Reboot:
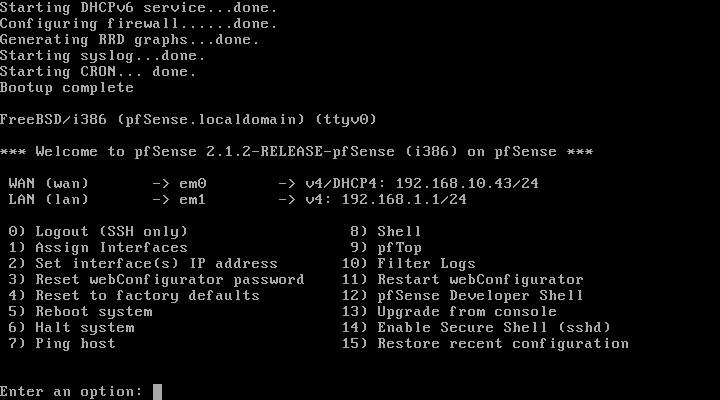
Wait a bit for it to boot and you should end up with the already familiar screen, but now it should lack option 99:
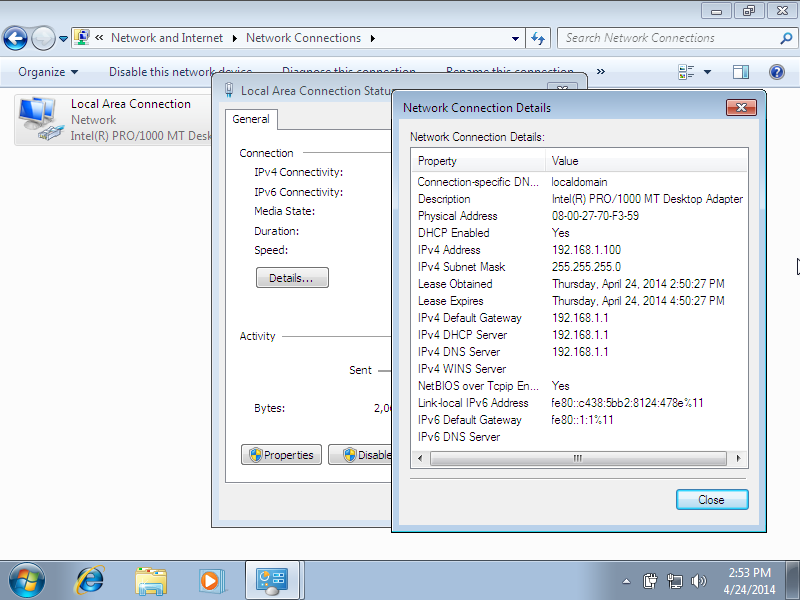
Now any client connected to the network should get an IP (and gateway, and DNS, etc) via DHCP. Here for example is a screenshot of a Windows 7 client’s Network Connection Details:
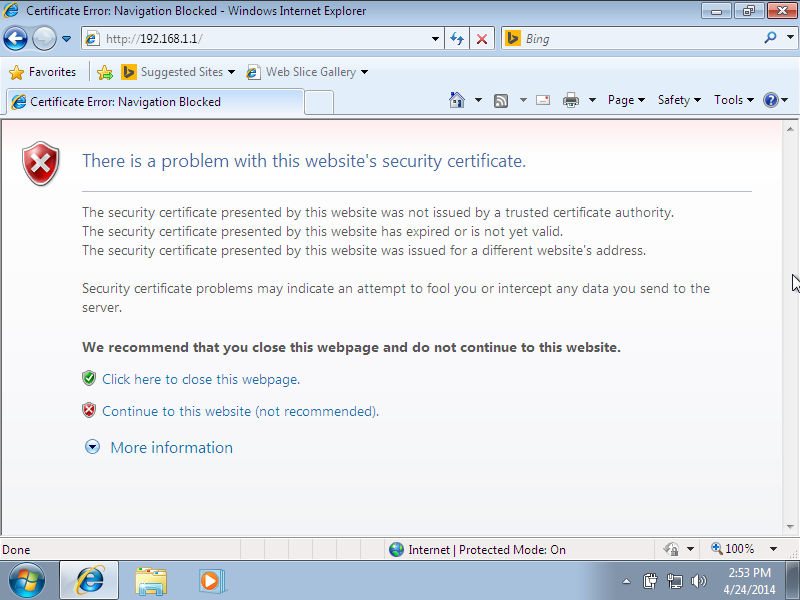
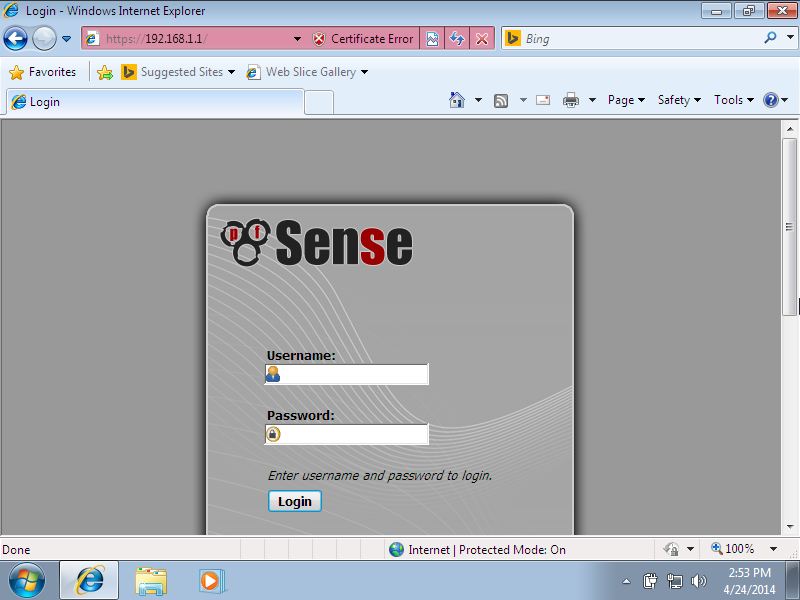
There is still some setup left to do, but we cannot do that via the CLI, we need to connect to the admin interface of pfSense. Open a web browser (I’ll be using Internet Explorer) and point it to the routers internal address, just like you would with consumer routers. By default the address is http://192.168.1.1/. It will redirect you automatically to https, but since it uses a self sign certificate you will receive a warning, click Continue to this website (not recommended):
You are presented with the login screen. The default user is admin, and the default password is pfsense. Enter them and press Login:
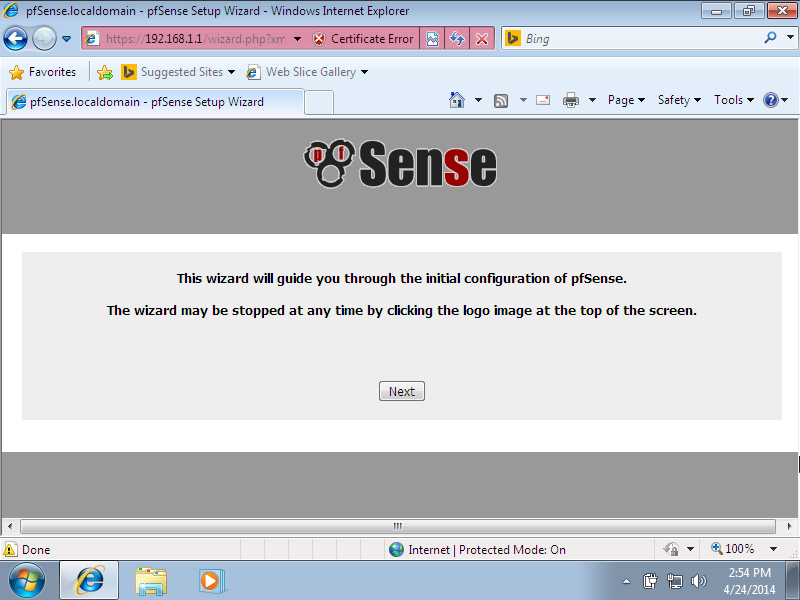
A wizard greets you once more, press Next:
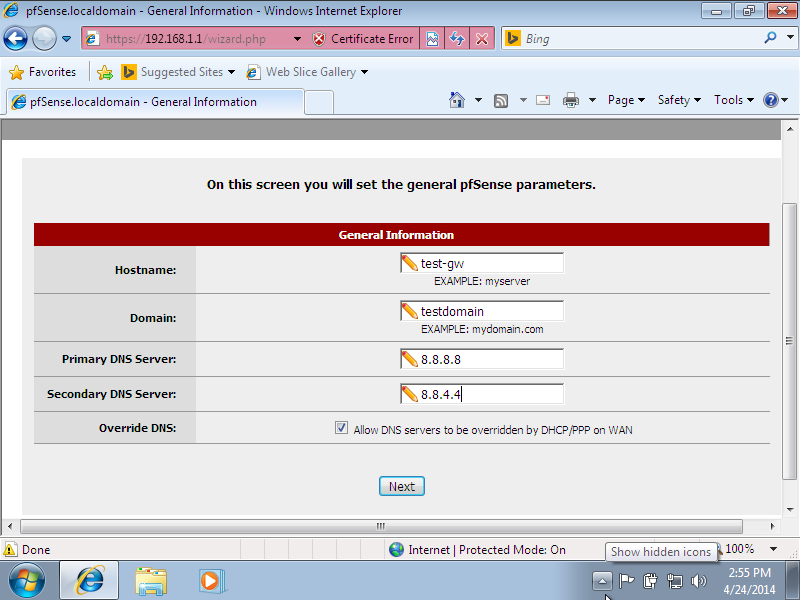
First give your gateway a name, set the domain and set up the DNS servers, here’s how the defaults look:

And this is what I will be using (for DNS servers I put the external Google DNS servers 8.8.8.8 and 8.8.4.4 respectively):
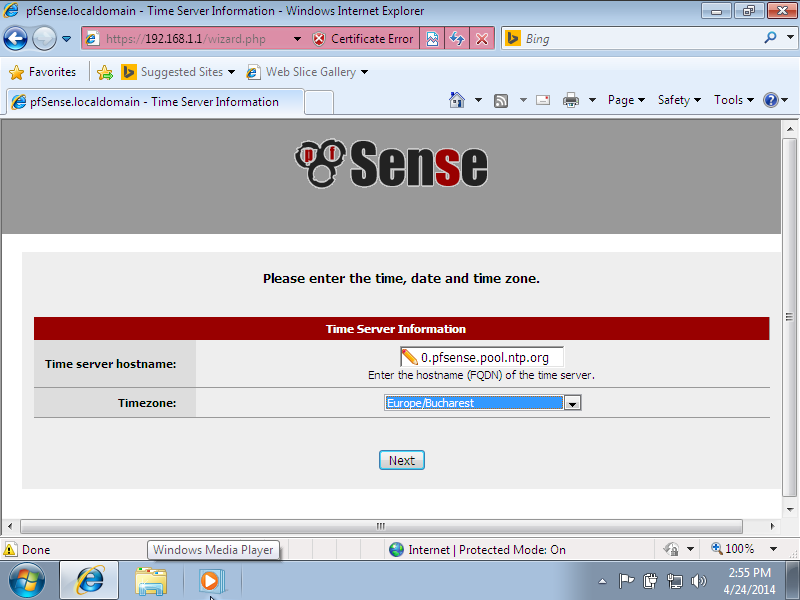
After that you can set up a Time server and your Timezone can be selected from a drop down menu:
Now to the WAN setup (screen 1 of 2):
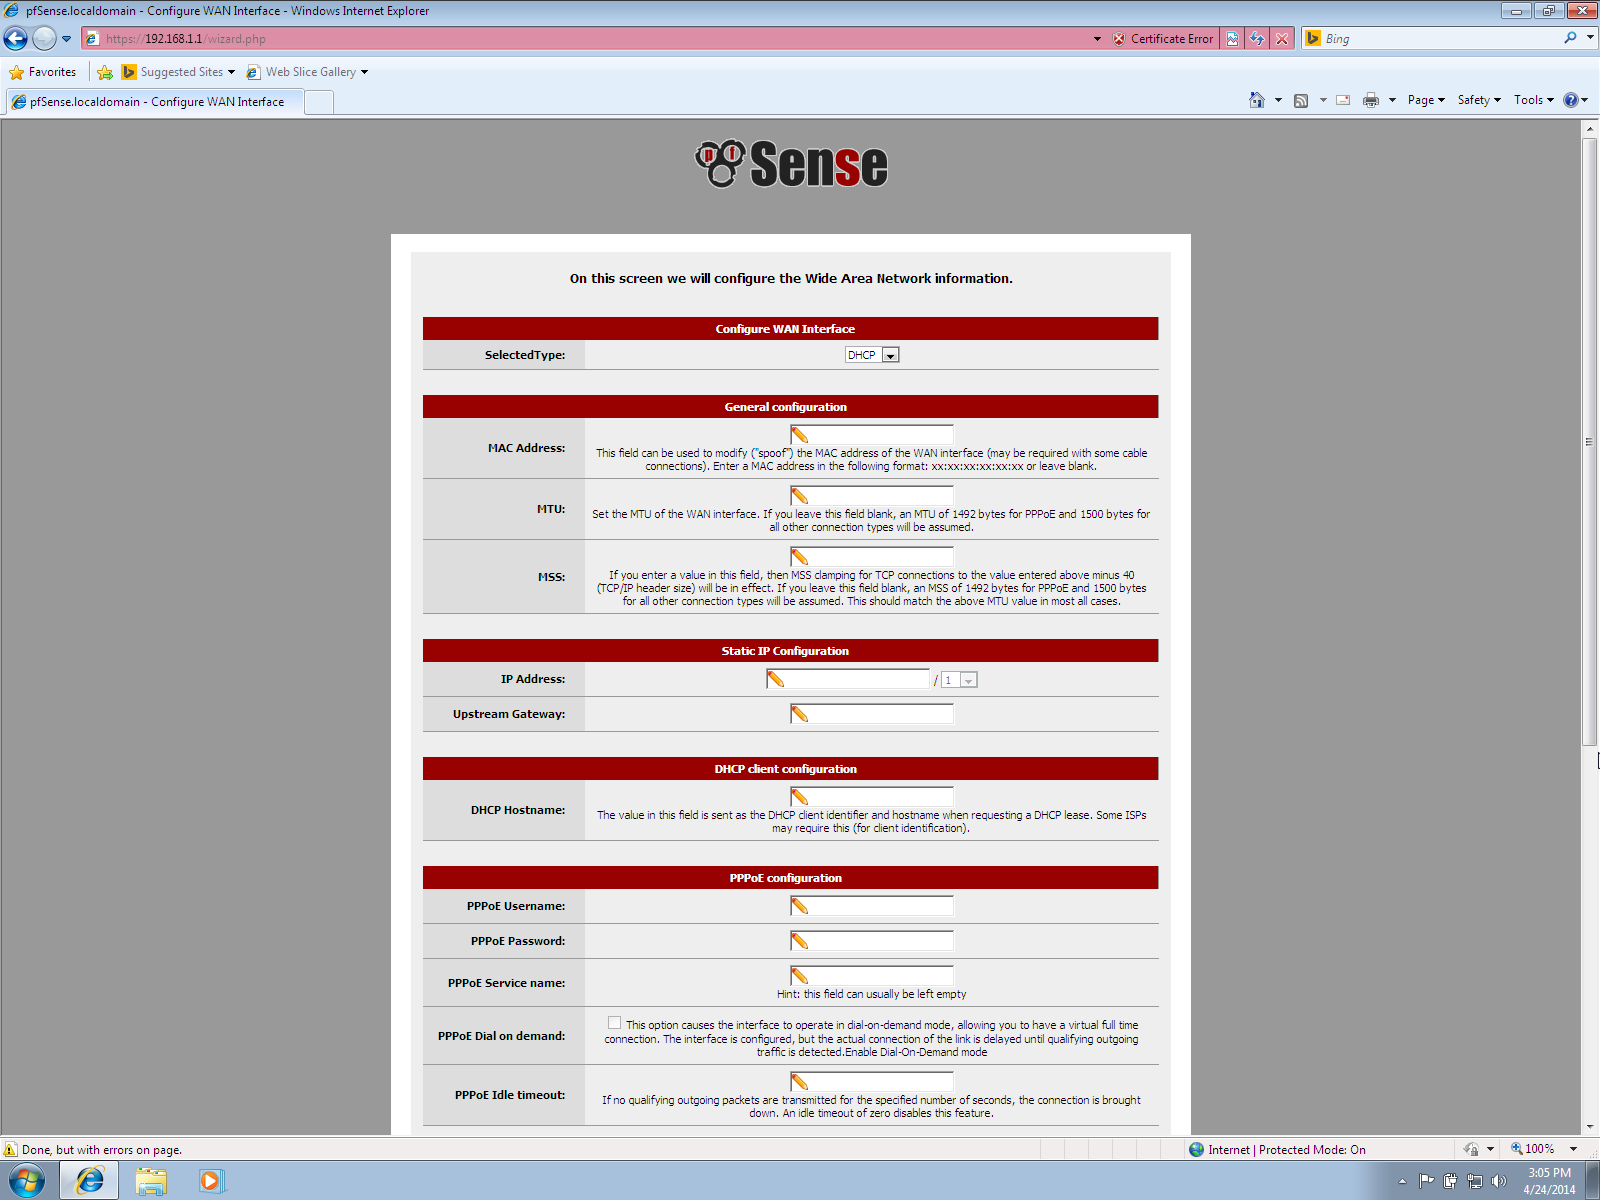
Wan setup (screen 2 of 2):
I will be using DHCP for this tutorial, since that is the most commonly found WAN connection method, but all the options are pretty self-explanatory and chances are you should be familiar by them if your configuring a router.

After the WAN setup naturally comes the LAN setup. This is less complex, you can change the IP and the Subnet Mask:

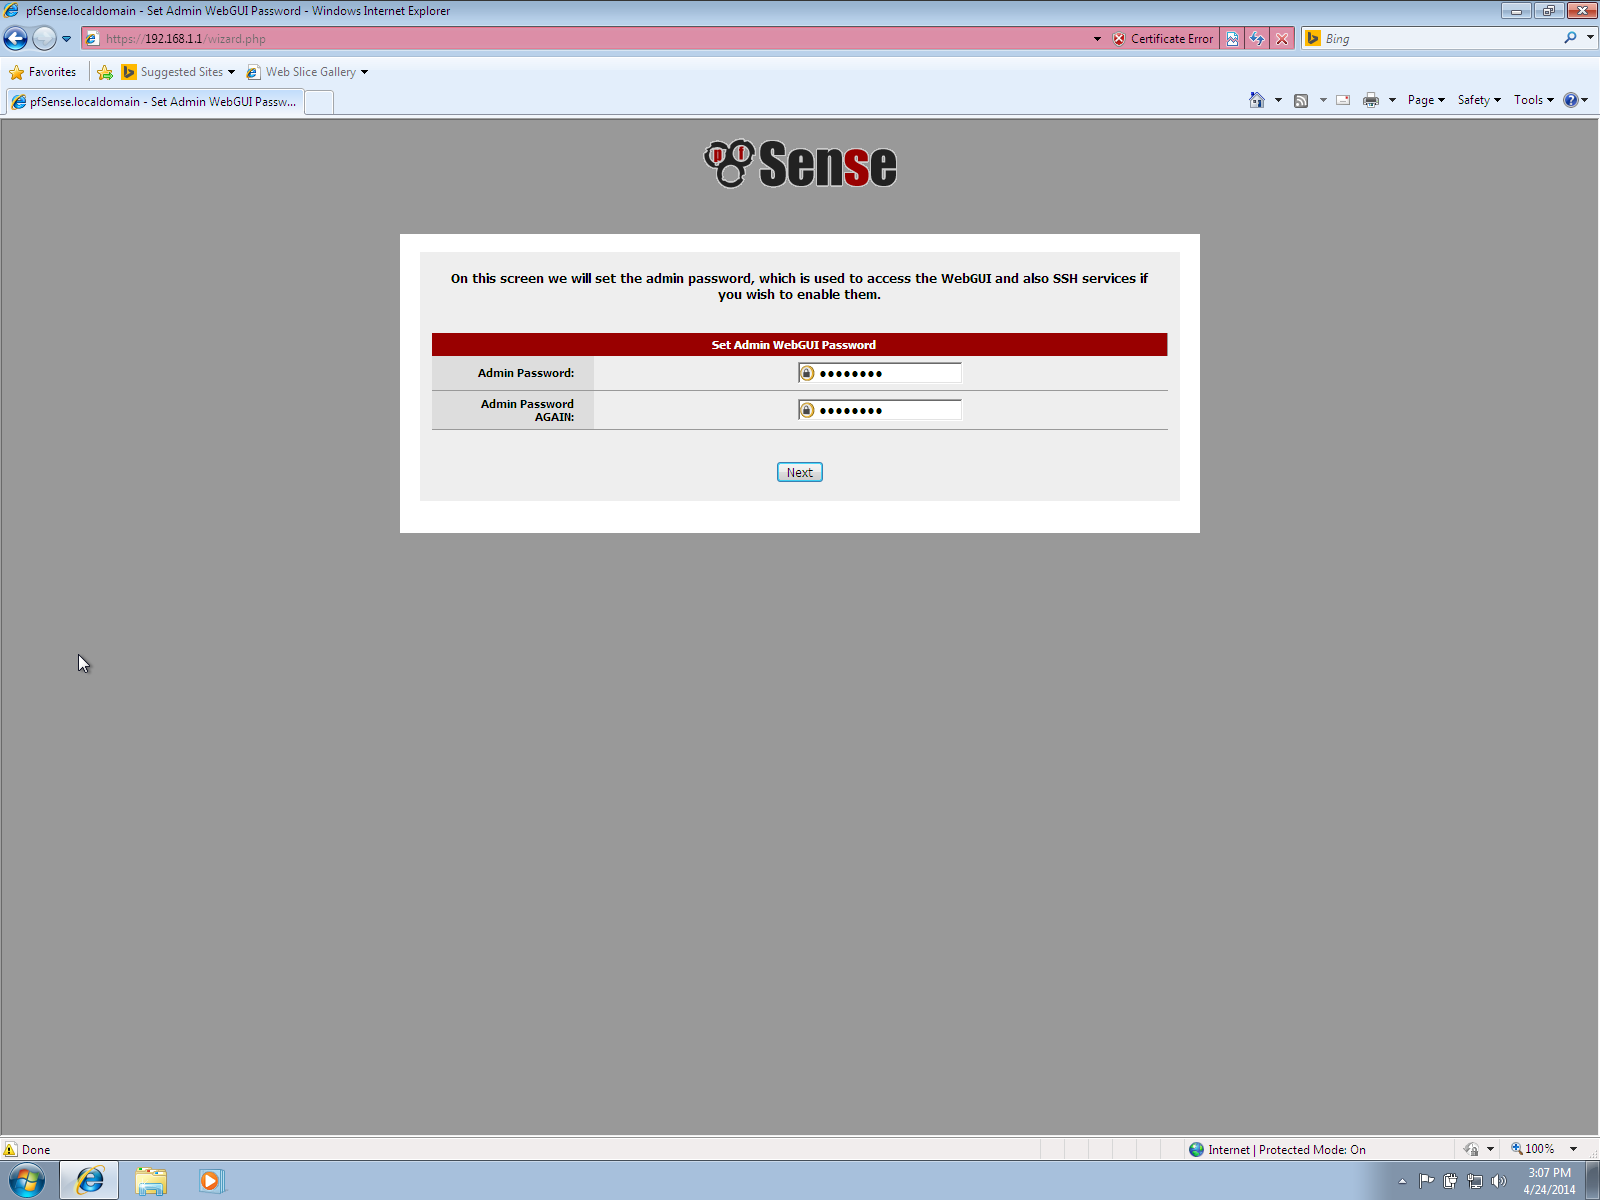
And finally change the default admin password:
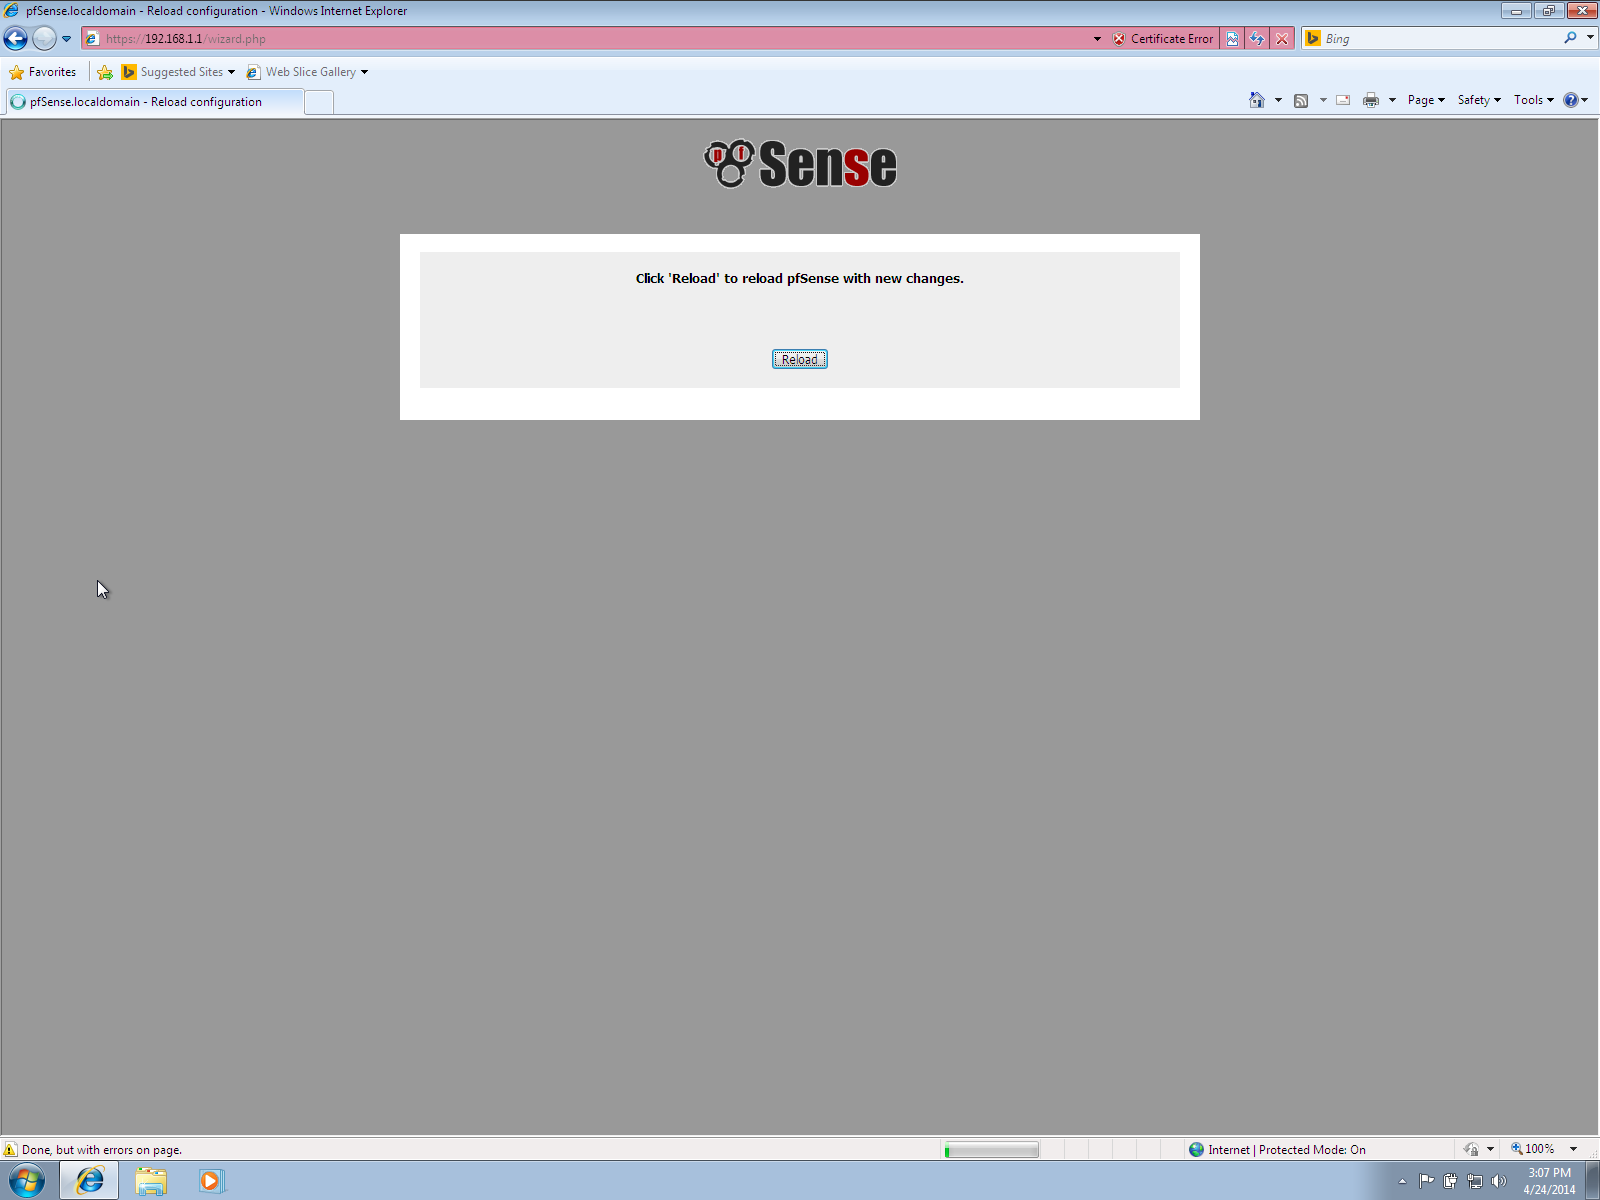
All your changes will be saved and pfSense will reload with them if you press Reload:
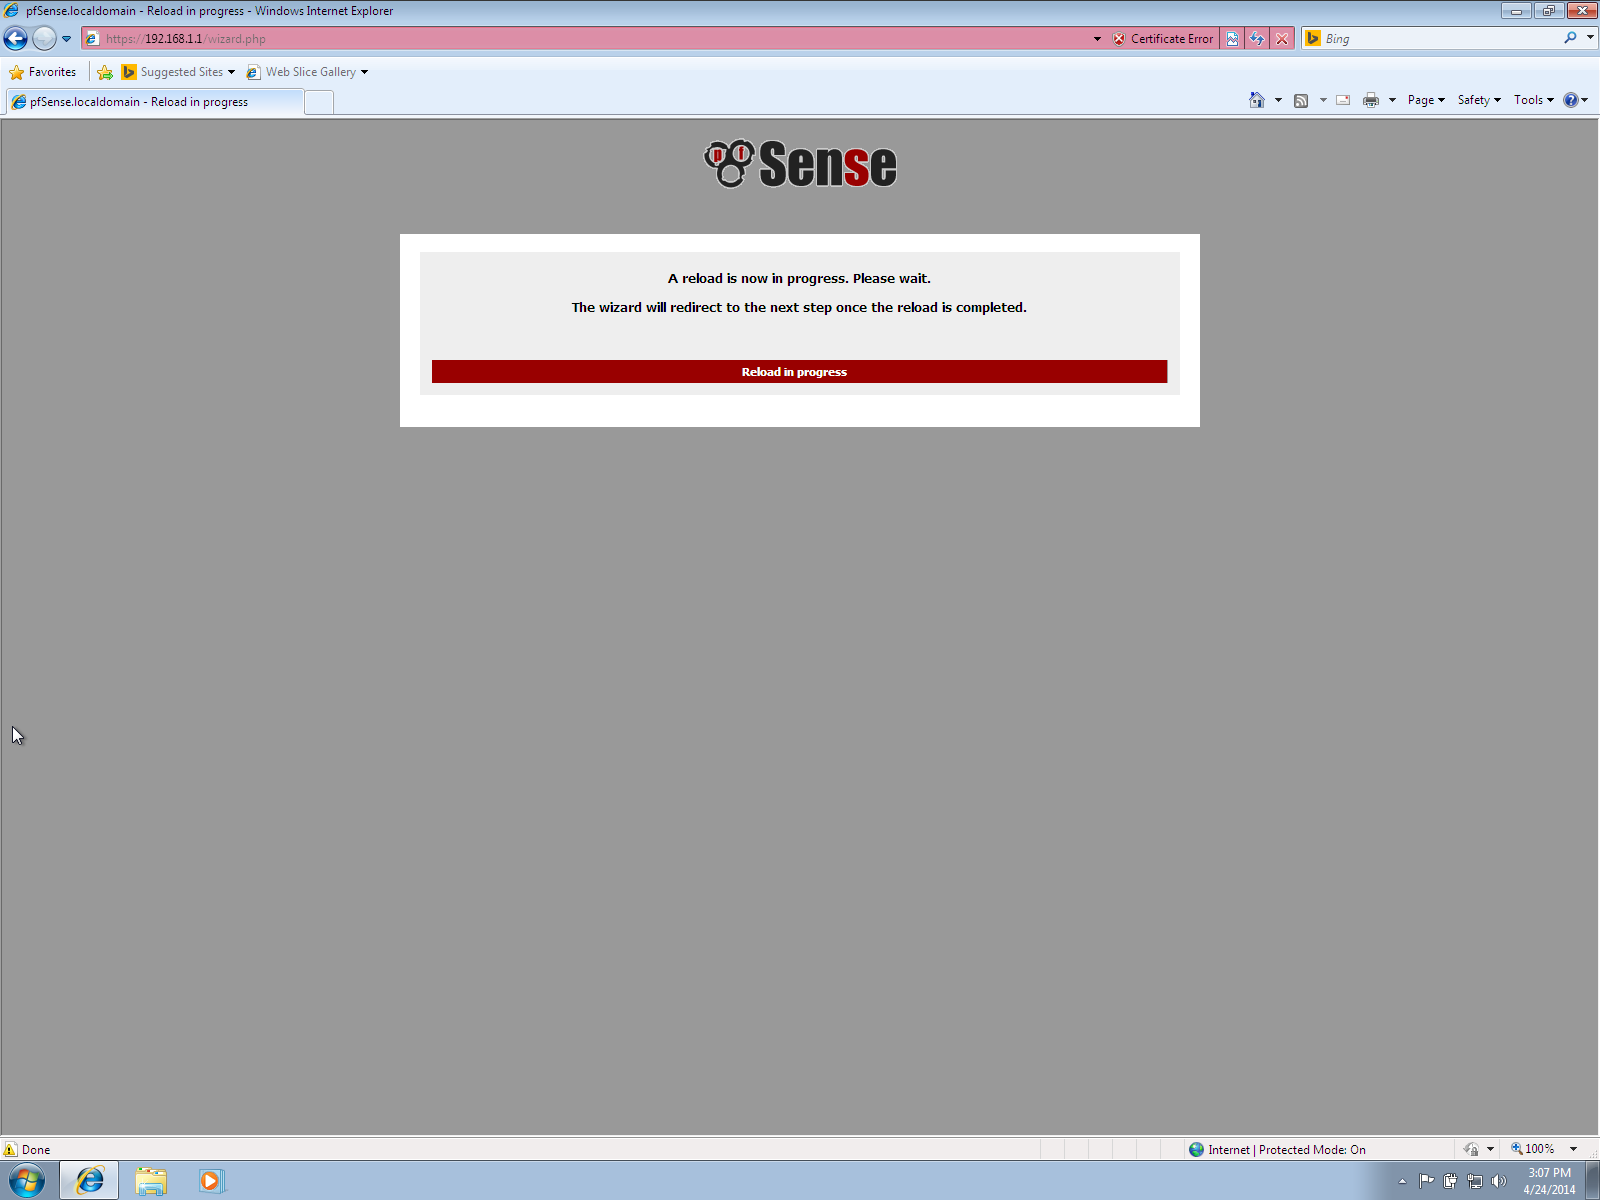
The reload will take a bit of time, while you wait you will see this page:
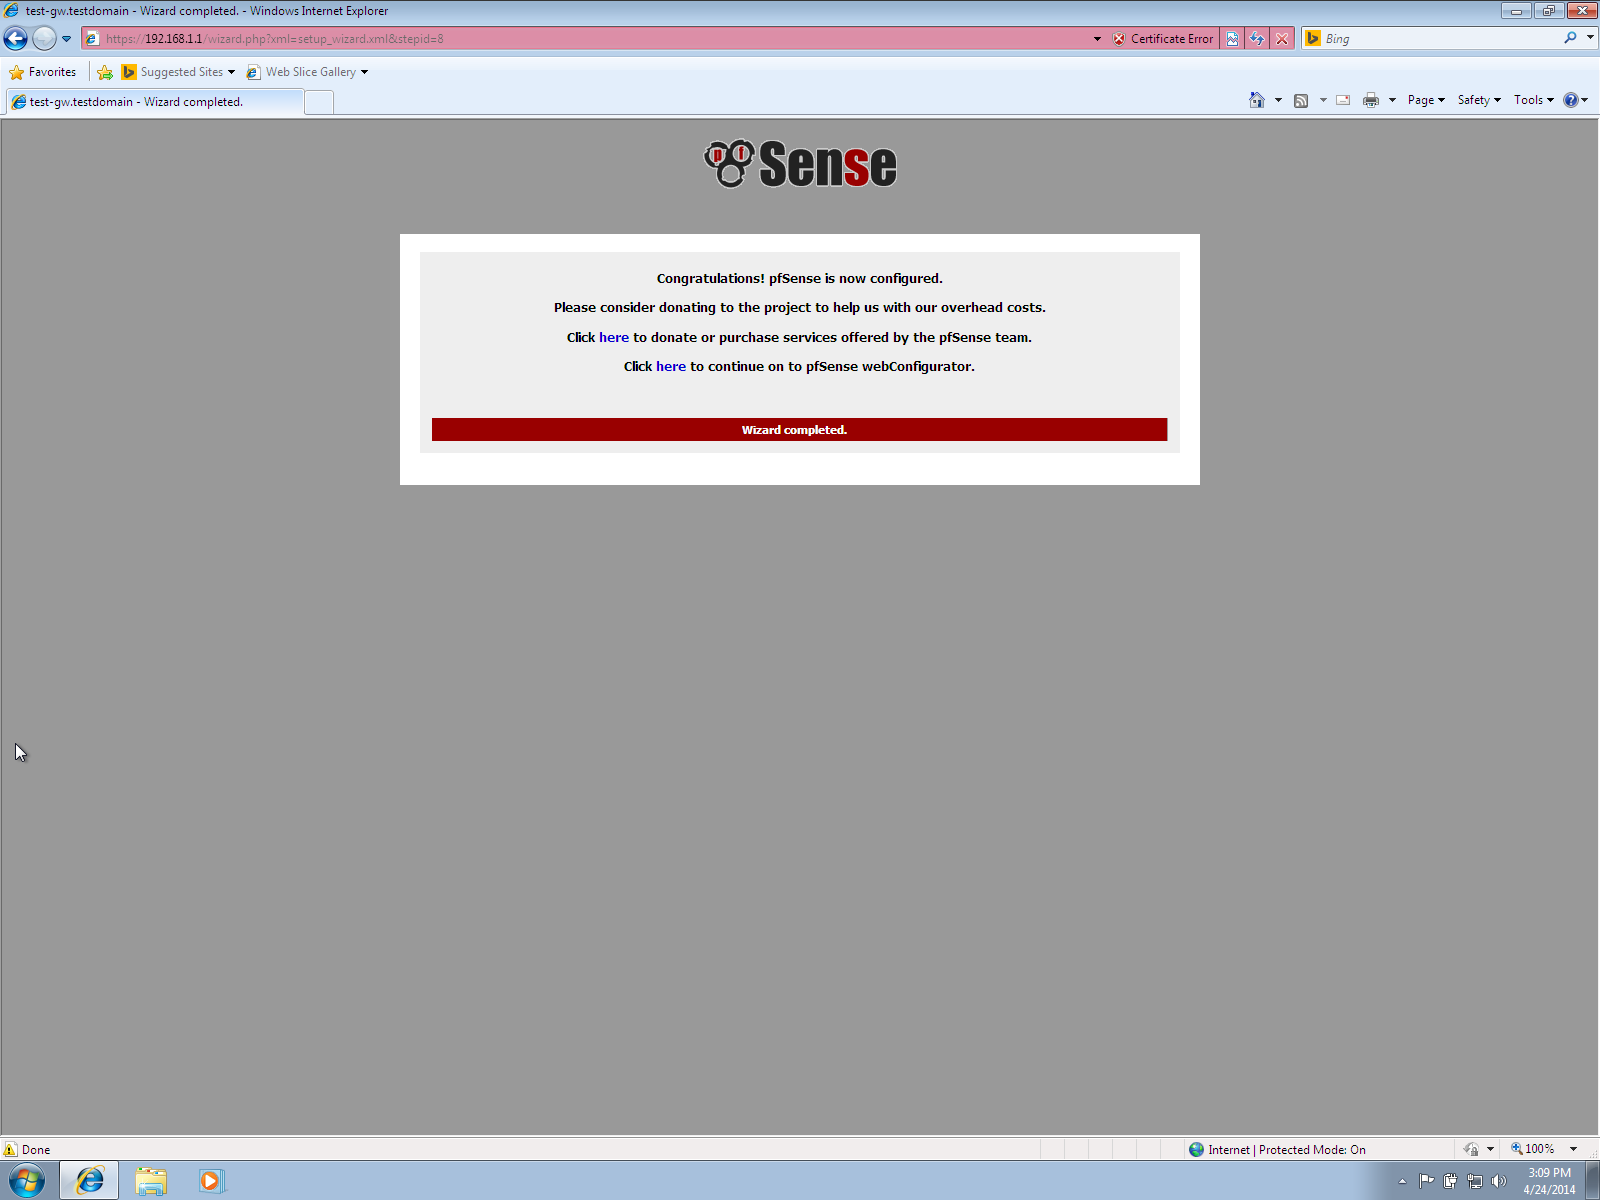
When done you will be presented with the following screen:
Finally if you click the link to get redirected to the webConfigurator you should see this screen, where u can see some stats of your server:
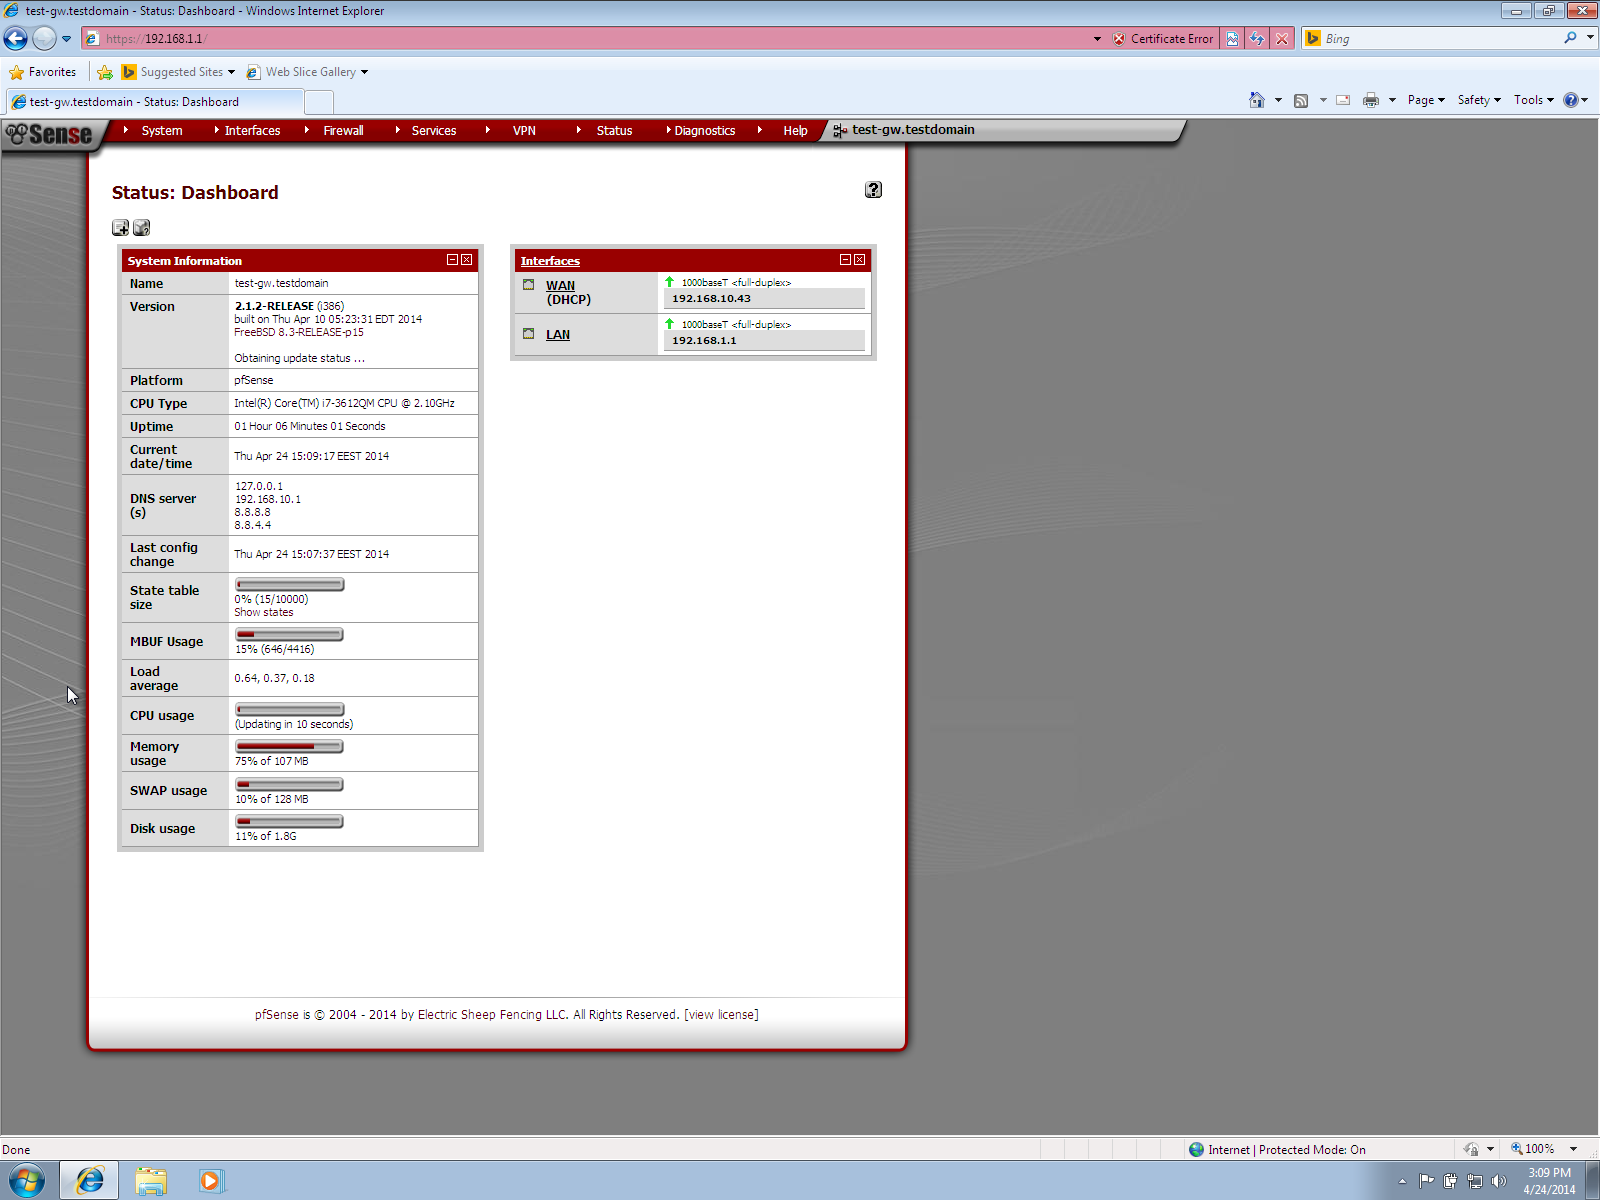
That’s it!