XAMPP is a really versatile web development kit for PHP and/or Perl. It includes Apache, MySQL, PHP, Perl and a lot of other nifty programs, it has a nice control panel, even has an FTP server. Best of all: it is cross-platform. In this how to we will install it and configure it.
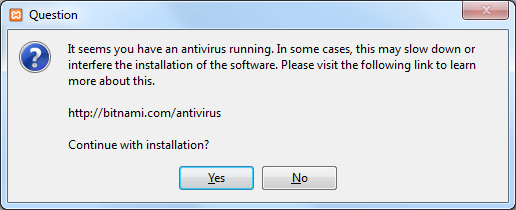
First of all, download the windows installer from here and start it. It will detect if you have an anti virus that might interfere with the installer, best practice here would be to stop the anti virus until the installer finishes. Press Yes if you done that:
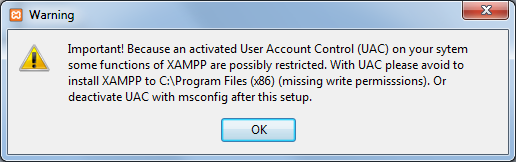
This notification tells you that you have UAC enabled and you shouldn’t install it into program files. Also note that you have to run the control panel in elevated mode (run as administrator) but we get to that later. Just press OK:
The installer will start, press Next:
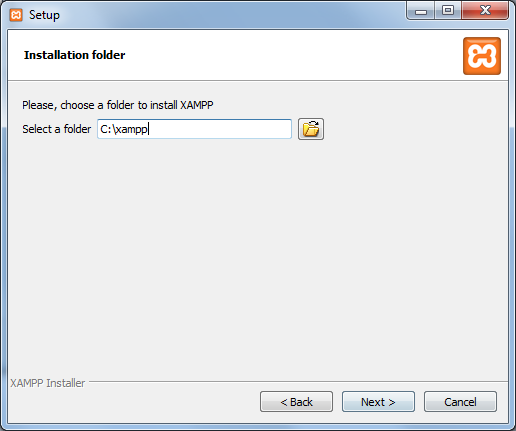
You can select the folder where XAMPP should be installed. Usually it is best to put it on the root directory of a drive that has enough space. Select the folder and press Next:
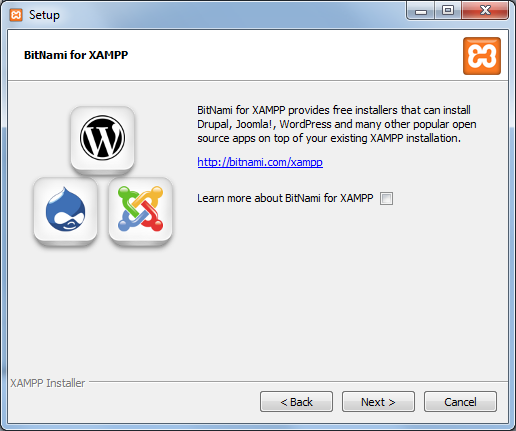
Deselect the Learn more about BitName for XAMPP if you don’t really care about it (you shouldn’t) and press Next:
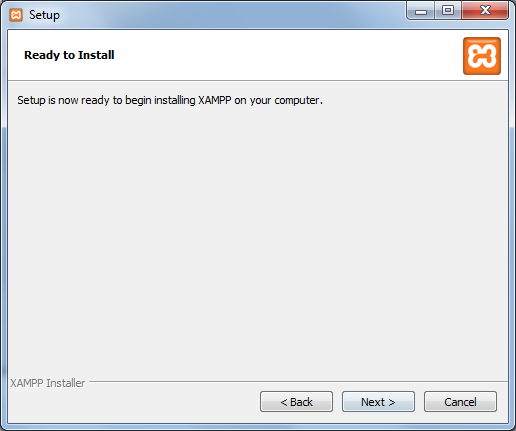
Ready to install, press Next:
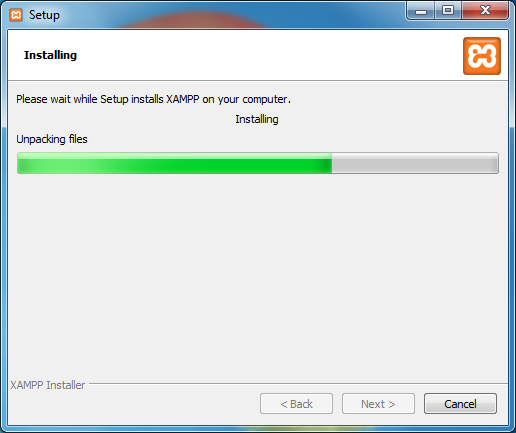
The installer takes quite a lot of time even with the anti virus disabled:
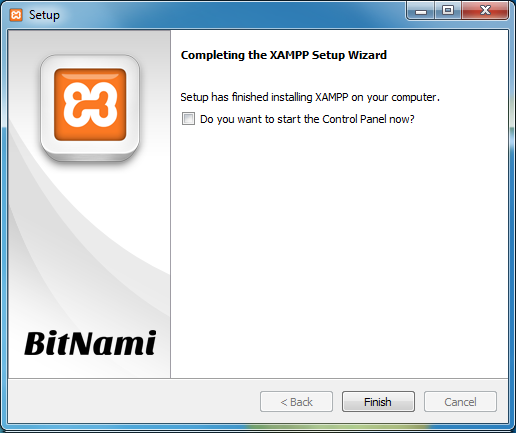
When it’s all done, deselect the Do you want to star the Control Panel now? option (cause it won’t work properly because of UAC mentioned above) and press Finish:
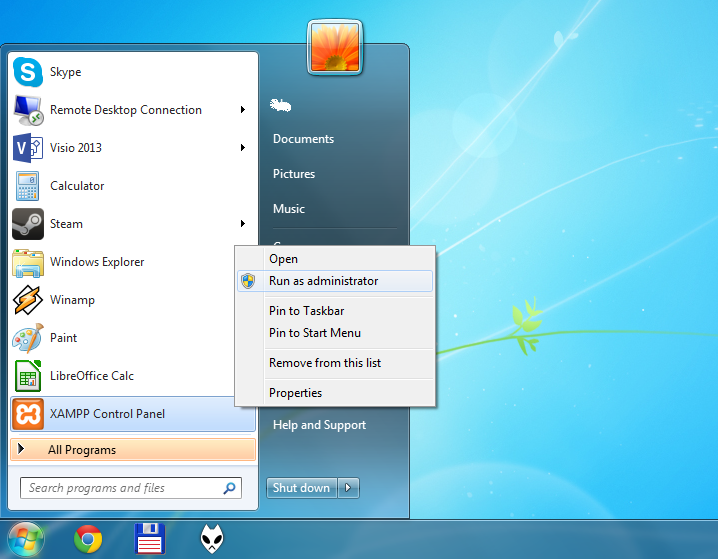
To start the XAMPP control panel simply go to the start menu, find it, right click it and select Run as administrator:
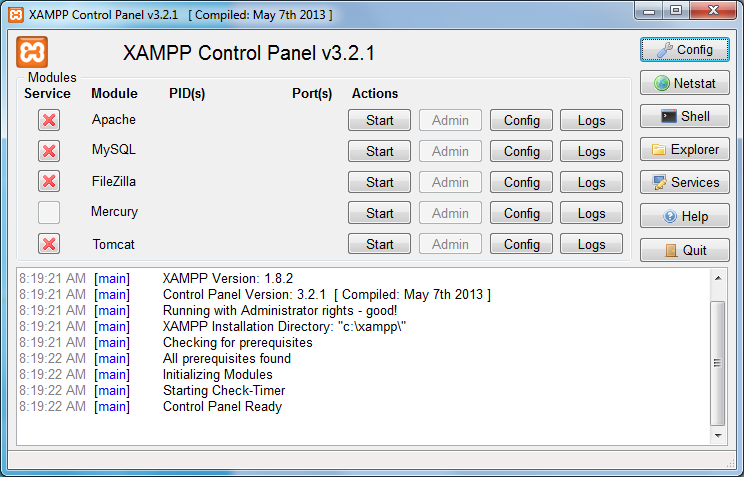
The XAMPP control panel will appear. You can start Apache and MySQL by pressing the Start button next to them. Those are the 2 modules we will be focusing on:
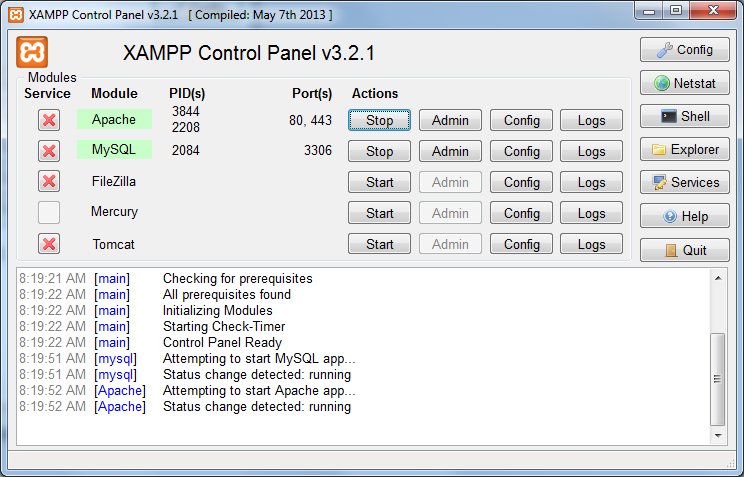
If they started successfully you should see something similar to this:
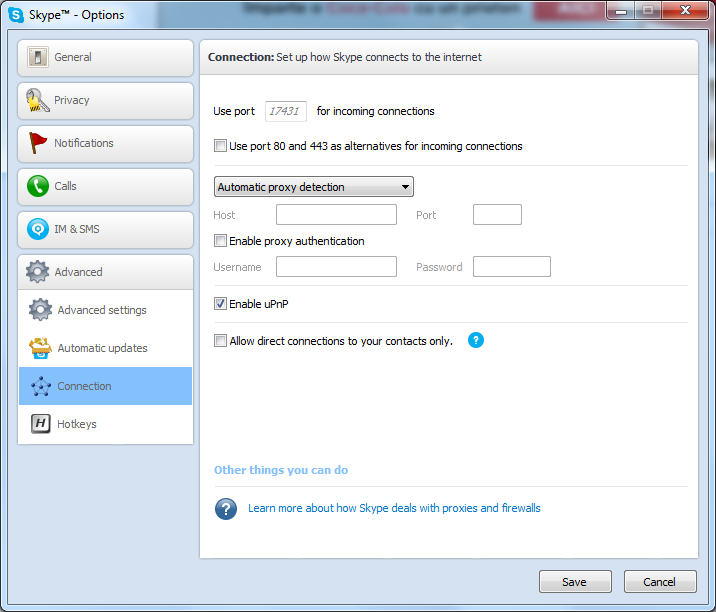
If Apache cannot start and you use Skype we need to change some settings in it cause it will interfere with XAMPP (or any kind of http server really). Go to Skype, select the Tools than Options menu to get to the Options panel. There expand Advanced and select Connections. Un-check Use port 80 and 443 as alternatives for incoming connections and press Save:
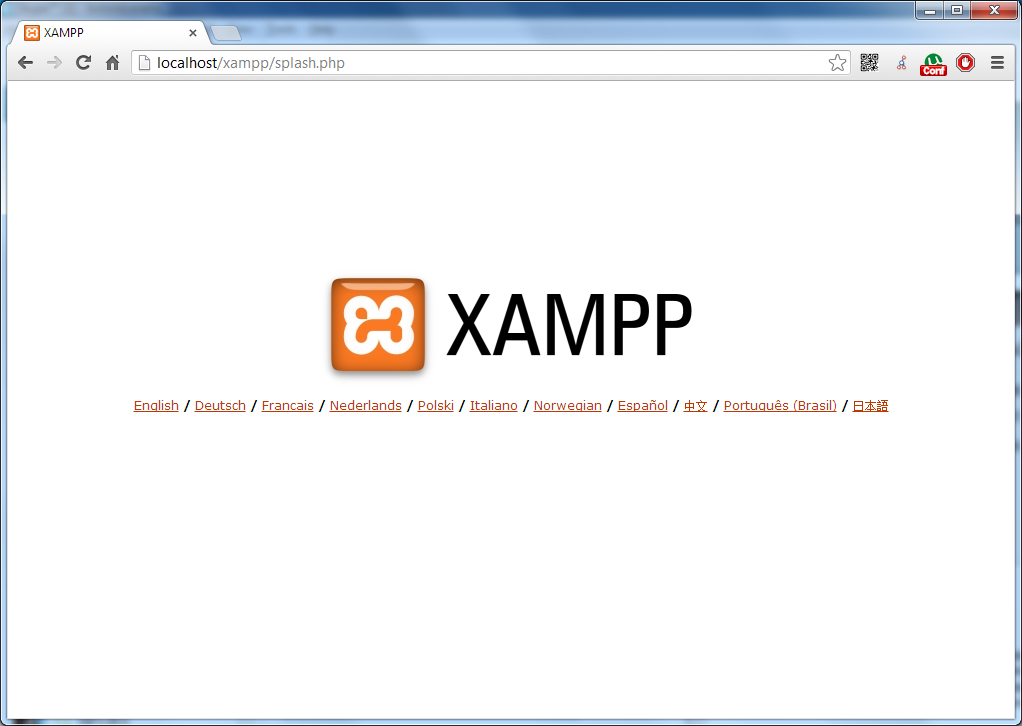
Pointing your browser to http://localhost/ should take you to the XAMPP splash screen. Click on English:
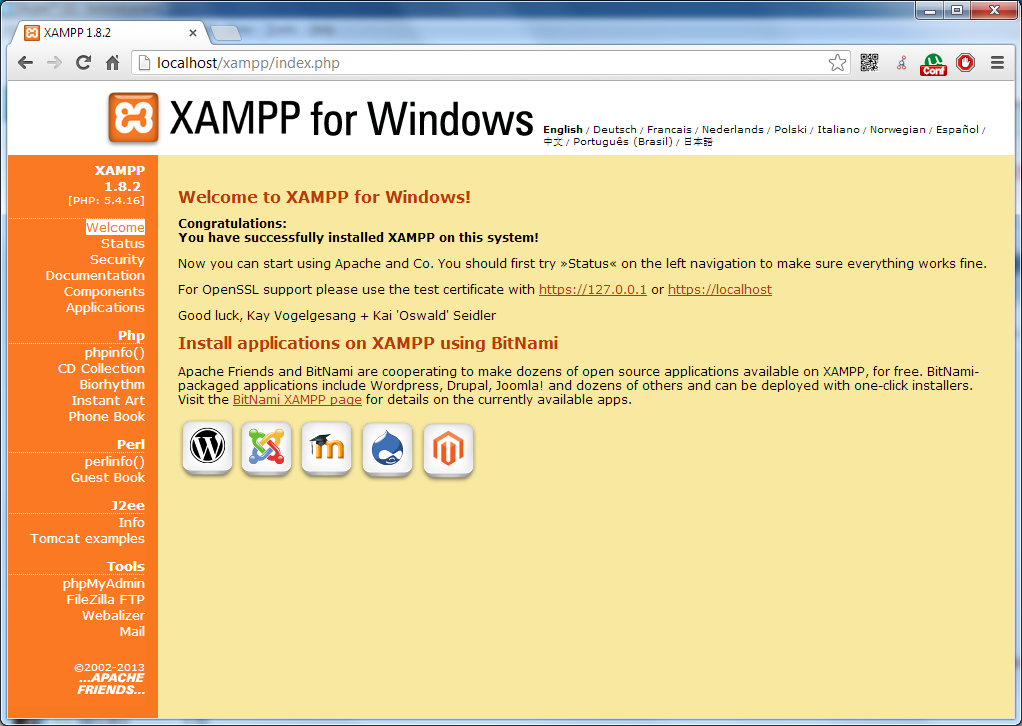
This is the XAMPP welcome screen. You can configure some more common settings here. Click on Security on the left hand menu under Welcome:
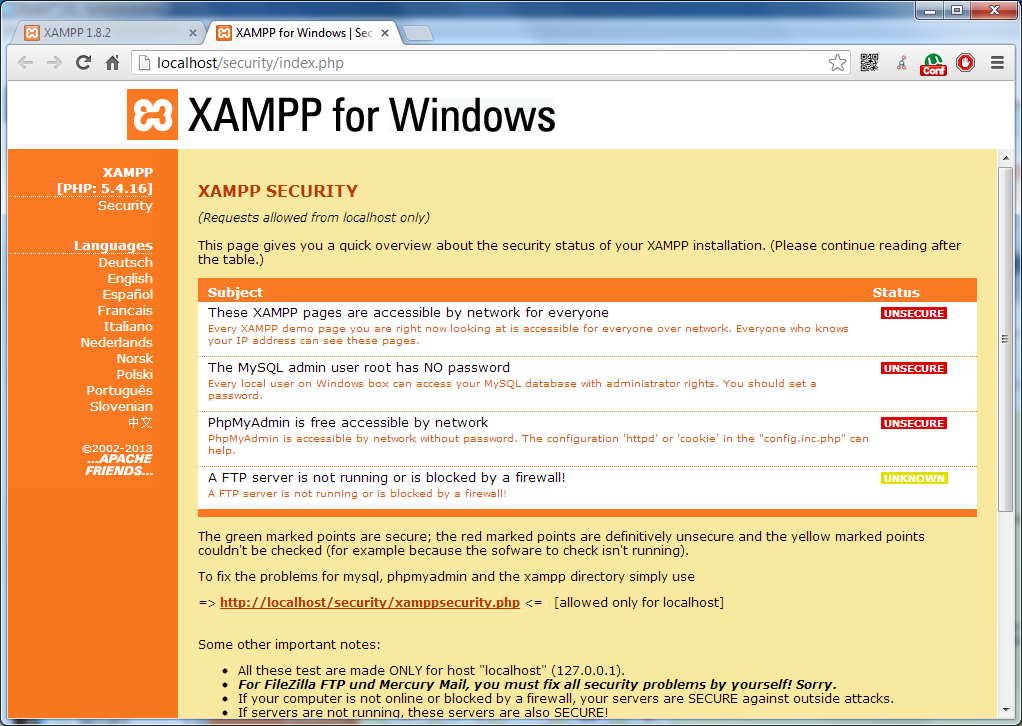
This will show you the security status of your XAMPP server, by default no passwords are set for anything. We want to change that so click the link underneath the table:
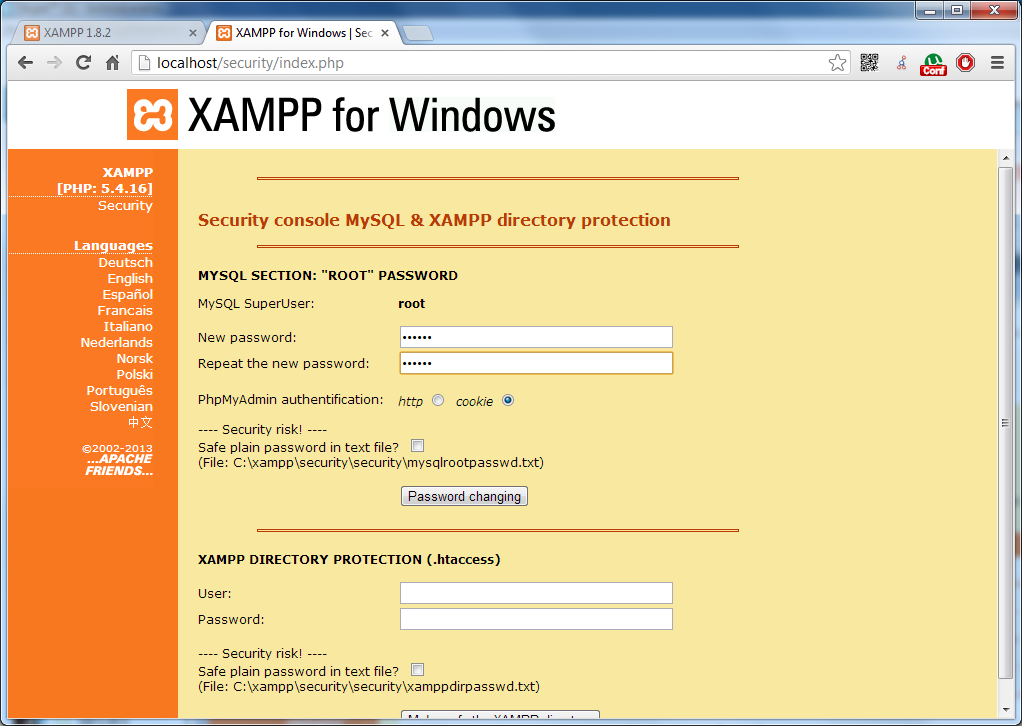
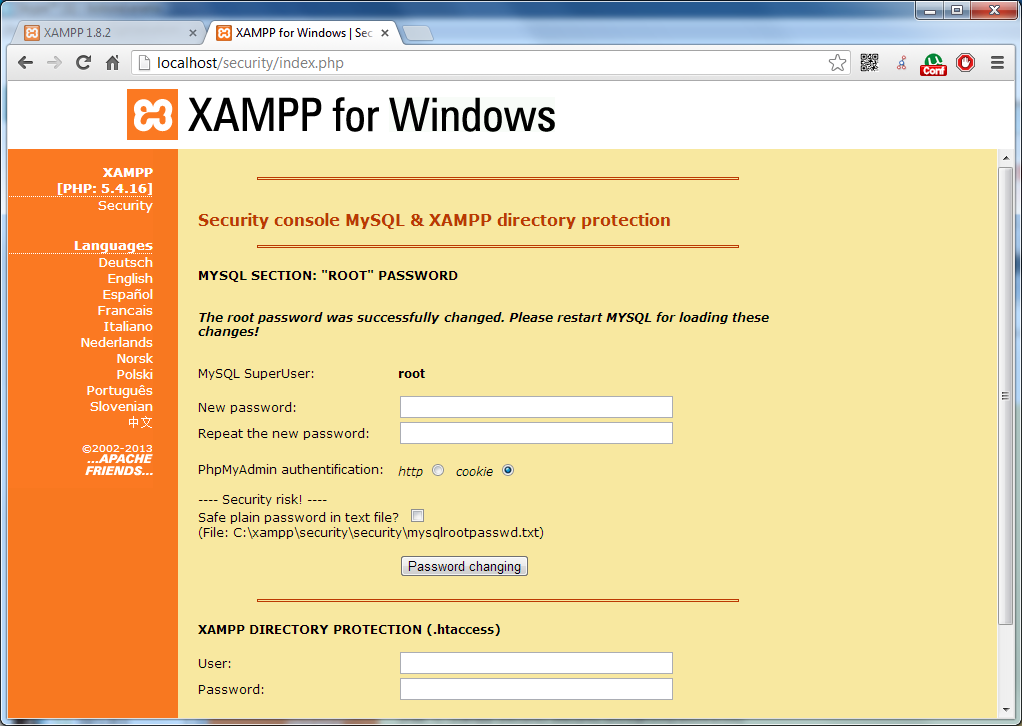
Here you can set the MySQL root password and limit the access to the XAMPP web config with a username and password. Enter a password for thy MySQL root user and press Password changing:
It should notify you if it was set up correctly:
Now enter a username and a password for XAMPP Directory Protection and click Make safe the XAMPP directory:
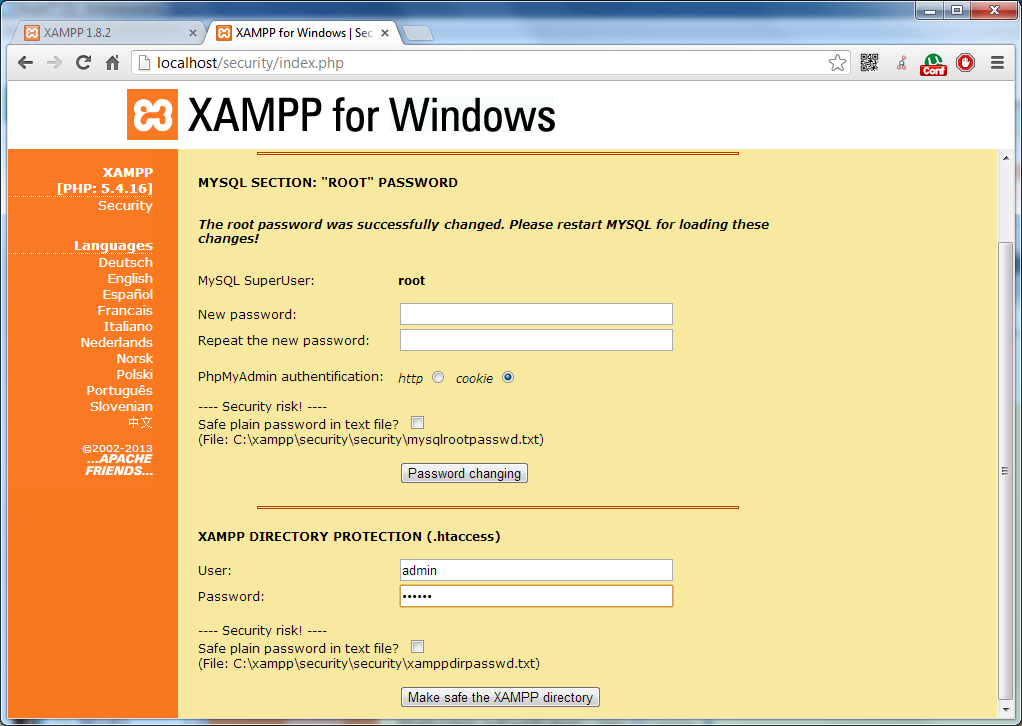
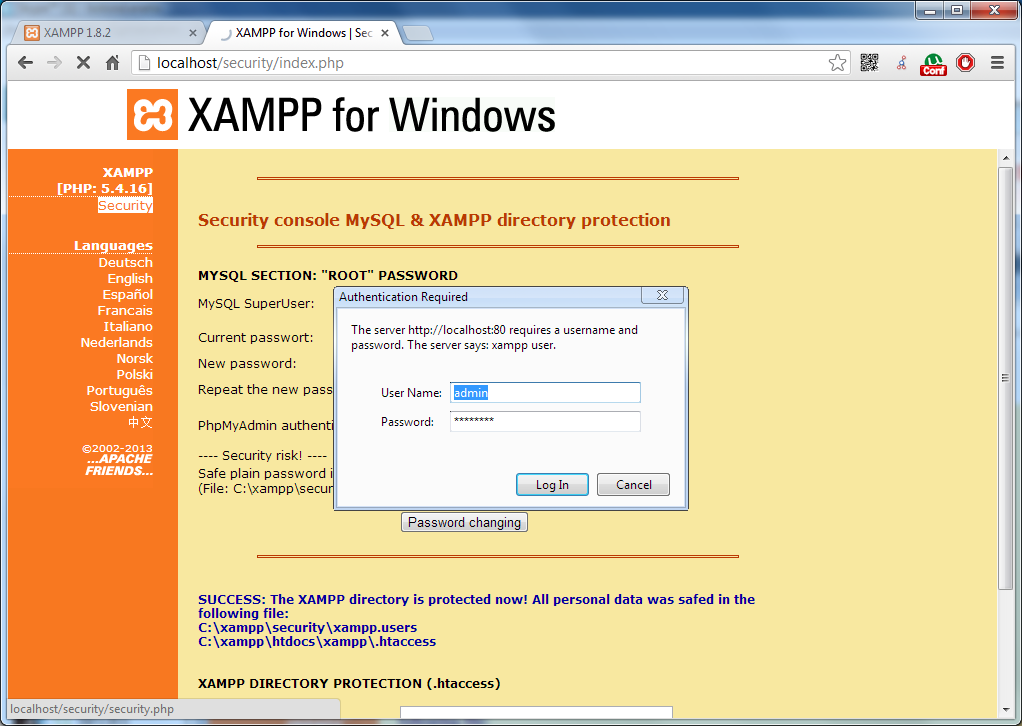
It should give you a success message:

Now if you click on Security again (or refresh the page) it will ask for the password you just set:
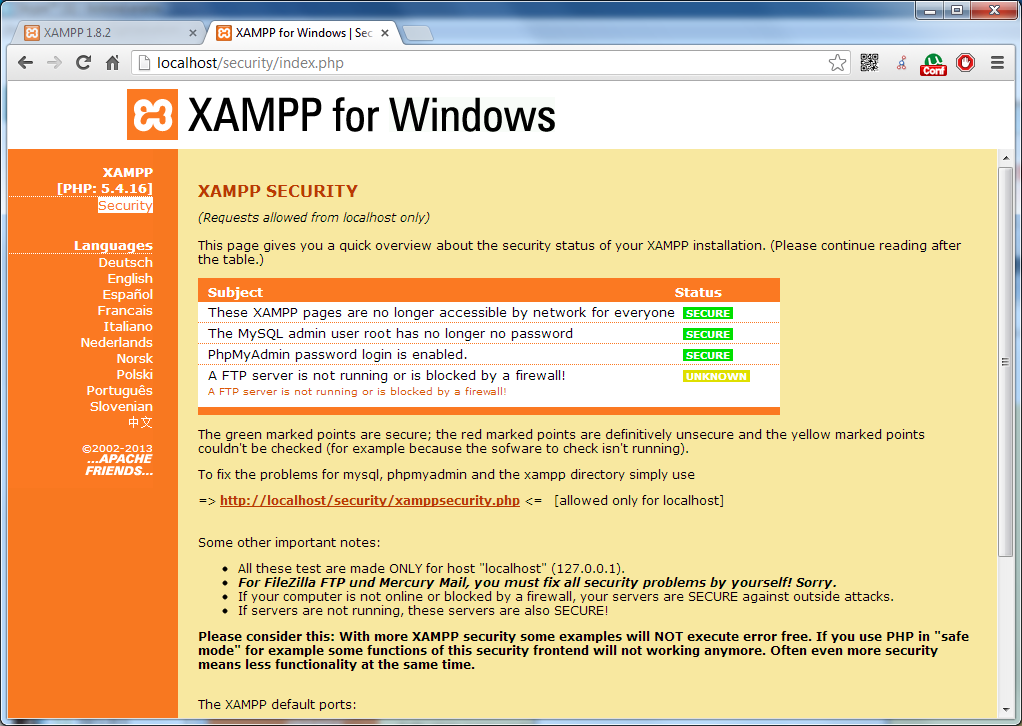
The Security panel should now show that everything is secure:
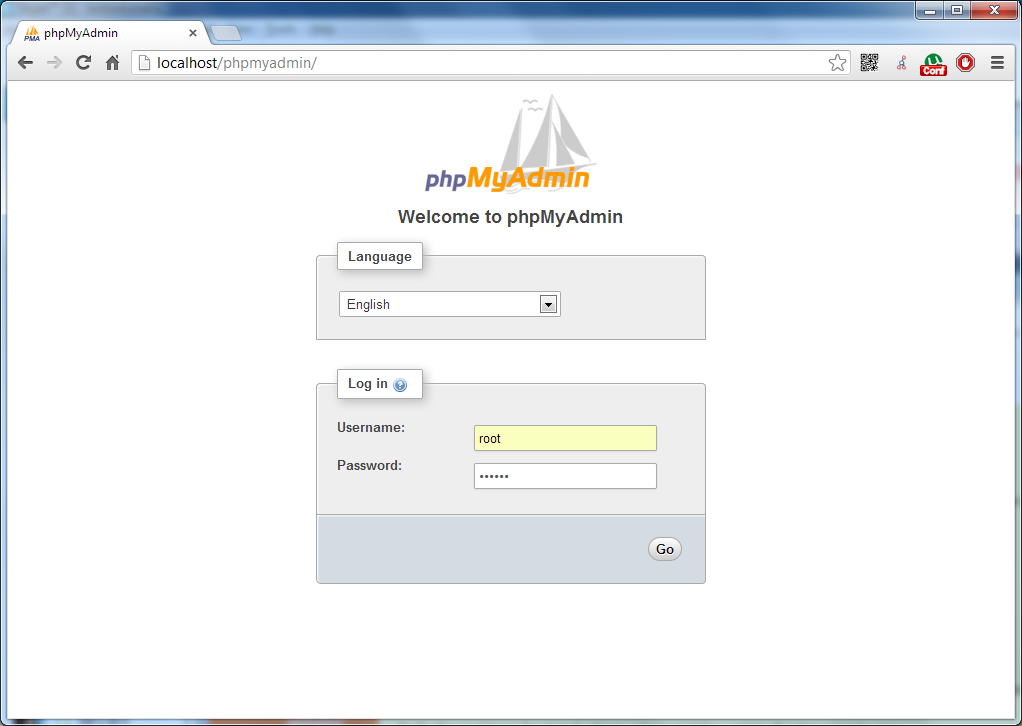
If you phpMyAdmin u can reach it with http://localhost/phpmyadmin. Visit it and check if your MySQL root password is set up properly:
If not, you can always reset it via the XAMPP web config.