Deploying a (modern) Linux/BSD VPS on a Proxmox VE is easy and requires no extra steps, since they have built in VirtIO support since kernel 2.6.25. For Windows its a bit more tricky, we need to use additional drivers, that can be obtained free of charge and in a neat iso package from here. Upload both your Windows installer and VirtIO driver isos to the Proxmox host and let’s get started!
Go to your Proxmox hosts web address, accept the self signed certificate:
Log in with:
Create a new VPS:
Give it a name:
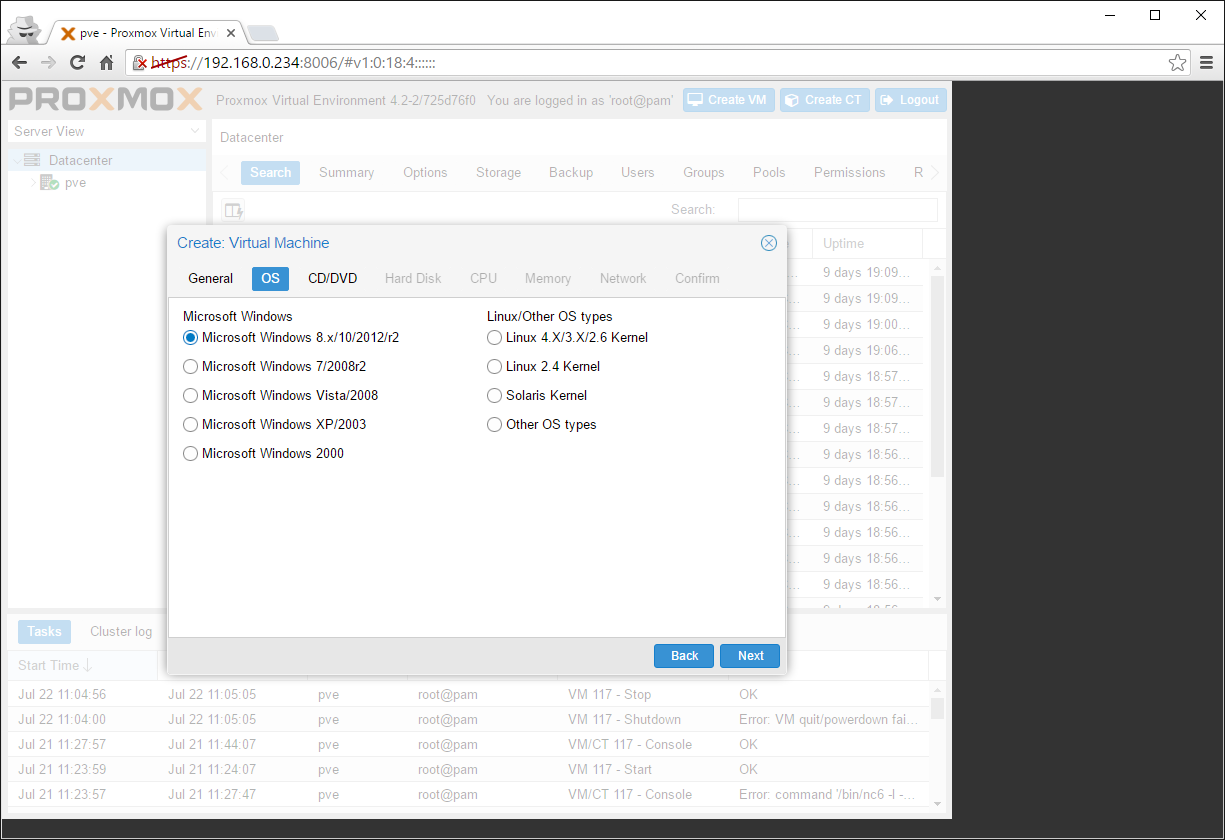
Set the OS to the appropriate one. In this case I will be installing a Server 2012:
Set the installation source iso:
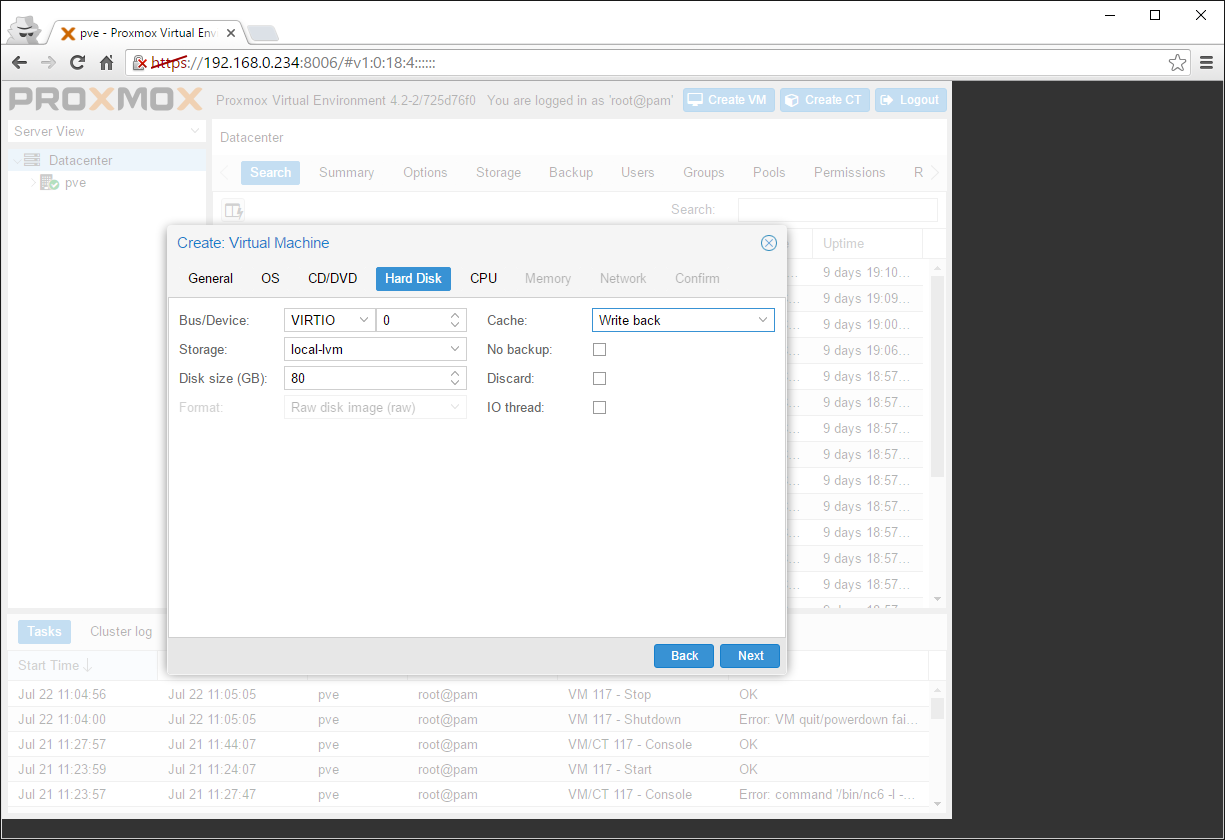
Change the Hard Disks’s Bus to VIRTIO and the Cache to Write back, set the Disk size as desired:
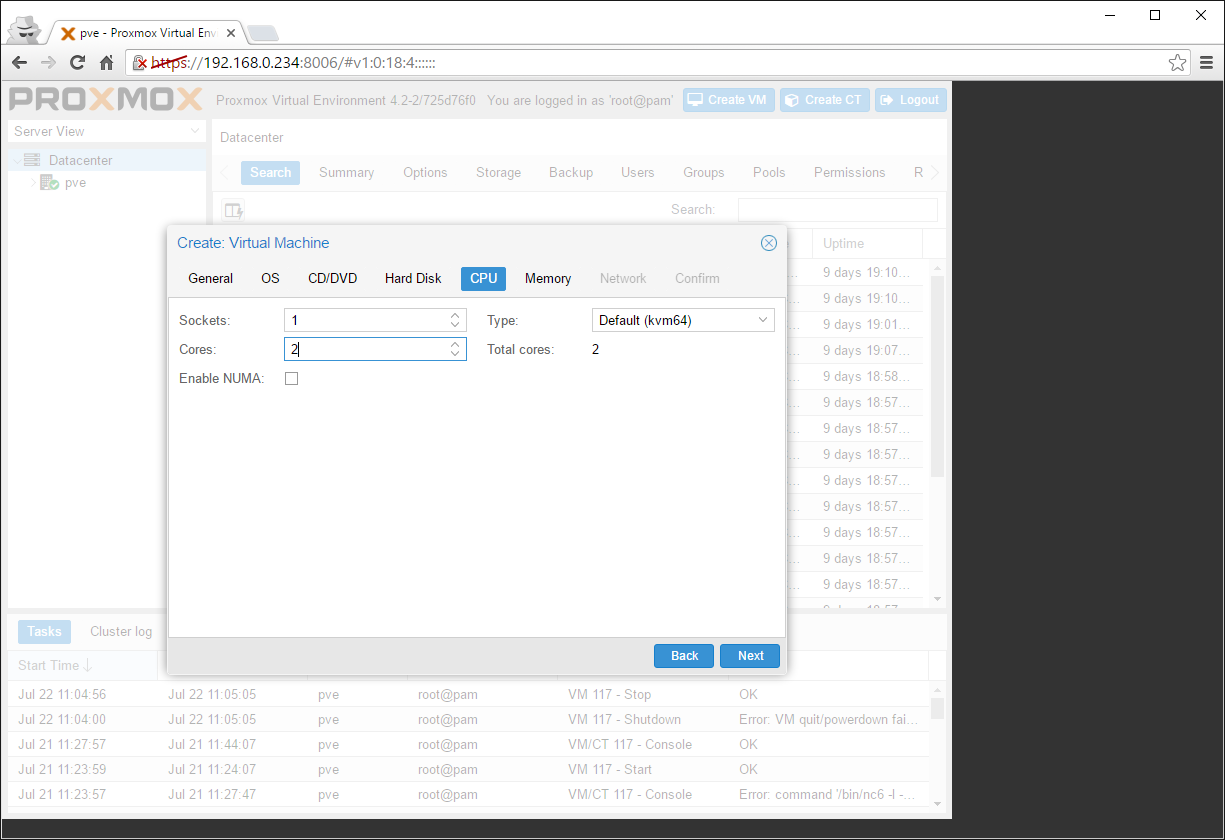
Set the number of Cores as desired, I’ll be going with 2:
Set the memory to Automatically allocate, and set the min / max values:
Change the Network Model to VirtIO (paravirtualized):
Confirm your settings by clicking Finish:
One more thing before we start it. Expand the Proxmox host and find the VPS that was just created and select it:
Go to the Hardware tab:
Add a new CD/DVD Drive:
Leave the bus at IDE and select the VirtIO iso that we downloaded from fedoraproject.org:
It should look like this:
Let’s start it up:
Change as desired:
Hit Install now:
Select Custom: Install Windows only (advanced):
Note that our hard drive was not recognized. Click on Load driver:
Click on Browse:
The VirtIO iso should be recognized in the Browse for Folder screen:
Expand it, expand the Balloon folder than expand the appropriate windows version, in my case it’s 2k12R2, expand that further and select the appropriate architecture, since 2012 runs only on x64, the only option is amd64 here, select it and click OK:
The installer will recognize the driver as VirtIO Balloon Driver, click Next to install it:
Wait for it to finish:
Than repeat the above steps, but instead of Balloon now select NetKVM:
That will install our network controller, click Next to continue:
Finally the 3th and last driver needs to be added, viostor:
That is our VirtIO SCSI controller, click Next:
After the last driver is loaded, the installer should recognize the hard drive:
Partition it and install as you normally would:
Finally after everything is done:
In the Device Manager you should be able to see the various VirtIO drivers:


