To protect your LAMP server against brute-force attacks you can use Fail2Ban. It’s a daemon that checks log files and does something if it finds a match according to it’s filters. In it’s simplest configuration it just bans (by adding an iptables rule) an IP address for a period of time. Let’s check it out how we can set it up on a Centos 6.8 server running Virtualmin!
Installation
We need to add the epel repo, by running: (if already added skip this step)
rpm -Uvh http://dl.fedoraproject.org/pub/epel/epel-release-latest-6.noarch.rpm
Naturally we wanna have it disabled, cause it breaks some Virtualmin functionality:
nano /etc/yum.repos.d/epel.repo
change every instance of enabled=1 to enable=0
Install fail2ban by running:
yum --enablerepo=epel install fail2ban
Fail2Ban’s default configuration doesn’t take into account Virtualmin’s log file locations, let’s fix that by creating the following file:
nano /etc/fail2ban/paths-overrides.local
enter the following:
[DEFAULT]
apache_error_log = /var/log/virtualmin/*_error_log
apache_access_log = /var/log/virtualmin/*_access_log
Configuration
Log in to your Virtualmin interface:
Go to Webmin:
Go to Un-used Modules -> Fail2Ban Intrusion Detection:
Click on Filter Action Jails:
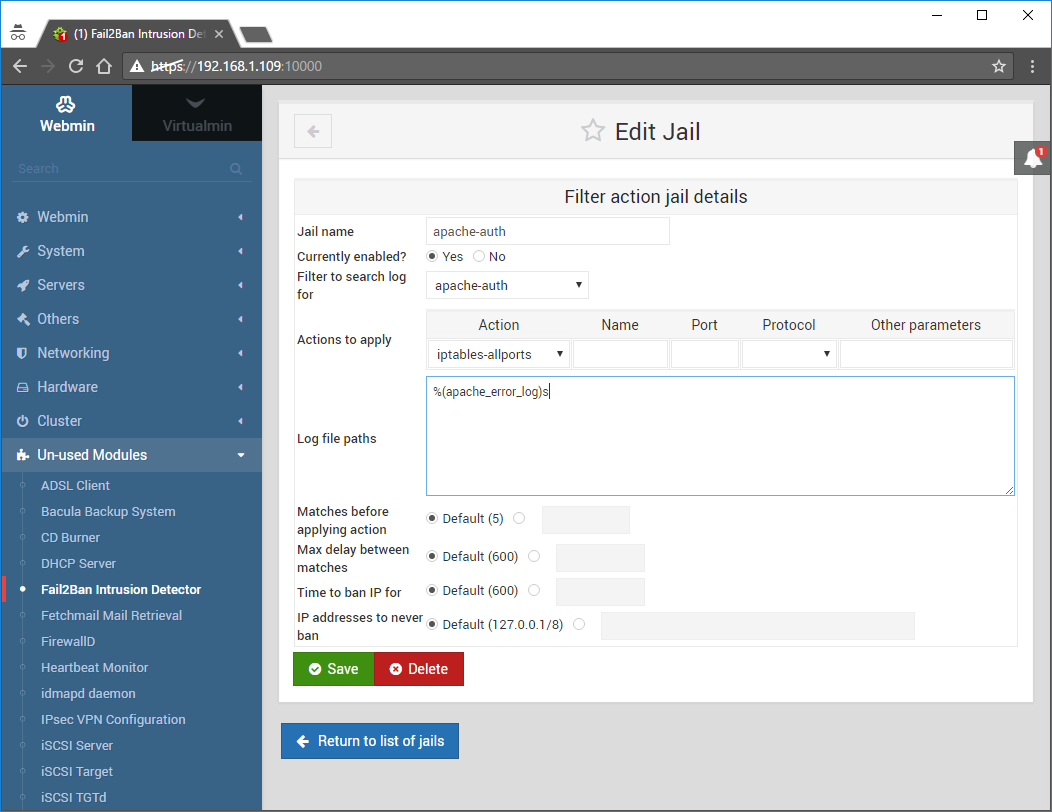
Find the Jail named apache-auth and click it to open up it’s edit screen:
Change it to the following:
Currently enabled: Yes
Filter to search log for: apache-auth
Actions to apply: iptables-allports
Leave everything else unchanged and click Save:
This is how it should look like:
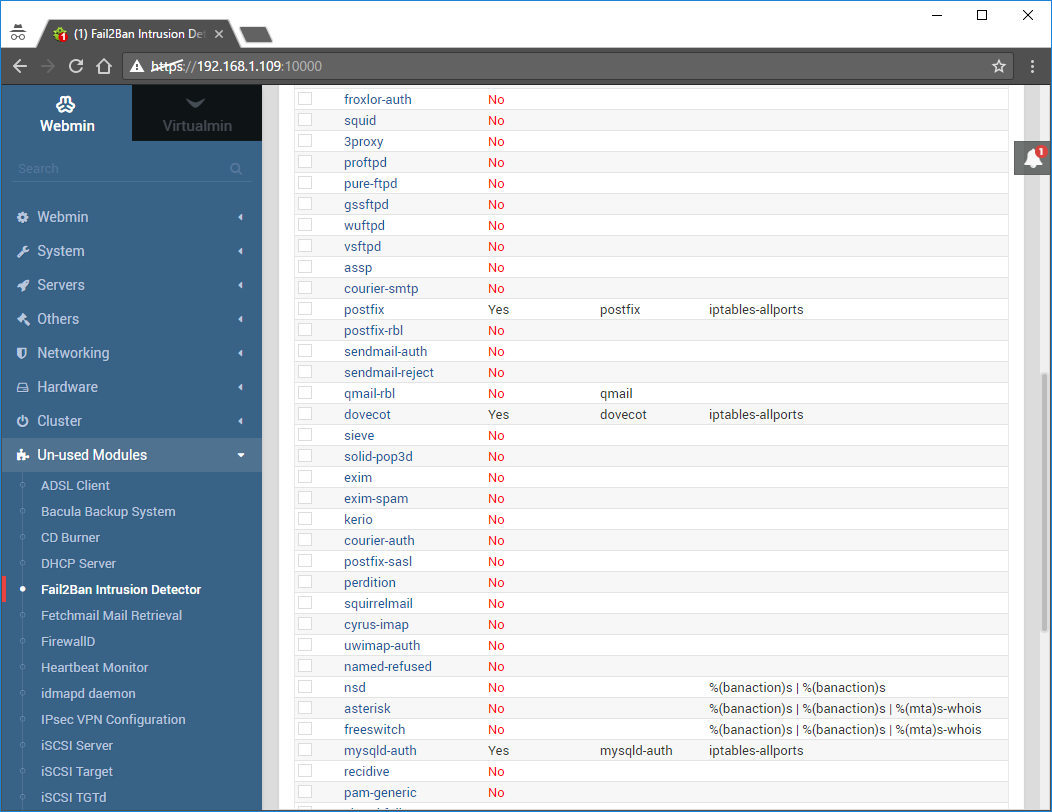
I highly suggest doing the above steps for the following Jails as well (depending on your needs): postfix, dovecot, mysql-auth:
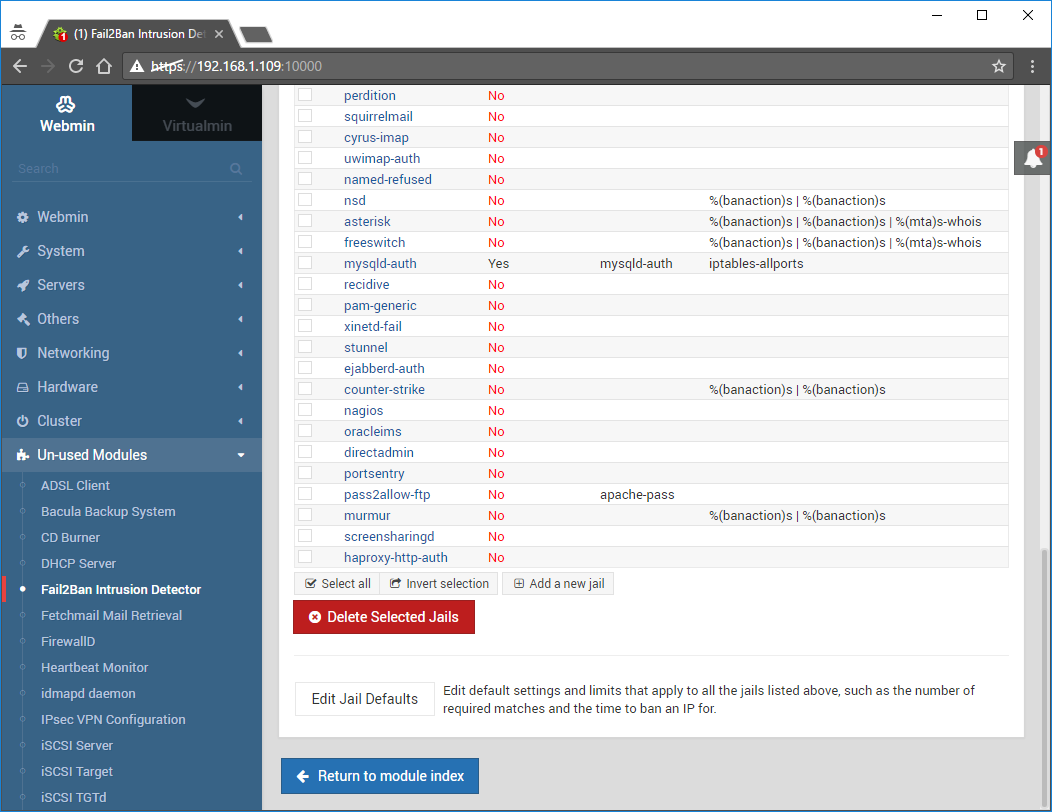
Scroll to the bottom of the page and click Return to module index:
Click on StartFail2Ban Server:
If you have no virtual servers (like in my case) or if you set an incorrect path for the log files, Fail2Ban won’t start with the following error:
Now that I’ve created a server it will start:
Press the Start at boot button as well (pretty self-explanatory).
You can verify if it’s properly added or not, by running the following command:
chkconfig | grep fail2ban
I’ts output should be similar to this:
fail2ban 0:off 1:off 2:off 3:on 4:on 5:on 6:off
Custom Jails (WordPress XMLRP calls)
Fail2Ban comes with a nice set of Jails, but let’s create a custom one to stop excessive xmlrpc calls to a wordpress blog, cause that is a pretty common issue. Using the steps below you can create your own different one.
Go back to Fail2Ban Intrusion Detection and click on Log Filters:
Click the Add a new log filter:
The Create Filter screen will appear:
Enter the following:
Filter name: wordpress-xmlrpc
Regular expression to match:
^<HOST> .*POST .*xmlrpc\.php.*
Regular expression to ignore: leave empty
and click on Create:
The new filter should be added, click on Return to module index:
Now we need to create a Jail that uses the filter we just created, click on Filter Action Jails:
Hit the Add a new jail button:
The Create Jail screen should appear:
Fill the form as follows:
Jail name: wordpress-xmlrpc
Currently enabled: Yes
Filter to search log for: wordpress-xmlrpc
Actions to apply: iptables-allports
Log file paths:
%(apache_access_log)s
and click Create:
The Jail should look like this, click Return to module index:
To commit the changes you need to restart it, by clicking Restart Fail2Ban Server:
CLI trickery
You can check the active jails by running:
fail2ban-client status
Output should be similar to this:
Status
|- Number of jail: 5
`- Jail list: apache-auth, dovecot, mysqld-auth, postfix, wordpress-xmlrpc
To get more information regarding a specific jail, you can run the above command with the jail as 2nd parameter, for example:
fail2ban-client status wordpress-xmlrpc
output:
Status for the jail: wordpress-xmlrpc
|- Filter
| |- Currently failed: 0
| |- Total failed: 0
| `- File list: /var/log/virtualmin/test.com_access_log
`- Actions
|- Currently banned: 0
|- Total banned: 0
`- Banned IP list:


