Let’s look a bit at one of Mikrotik routers most powerful capability: scripting. Using scripts we can automate updating and backups, so we can sleep a bit easier. We also can send the backups directly via email, so I will assume that you have a (spare) email address from where to send notifications.
Email setup
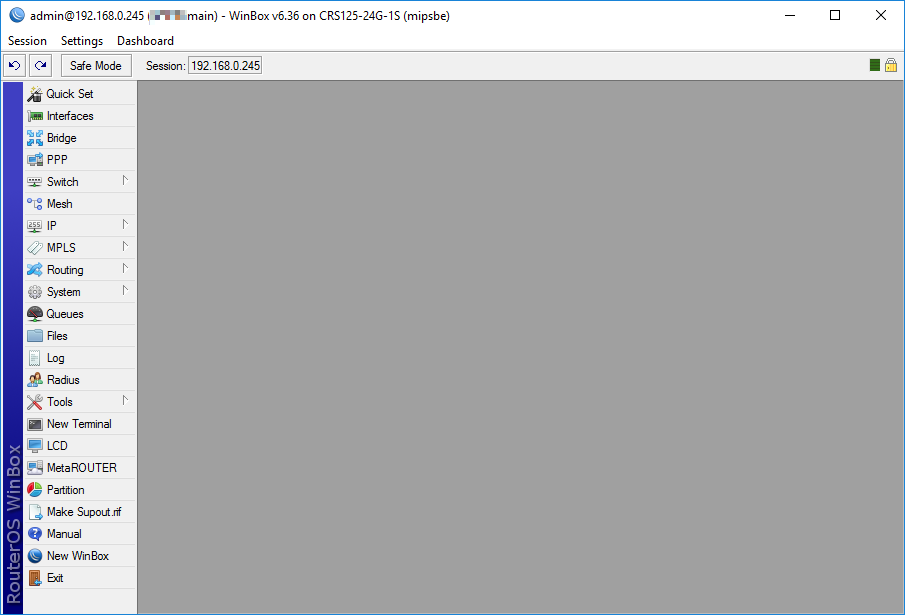
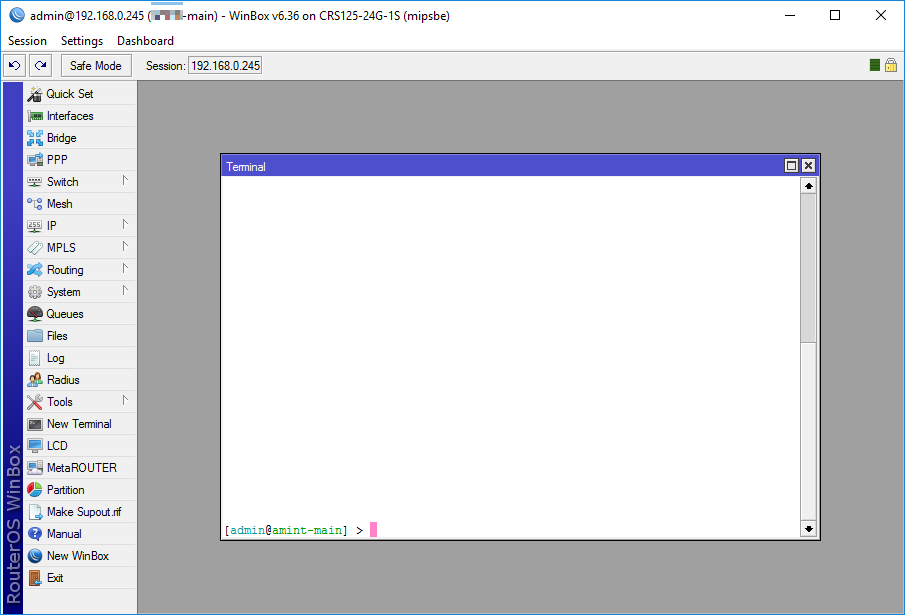
Log in to your router with winbox:
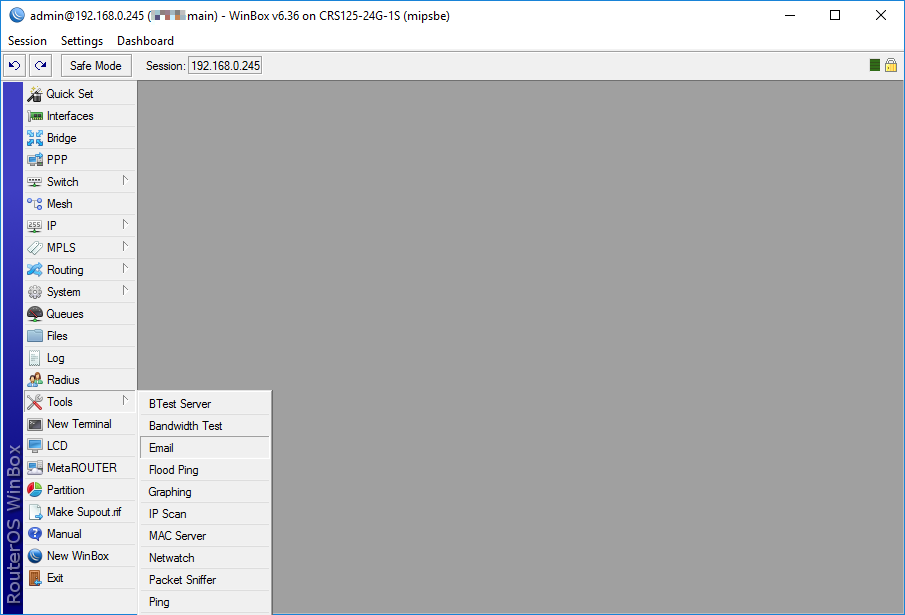
Go to Tools -> Email:
The Email Settings panel should appear:
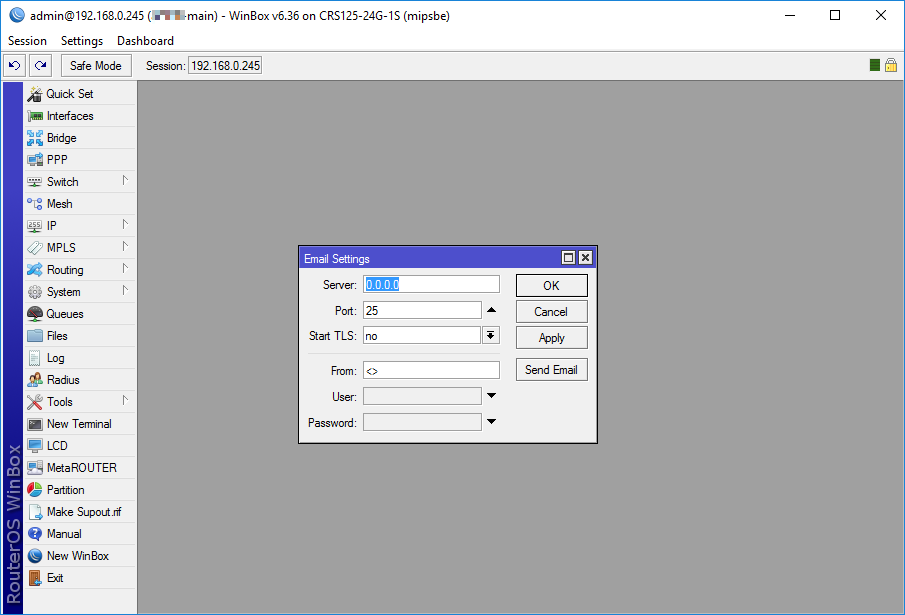
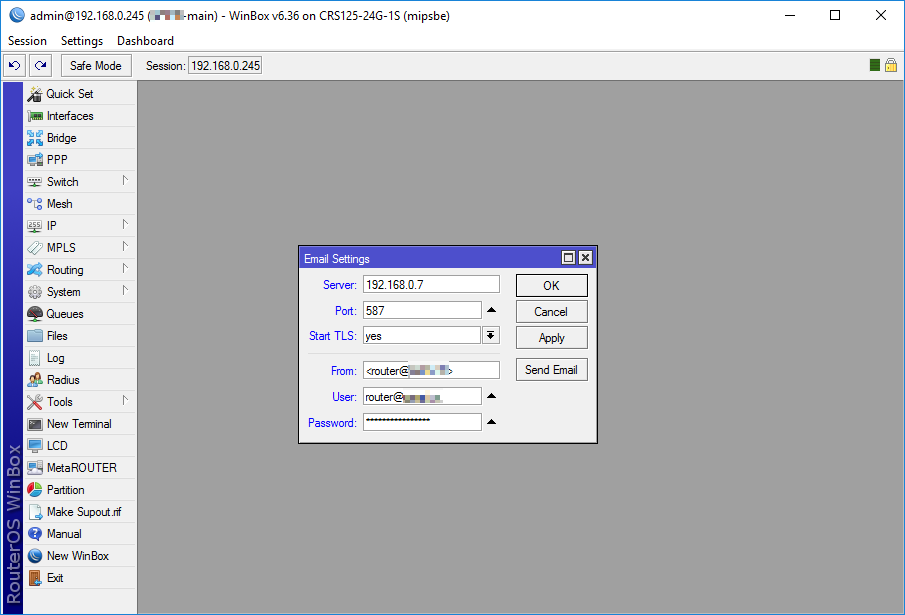
Enter your email servers Address and Port. Set the appropriate encryption, make sure to use the same From and User names and enter the password as well:
Open a terminal by clicking New Terminal:
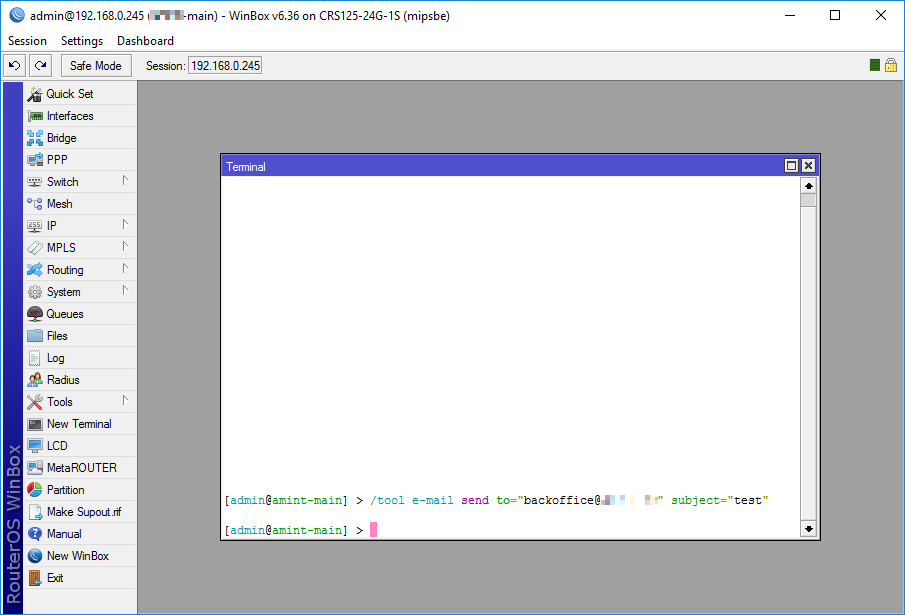
Type the following command to test if everything is setup properly and hit enter:
/tool e-mail send to="backoffice@domain.tld" subject="test"
Backup script
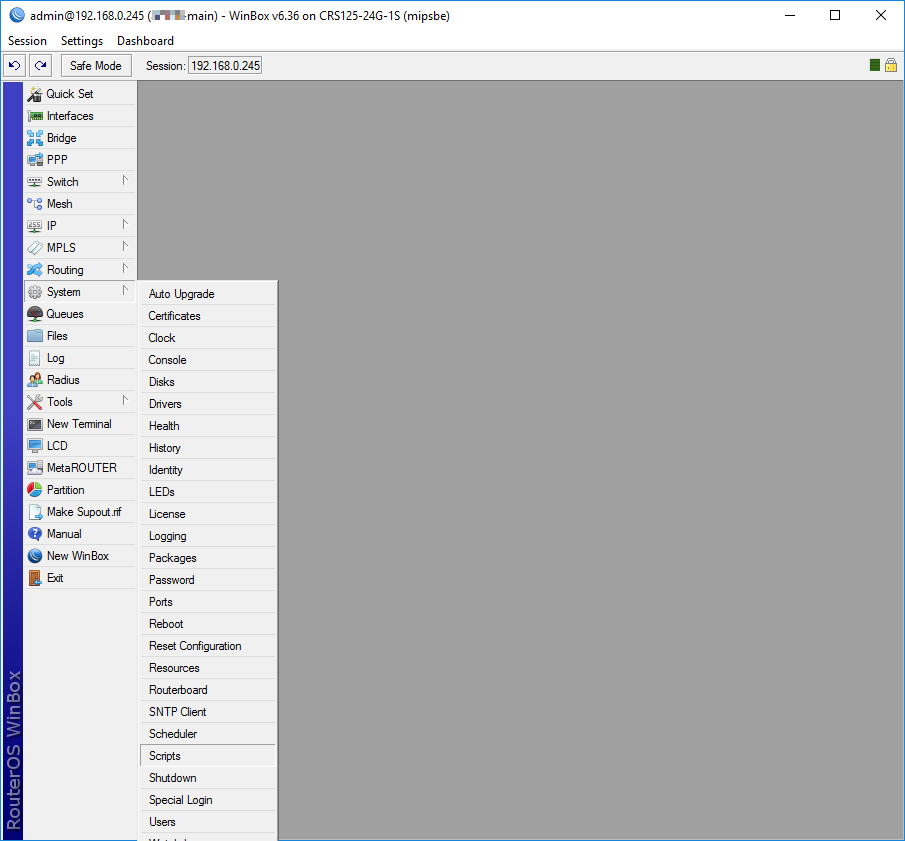
If you received the test e-mail, than we can move to the next step. Go to System -> Scripts:
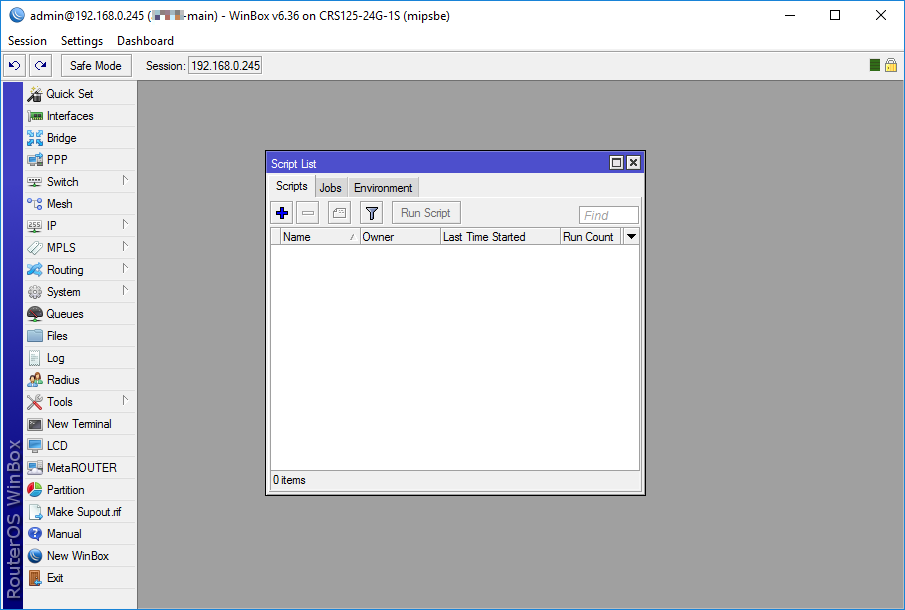
The Script List panel will appear. Click on the blue plus icon to add a new script:
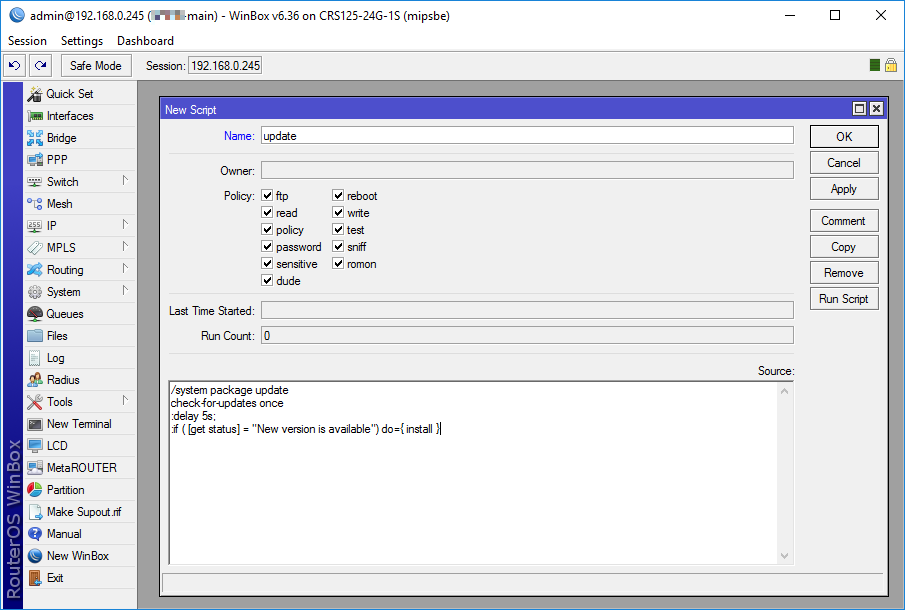
The New Script panel should appear:
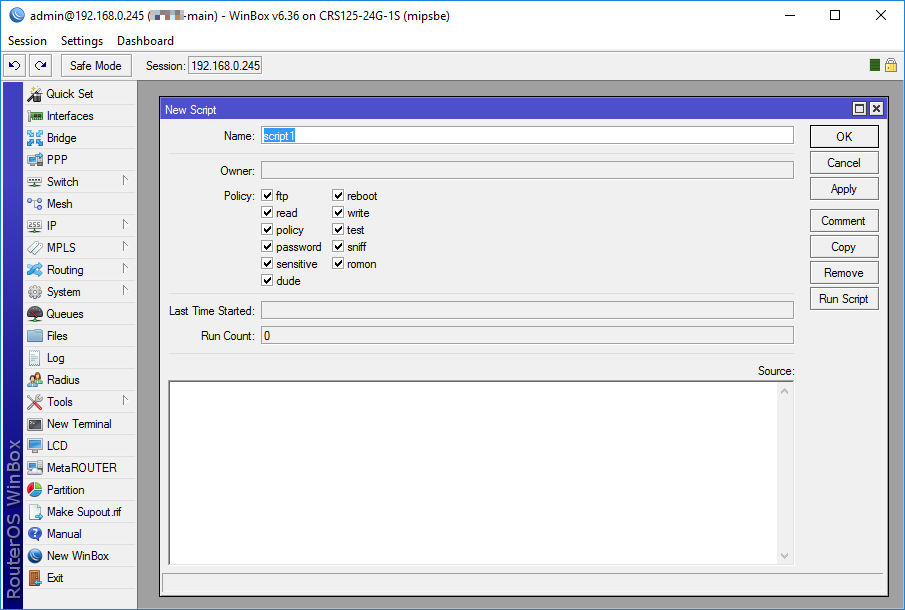
Input backup for Name and paste the following into the Source text-box, leave everything else as is adn hit OK:
:log info "backup beginning now"
:global backupfile [/system identity get name]
/system backup save name=$backupfile
:delay 10s
/export file=$backupfile compact
:delay 10s
:log info "backup being emailed"
/tool e-mail send to="backoffice@domain.tld" subject=("Mikrotik Backup of " . [/system identity get name]) file=($backupfile . ".backup")
:delay 10s
/tool e-mail send to="backoffice@domain.tld" subject=("Mikrotik Export Compact of " . [/system identity get name]) file=($backupfile . ".rsc")
:log info "backup finished"
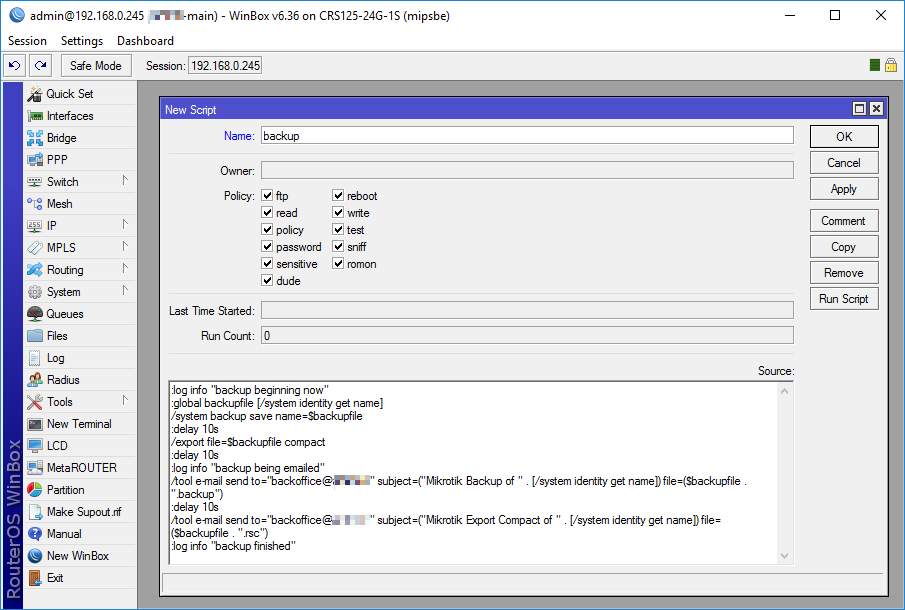
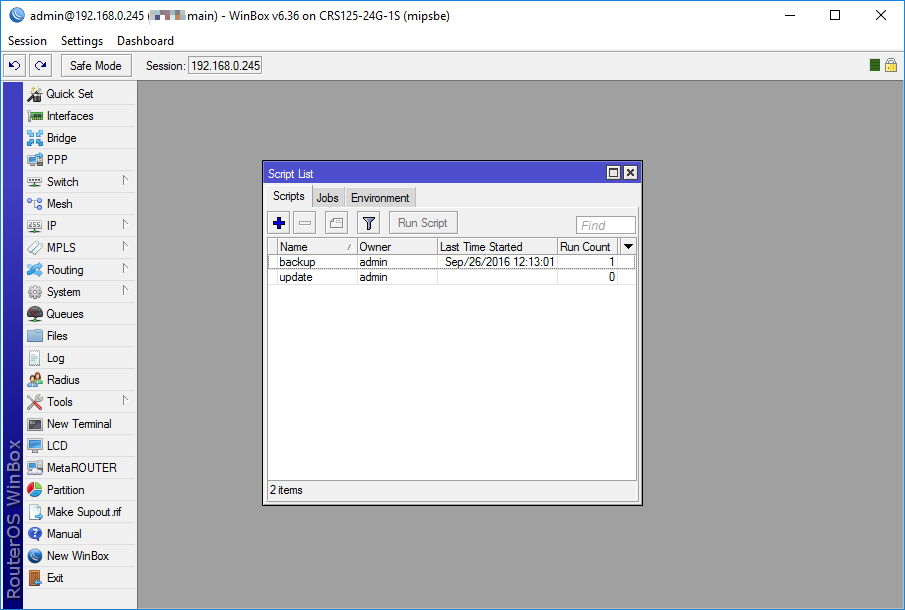
You now should have a script named backup, just like in the following screenshot:

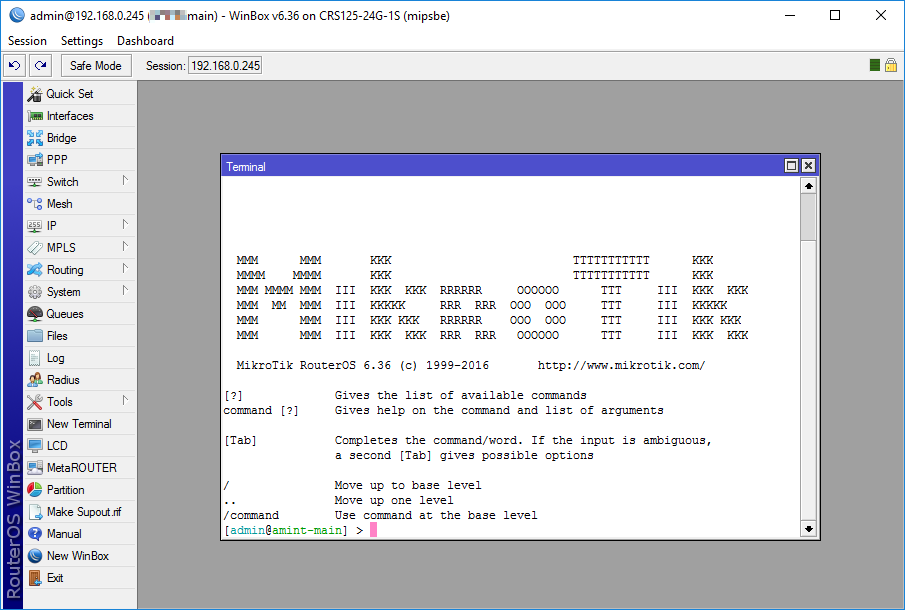
Now let’s see if it works. Open another terminal (by clicking New Terminal):
Run the following to test the script:
/system script run backup
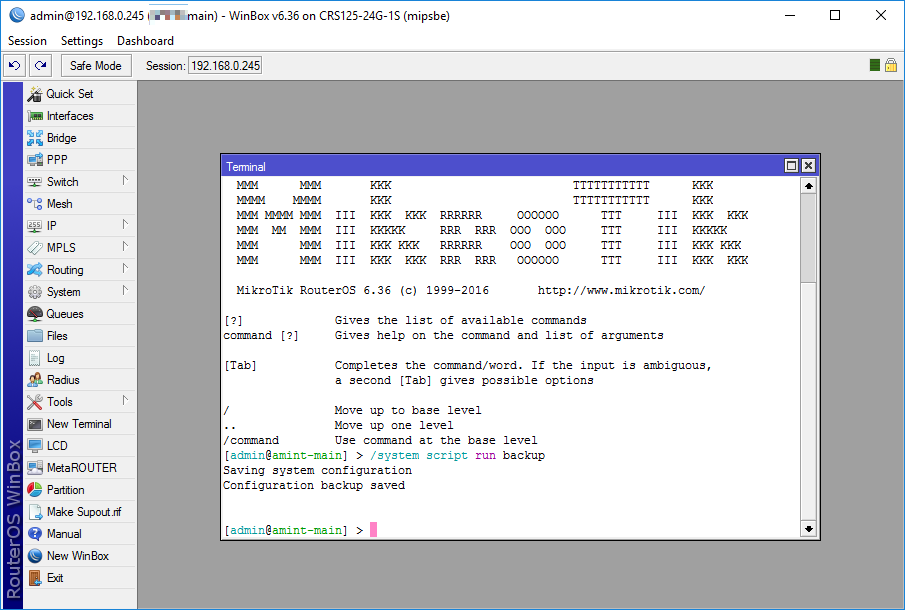
You should receive two emails. One containing a binary backup and the other containing the compact configuration file of the router.
NOTE: As of writing this article RouterOS doesn’t allow to attach two or more files to a single email.
Update script
If everything wen’t fine let’s move on; close the terminal window and go back to the Script List panel. Create another script (with the blue plus button):

We gonna Name this one update, leave everything as is and enter the following in the Source text-box:
/system package update
check-for-updates once
:delay 5s;
:if ( [get status] = "New version is available") do={ install }
After pressing OK we now should have two scripts:
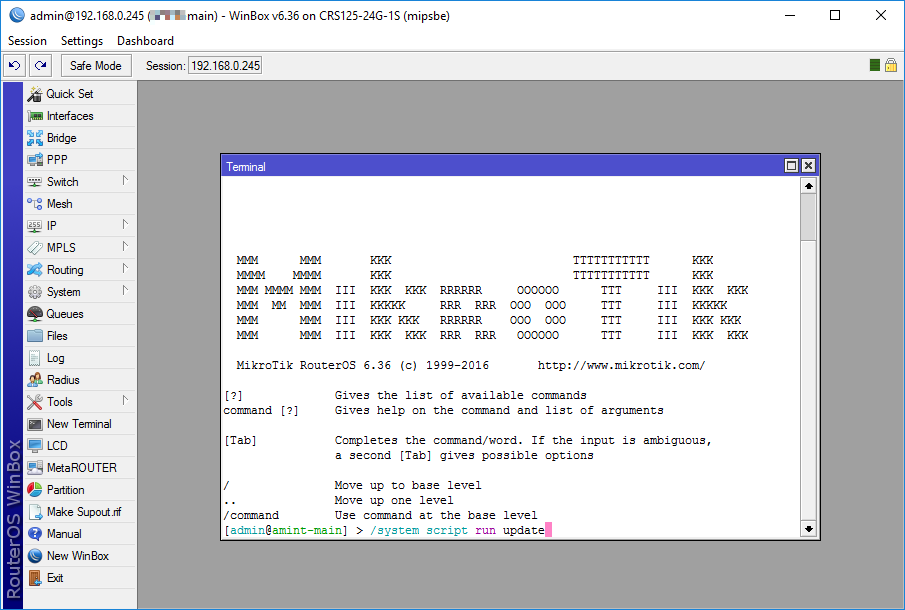
Let us test the second one as well, by running:
/system script run update
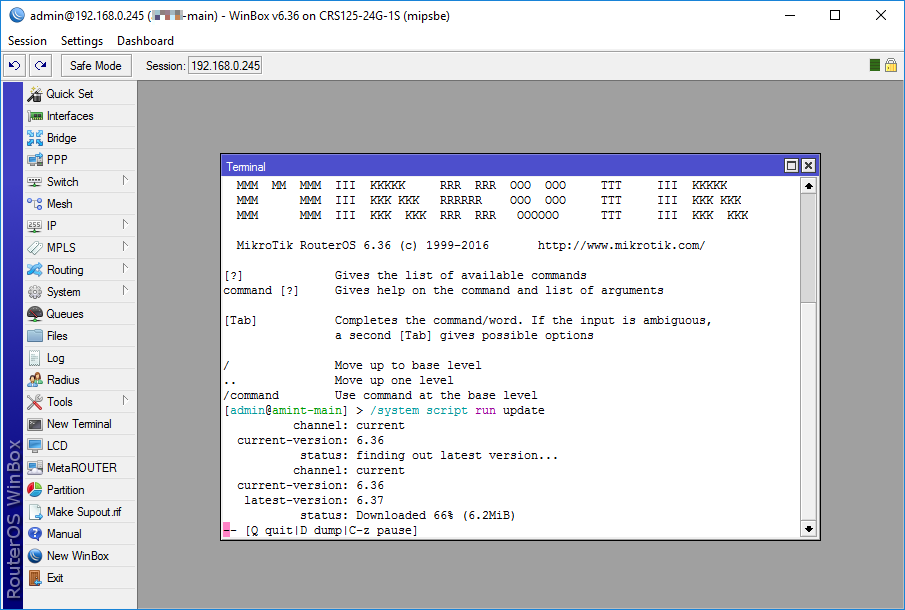
NOTE: If there is an update pending the router will reboot after applying it, that could lead to a few minutes of downtime!
Here’s a screenshot with the update in progress:
Scheduling
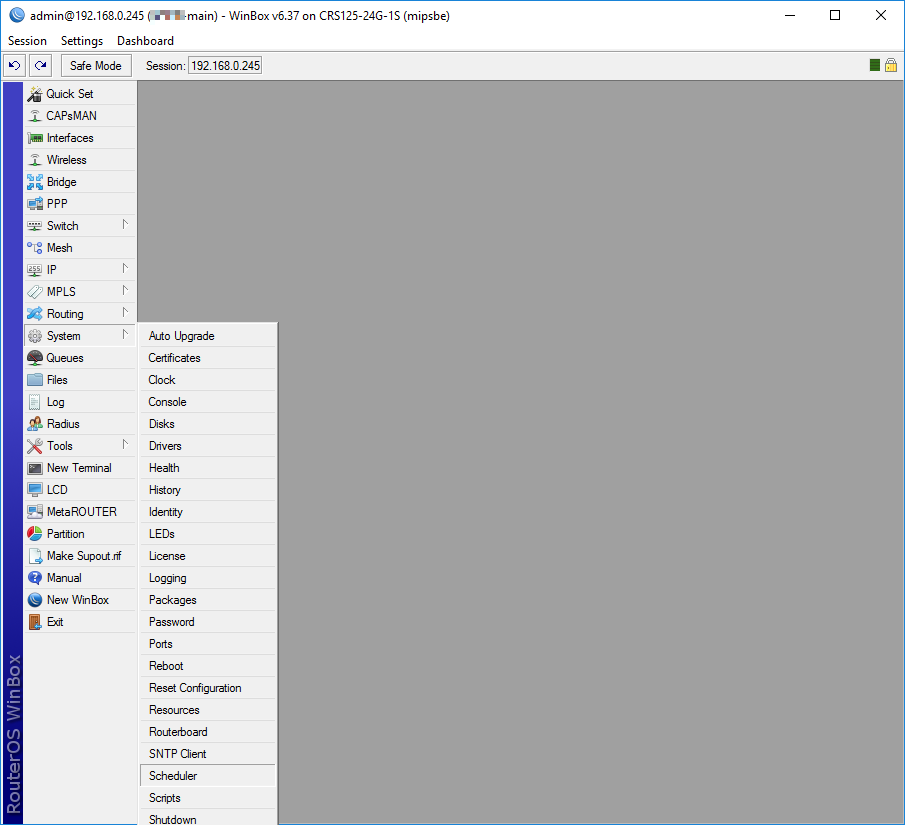
Now we need to schedule our two scripts. To do that go to System -> Scheduler:
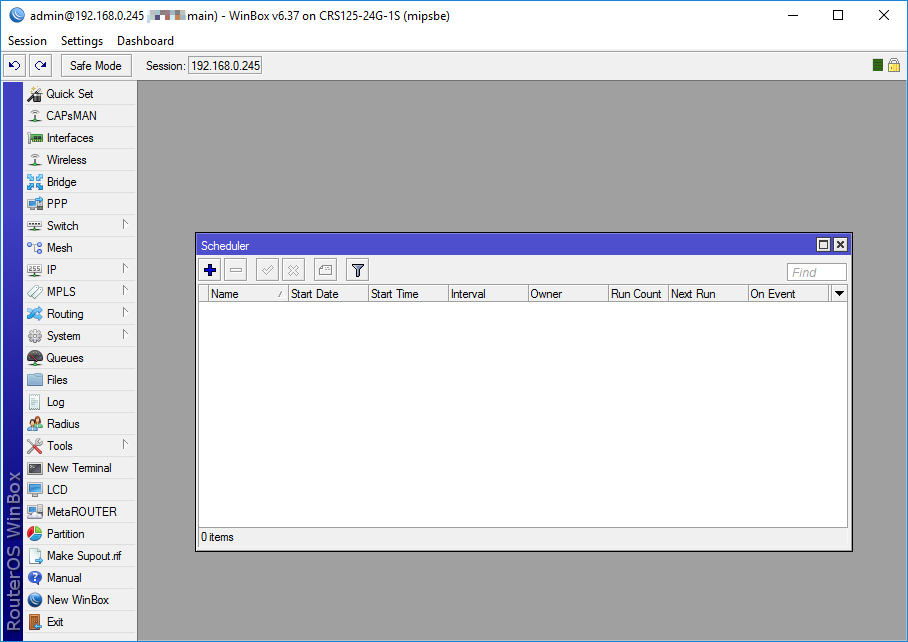
The Scheduler panel will appear, click on the blue plus to add a new schedule:
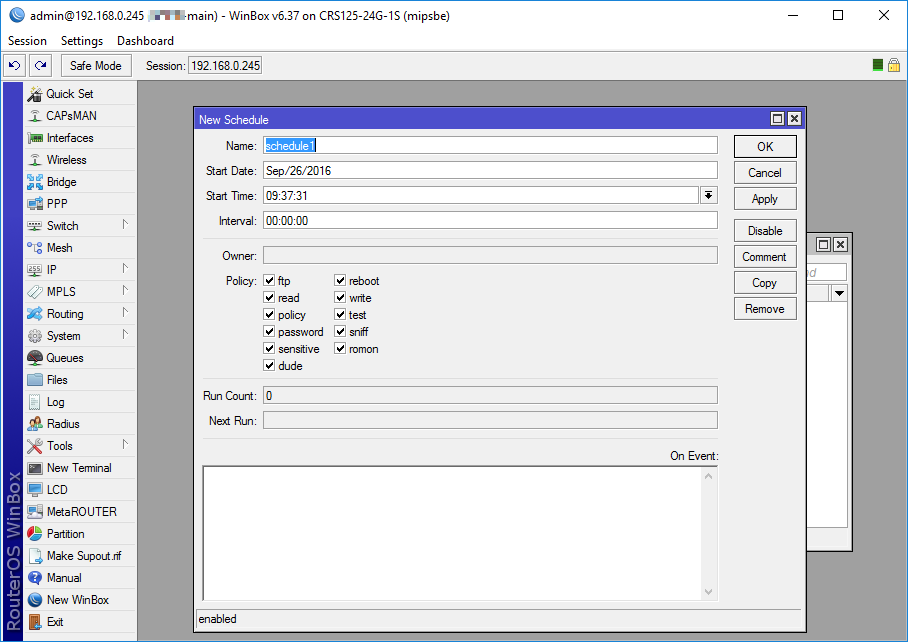
The New Schedule panel pops up:
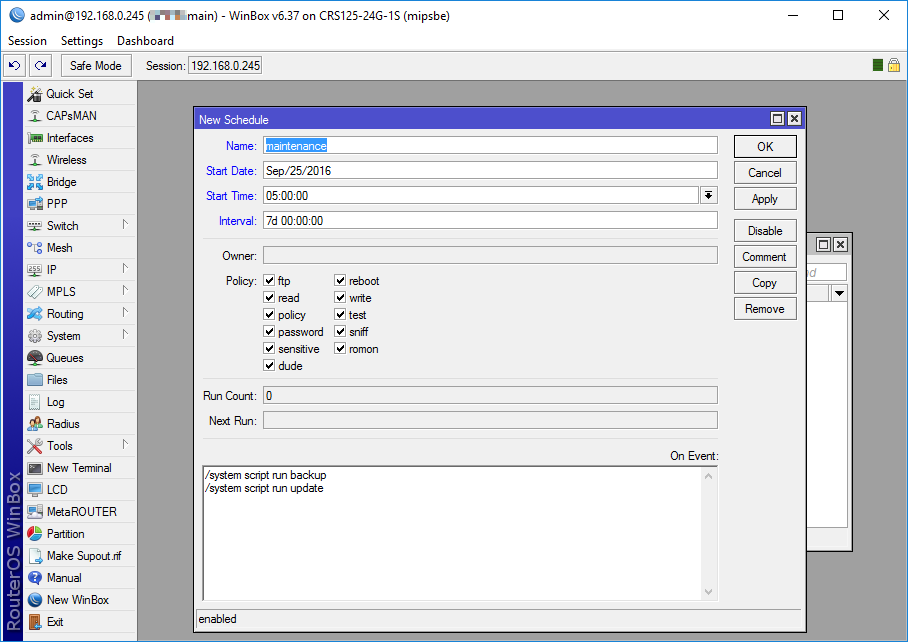
Enter maintenance as Name, set the Start Date and the Start Time to a day / time you want to run the scripts, in my case it is every Sunday at 5 AM. Set the Interval to 7 days to run it weekly, leave everything else as is and paste the following into the On Event text-box:
/system script run backup
/system script run update
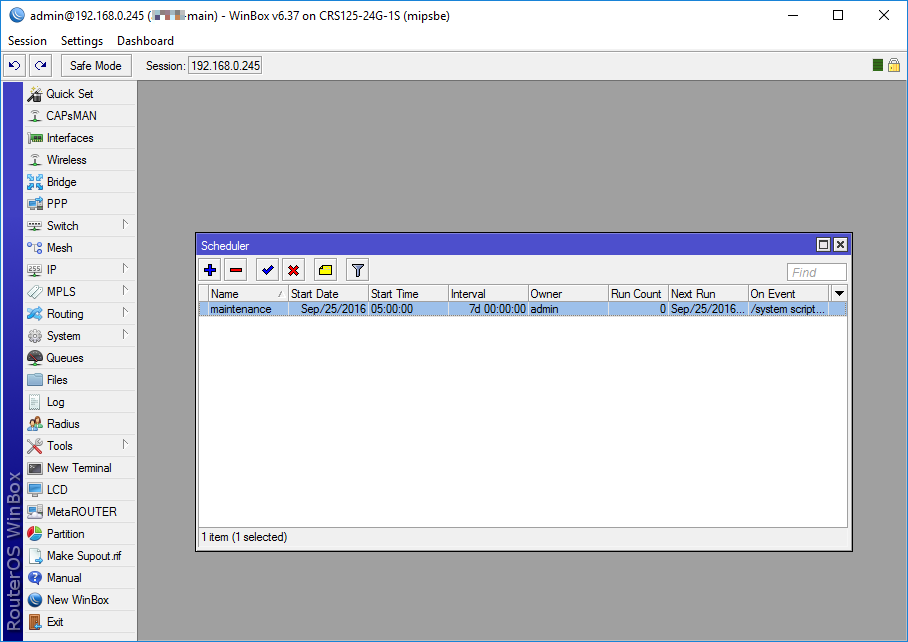
After hitting OK you should see your schedule:
Schedule depends on proper timekeeping so let’s make sure that the routers clock is accurate. To do that, let’s go to System -> Clock: and set the date, clock and timezone manually first:

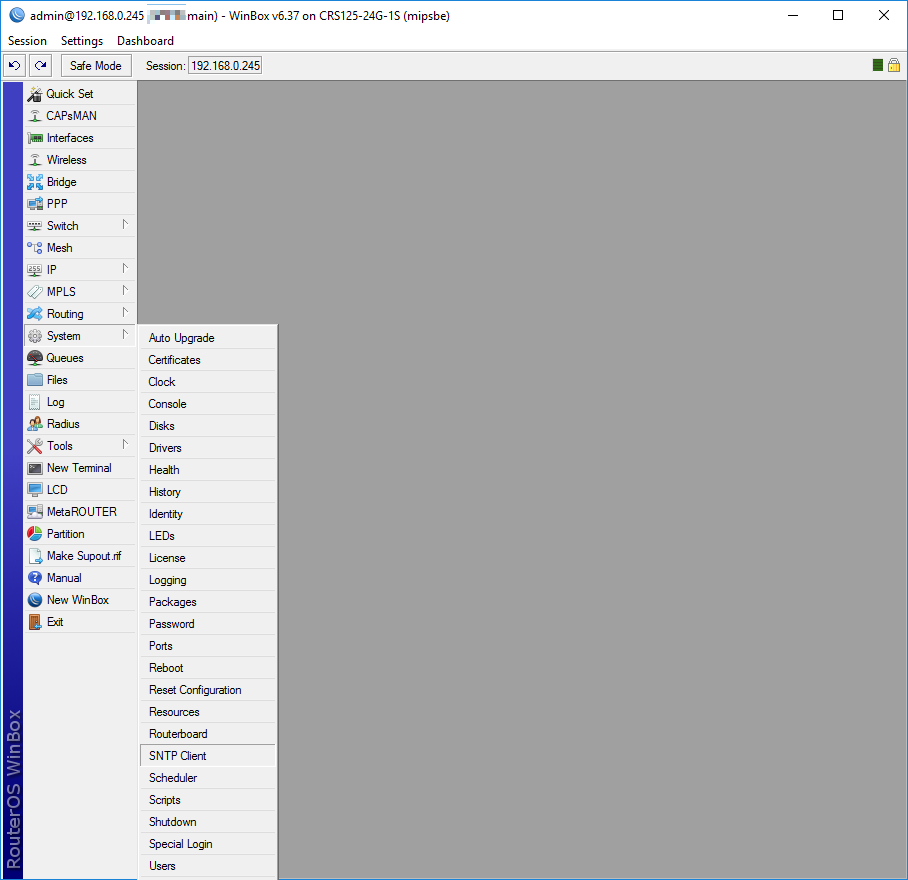
After that, we can set up syncing. Go to System -> SNTP Client:
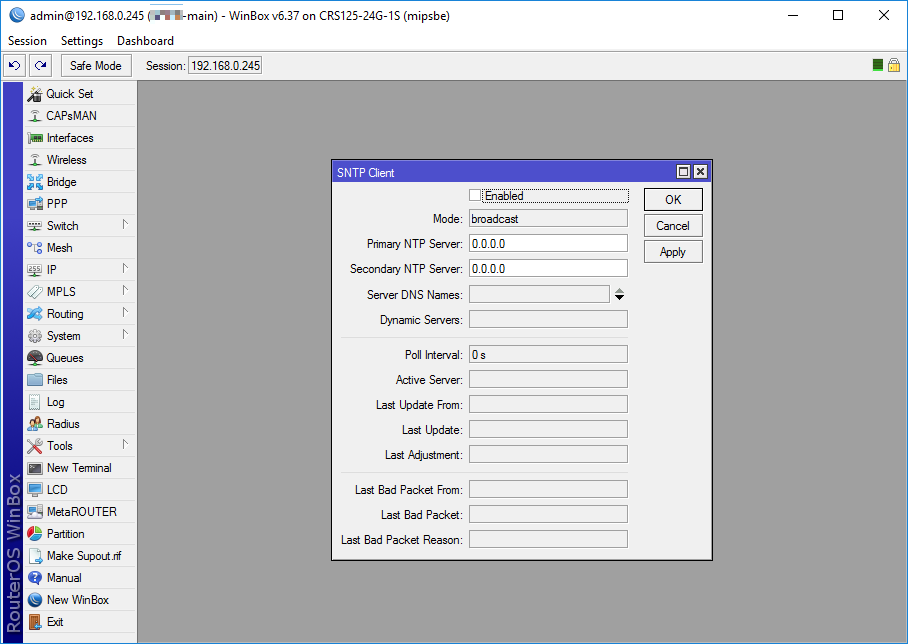
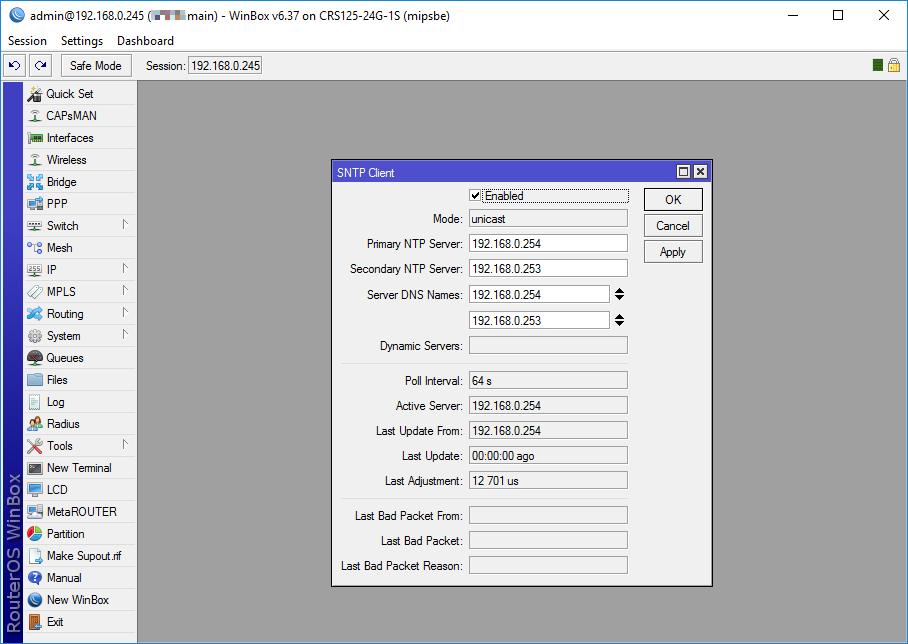
The SNTP Client panel will appear:
Check Enabled and enter two NTP Servers. If you prefer to use public NTP servers by host-name (here’s a helpful list), than be sure to enter at-least two public DNS servers as well. In my case I will use the local ADDS servers:
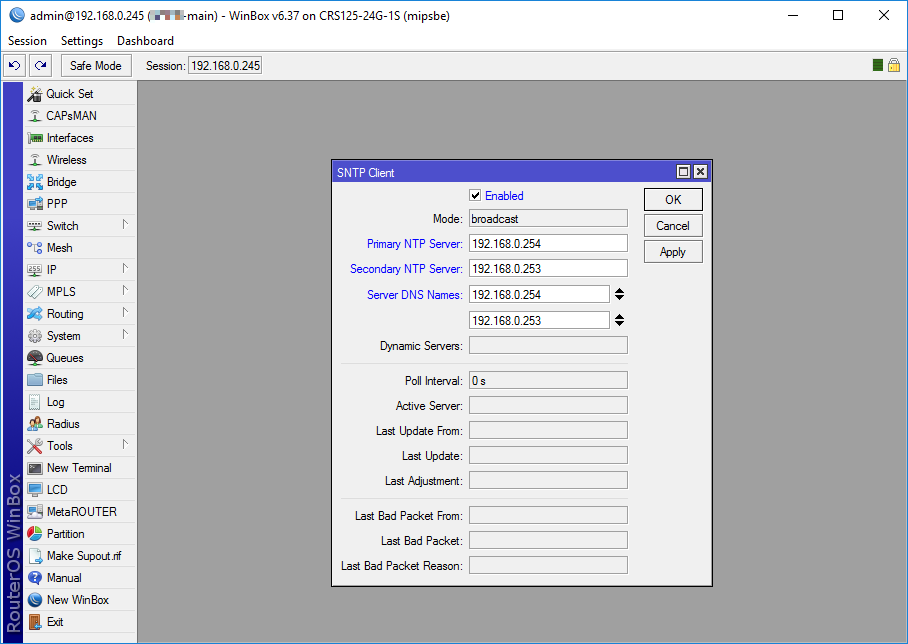
After hitting Apply (or OK and reopening the panel) we can see that it updated correctly:
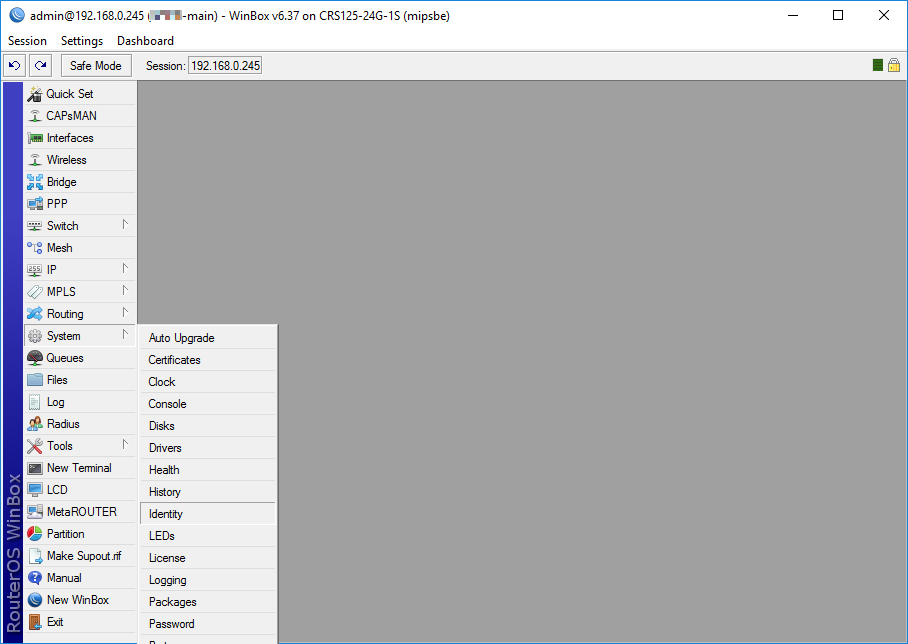
Finally let’s give our router a proper name, since we use that in our backup scripts. Go to System -> Identity:
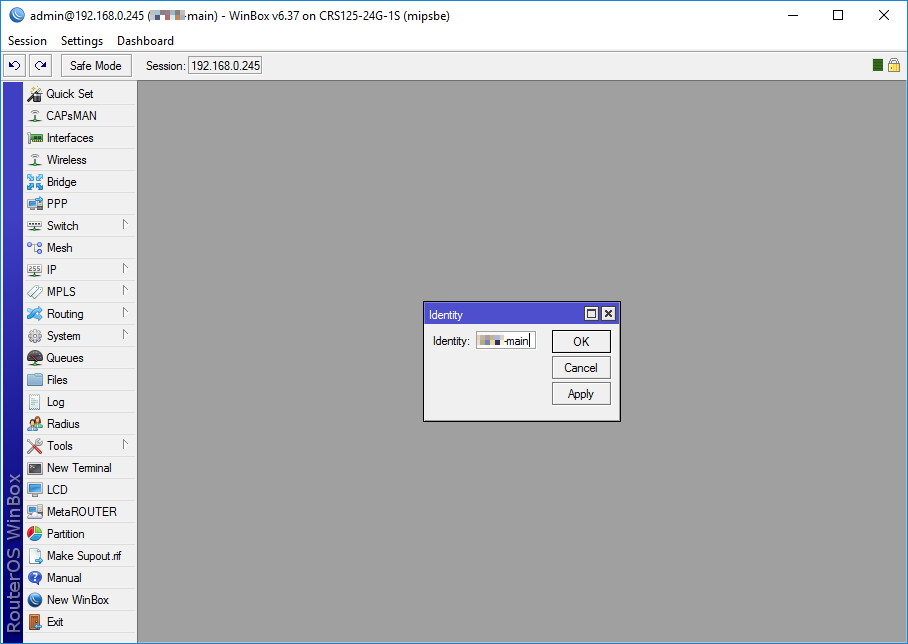
Enter a name into the Identity field and hit OK to save it:
That’s it!